9 Easy Pickle Recipes You Can Make at Home Without Any Special Equipment
The global fermented food market was valued at over $800 billion in 2023, yet most home cooks still believe making pickles requires a pressure canner, sterilization racks, and hours of careful labor. That belief is simply wrong. These 9 easy pickle recipes you can make at home without any special equipment prove that a glass jar, some vinegar, and a handful of pantry staples are all you need to produce crisp, flavorful pickles in your own kitchen.
Disclosure: This post contains affiliate links. As an Amazon Associate, we earn from qualifying purchases, and at no extra cost to you.
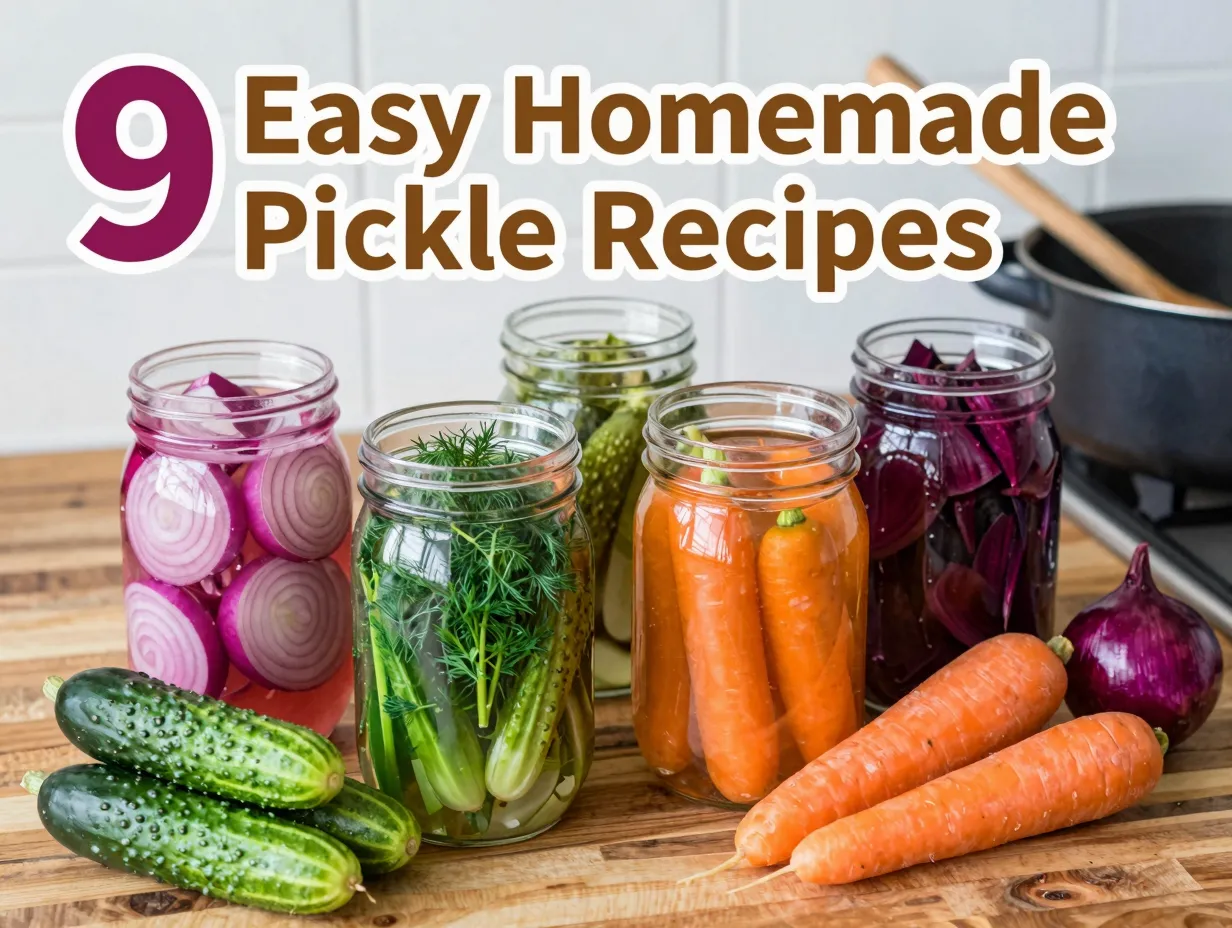
I made my first batch of refrigerator dill pickles on a Tuesday afternoon with nothing more than a mason jar I found in the back of a cabinet and cucumbers from the farmers market. By Thursday, I had the best pickles I had ever tasted. No canning equipment. No special training. Just a simple brine and a little patience. That experience changed how I thought about home food preservation entirely.
Whether you are a complete beginner or someone who has always wanted to explore pickling, this guide walks you through nine approachable recipes. Each one uses everyday kitchen tools and ingredients you likely already own. [1][3]
Key Takeaways
- Refrigerator pickling requires no canning equipment, no pressure cooker, and no special jars
- A basic brine of vinegar, water, salt, and sugar works for almost every vegetable
- Most of these recipes are ready to eat within 24 to 48 hours
- Refrigerator pickles last two to four weeks when stored properly in the fridge
- You can customize heat, sweetness, and seasoning to suit your personal taste
What You Need Before You Start Making These 9 Easy Pickle Recipes at Home Without Any Special Equipment
Before diving into the recipes themselves, it helps to understand the two main methods used throughout this guide: refrigerator pickling and quick fermentation.
Refrigerator pickling uses an acidic brine made from vinegar to preserve vegetables. The acid prevents bacterial growth, so no heat processing or vacuum sealing is required. The jars go straight into your refrigerator. [1]
Quick fermentation relies on salt and naturally occurring bacteria to create lactic acid, which preserves the food. This method takes a bit longer but produces a more complex, tangy flavor. [2]
Basic Equipment You Already Own
| What You Need | Why You Need It |
|---|---|
| Glass jars with lids | Holds the brine and vegetables |
| Small saucepan | Heats the brine (optional for cold-pack methods) |
| Cutting board and knife | Slices vegetables to size |
| Measuring cups and spoons | Ensures correct brine ratios |
| Funnel (optional) | Makes pouring brine easier |
The Universal Brine Ratio
Most of the recipes in this guide use a variation of this core brine:
- 1 cup white vinegar or apple cider vinegar
- 1 cup water
- 1 tablespoon kosher salt
- 1 tablespoon sugar (optional, for sweetness)
You can adjust this ratio based on how sharp or mild you want the final flavor. White vinegar produces a clean, sharp taste. Apple cider vinegar adds a mild fruitiness. [3]
The 9 Easy Pickle Recipes You Can Make at Home Without Any Special Equipment
1. Classic Refrigerator Dill Pickles
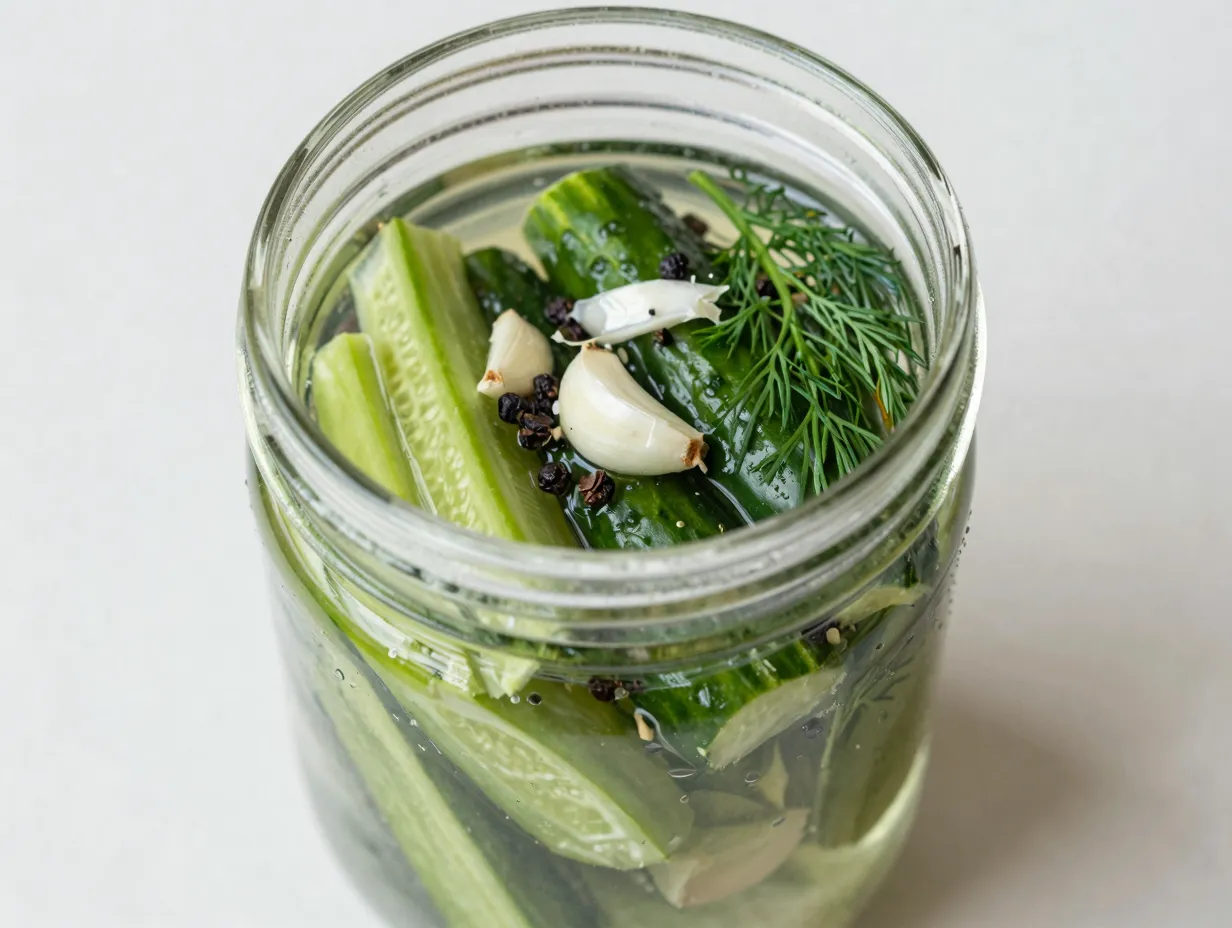
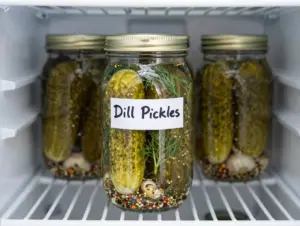
This is the recipe that started my pickling journey, and it remains the most popular entry point for beginners. The prep time is genuinely about five minutes. [4]
What you need:
- 2 to 3 medium cucumbers, sliced into spears or coins
- 1 cup white vinegar
- 1 cup water
- 1 tablespoon kosher salt
- 4 garlic cloves, smashed
- 4 to 6 sprigs of fresh dill
- 1 teaspoon black peppercorns
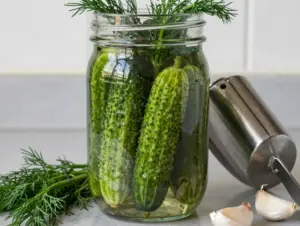
Method: Pack the cucumber slices tightly into a clean glass jar. Add garlic, dill, and peppercorns. Combine vinegar, water, and salt in a small saucepan and heat until the salt dissolves. Pour the warm brine over the cucumbers, seal the jar, and refrigerate. They are ready in 24 hours and taste even better after 48. [4][6]
Pro tip: Use Persian or Kirby cucumbers for the crispest results. English cucumbers work but tend to soften faster.
2. Spicy Refrigerator Dill Pickles
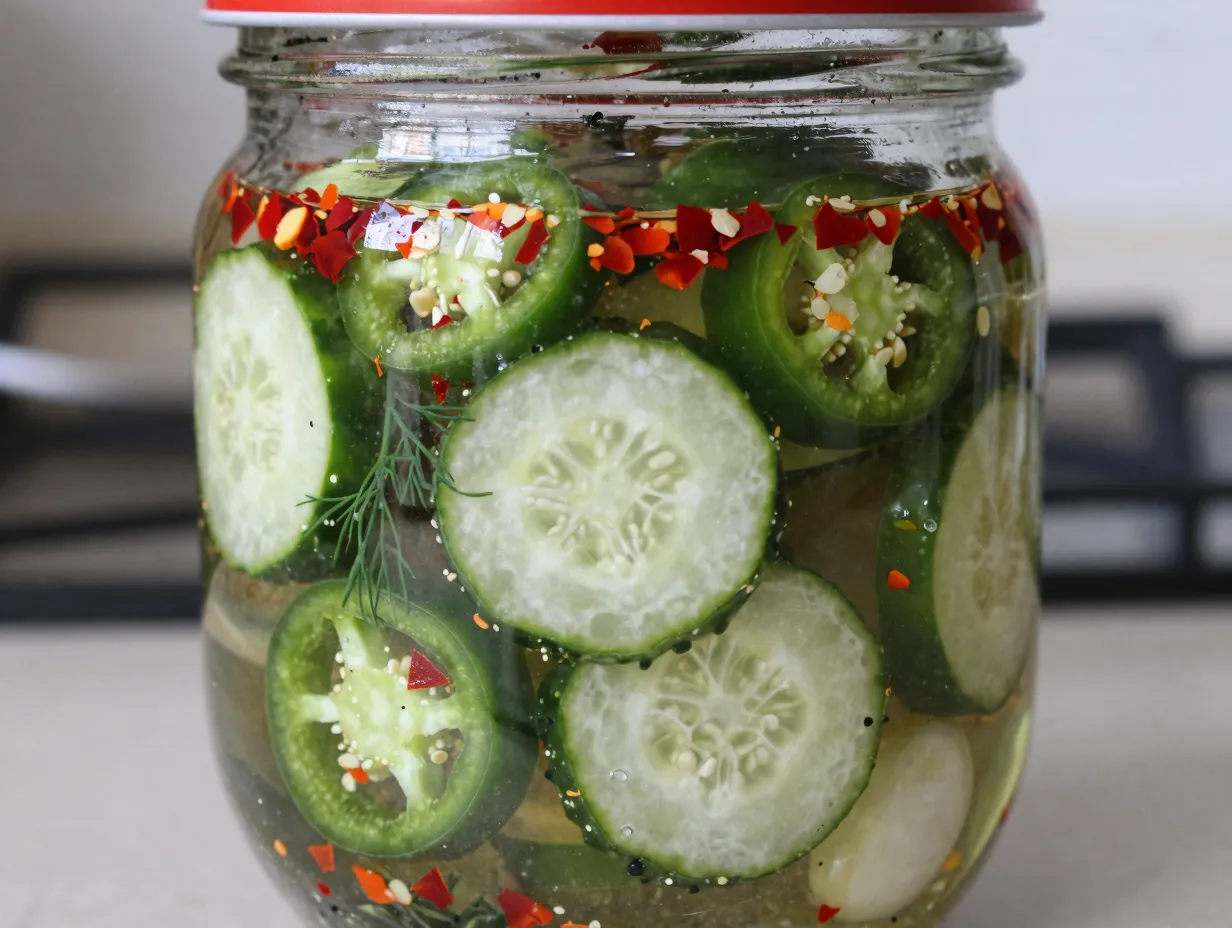
If you enjoy heat, this variation of the classic dill pickle delivers a satisfying kick without any extra complexity. The base recipe is nearly identical to the classic version, with one important addition. [5]
What you need:
- 2 to 3 cucumbers, sliced
- 1 cup white vinegar
- 1 cup water
- 1 tablespoon kosher salt
- 1 teaspoon red pepper flakes
- 2 fresh jalapeño slices per jar
- 4 garlic cloves, smashed
- Fresh dill sprigs
Method: Follow the same process as the classic dill pickle. Add red pepper flakes and jalapeño slices directly into the jar before pouring the brine. The longer the pickles sit, the spicier they become. [5]
“The heat in spicy refrigerator pickles is entirely adjustable. Start with half a teaspoon of red pepper flakes and work your way up on your next batch.”
3. Quick Pickled Red Onions
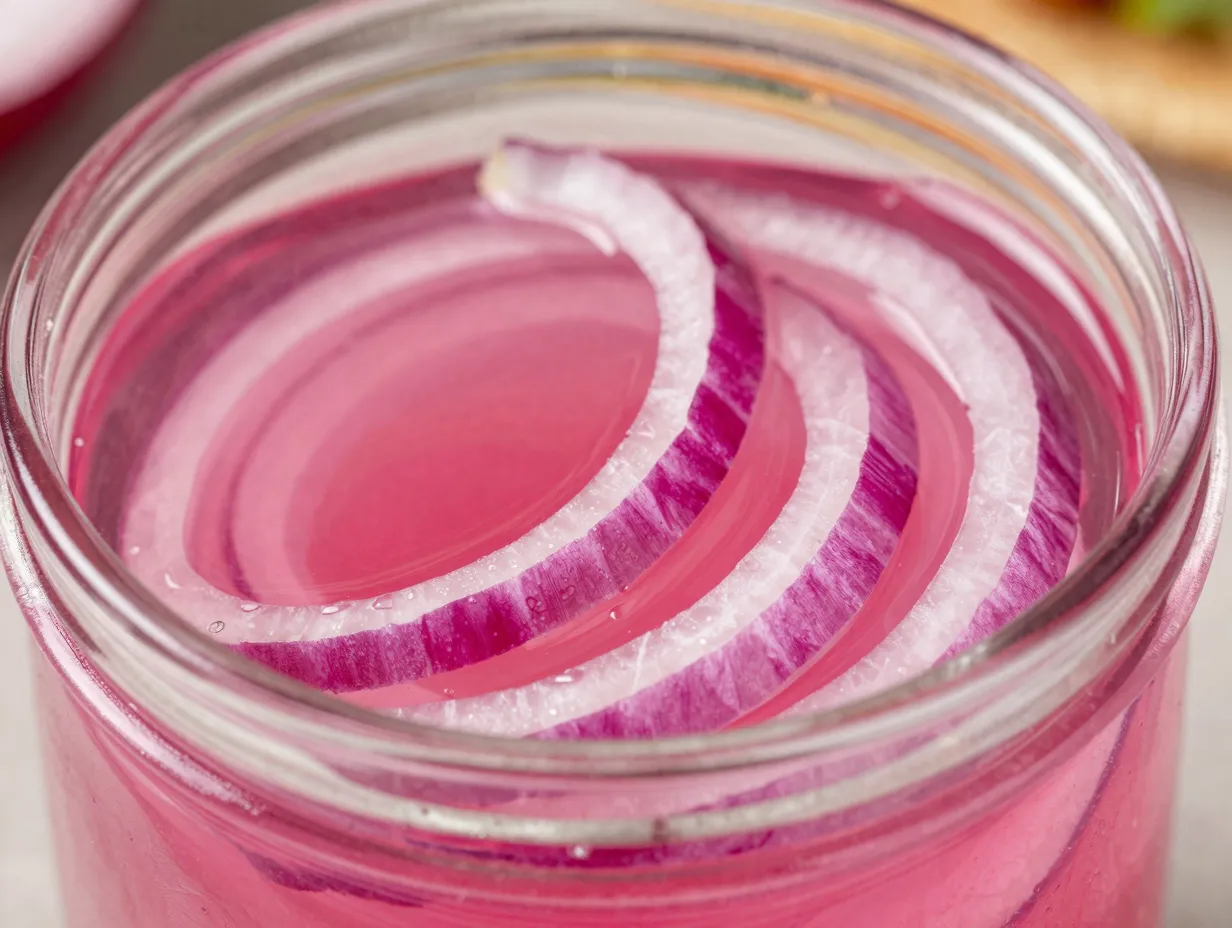
Quick pickled red onions are the most versatile condiment you can make. I keep a jar in my refrigerator at all times. They work on tacos, burgers, grain bowls, sandwiches, and salads. [1]
What you need:
- 1 large red onion, thinly sliced
- 1 cup apple cider vinegar
- 1/2 cup water
- 1 tablespoon sugar
- 1 teaspoon kosher salt
Method: Place the sliced onions in a jar. Warm the vinegar, water, sugar, and salt in a saucepan until dissolved. Pour over the onions. Let cool slightly, then seal and refrigerate. They are ready in as little as 30 minutes, though the flavor deepens overnight. [1]
Color note: The red onions turn a vivid bright pink within the first hour. This is completely normal and makes them visually striking on any dish.
4. Pickled Carrots
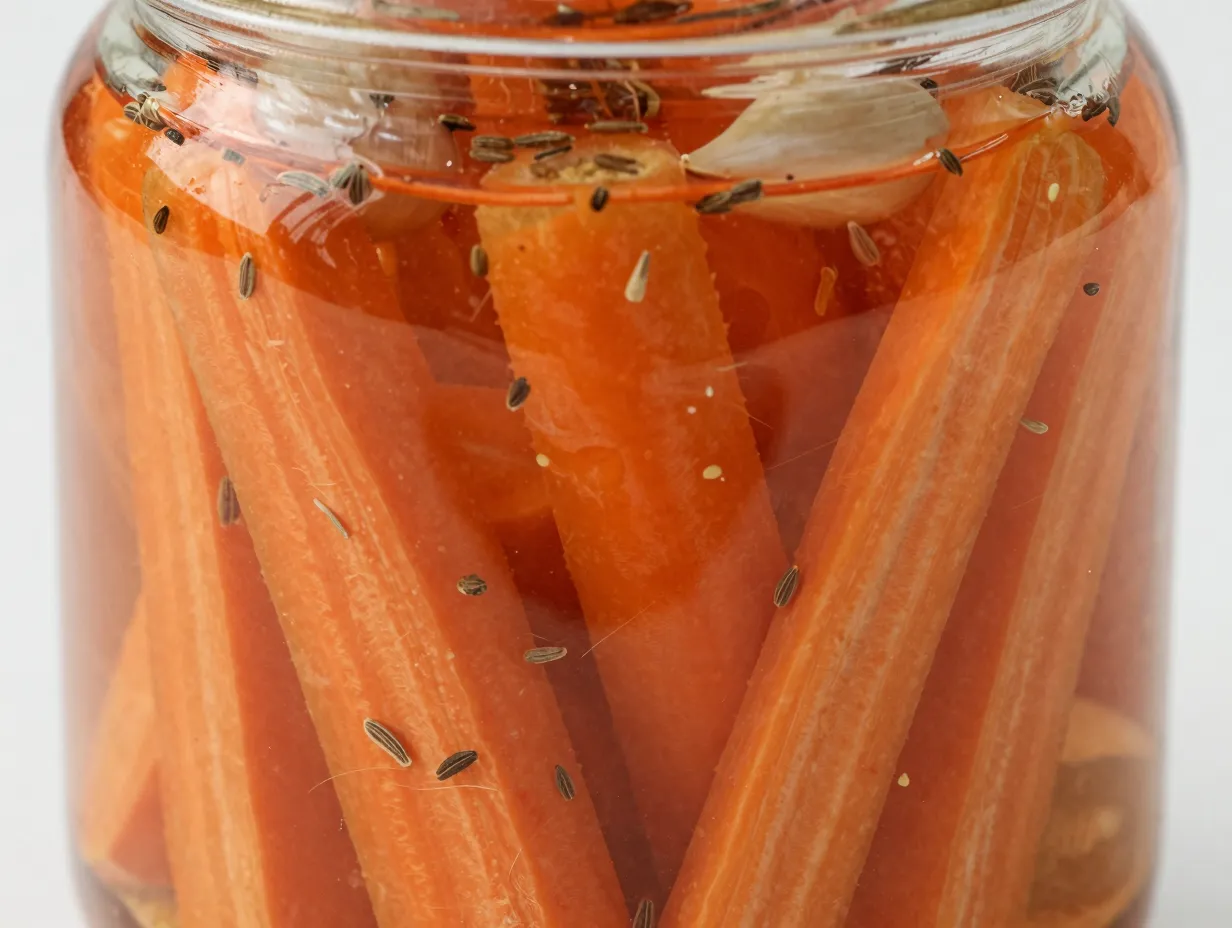
Pickled carrots are slightly sweet, mildly tangy, and satisfyingly crunchy. They are a staple in Mexican cuisine, where they are often served alongside jalapeños as a condiment for tacos and tortas. [1]
What you need:
- 3 to 4 medium carrots, peeled and cut into coins or sticks
- 1 cup white vinegar
- 1 cup water
- 1 tablespoon sugar
- 1 teaspoon kosher salt
- 1/2 teaspoon cumin seeds
- 2 garlic cloves
Method: Blanch the carrot pieces in boiling water for two minutes to soften them slightly, then drain. Pack into a jar with garlic and cumin. Pour the warm brine over the carrots, seal, and refrigerate. Ready in 24 hours. [1][2]
Variation: Add sliced jalapeños to the jar for a spicy carrot and jalapeño combination that pairs beautifully with grilled meats.
5. Pickled Jalapeños
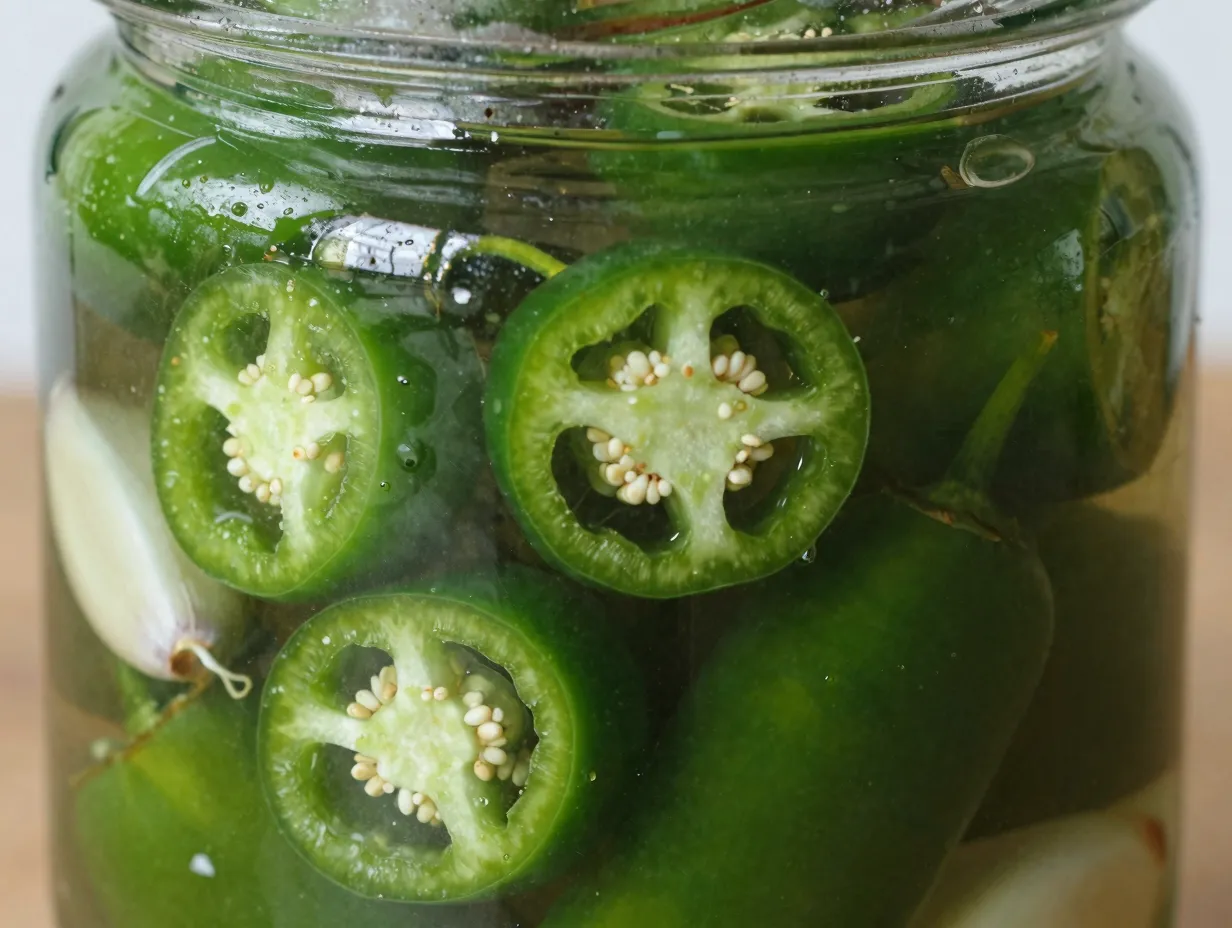
Pickled jalapeños are far easier to make at home than most people realize, and the homemade version tastes significantly better than the canned store-bought variety. [1]
What you need:
- 10 to 12 fresh jalapeños, sliced into rings
- 1 cup white vinegar
- 1 cup water
- 1 tablespoon sugar
- 1 teaspoon kosher salt
- 3 garlic cloves
Method: Slice the jalapeños into rings and pack them into a jar with the garlic cloves. Heat the brine until the salt and sugar dissolve, then pour over the jalapeños. Seal and refrigerate. They are ready in about four hours and keep for up to three weeks. [1]
Safety note: Wear gloves when slicing jalapeños or wash your hands thoroughly before touching your face.
6. Pickled Beets
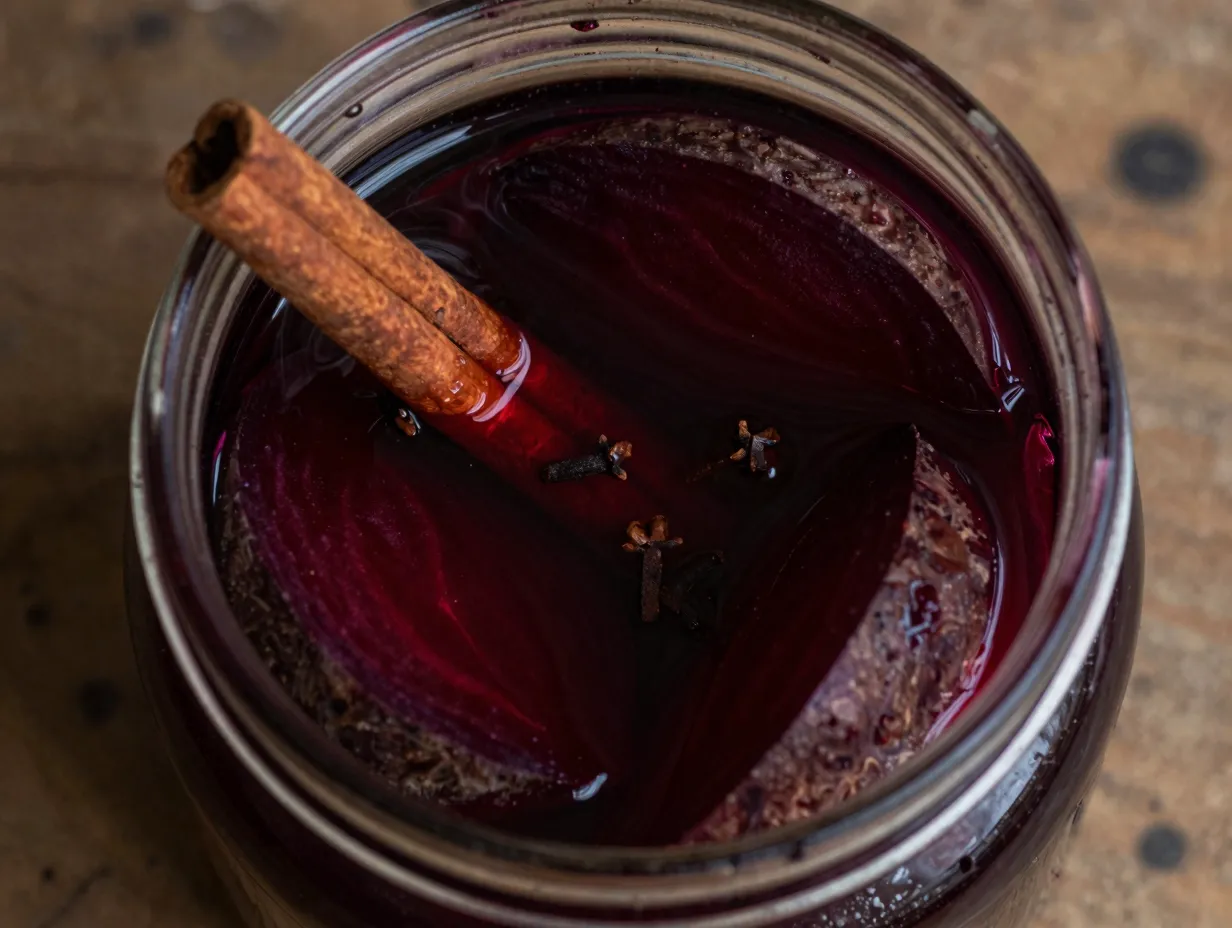
Pickled beets have a deep, earthy sweetness that sets them apart from other pickled vegetables. They do require a brief cooking step to soften the beets, but no canning equipment is needed. [1]
What you need:
- 4 medium beets, cooked and sliced
- 1 cup apple cider vinegar
- 1/2 cup water
- 2 tablespoons sugar
- 1 teaspoon kosher salt
- 1/2 teaspoon whole cloves
- 1 cinnamon stick
Method: Roast or boil the beets until fork-tender, then peel and slice. Pack into a jar. Combine the remaining ingredients in a saucepan, bring to a simmer, and pour over the beets. Cool, seal, and refrigerate for at least 12 hours before eating. [1]
Storage note: Pickled beets last up to three weeks in the refrigerator and improve in flavor over the first several days.
7. Pickled Green Beans (Dilly Beans)
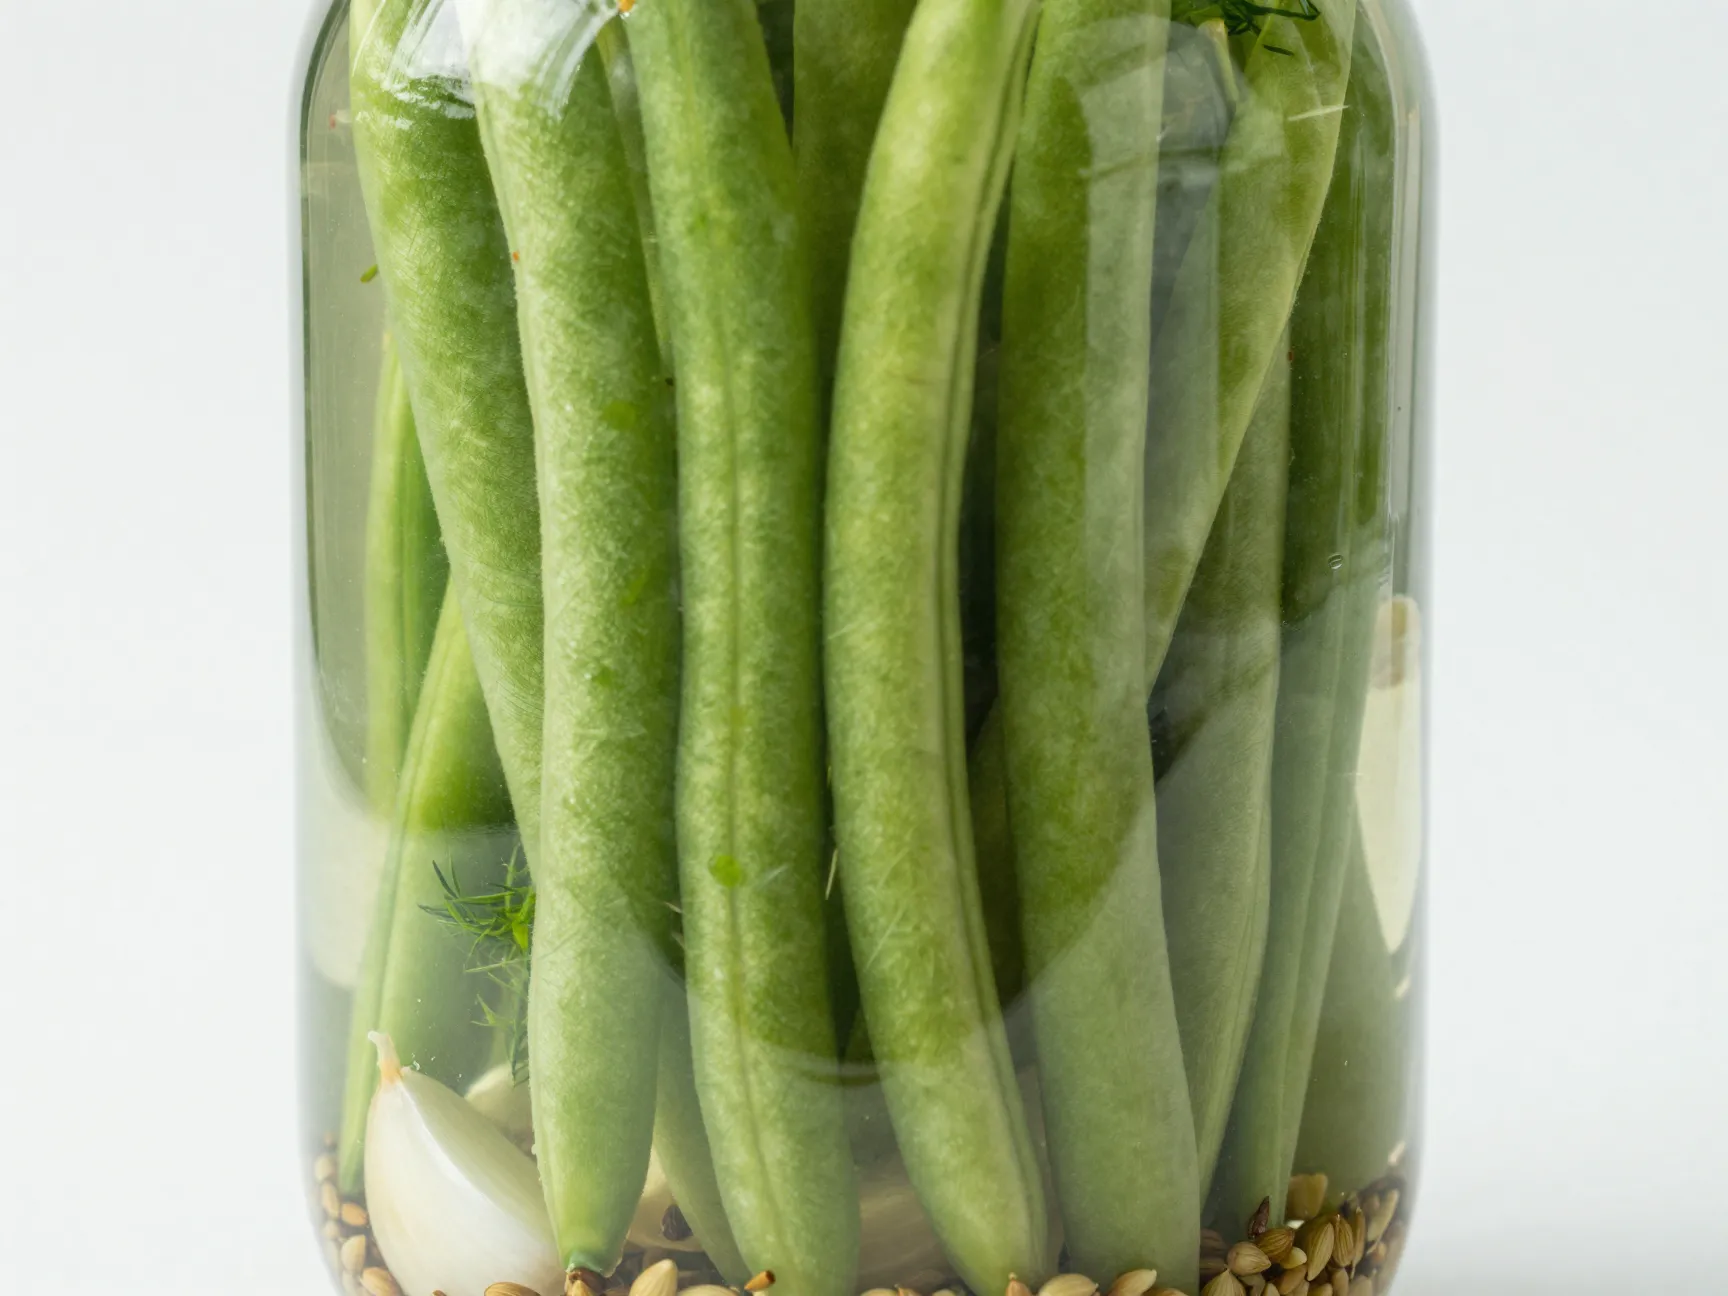
Pickled green beans, often called dilly beans, are a satisfying snack and an impressive addition to a charcuterie board. They have a crisp texture and a bright, herby flavor. [1]
What you need:
- 1/2 pound fresh green beans, trimmed to fit your jar
- 1 cup white vinegar
- 1 cup water
- 1 tablespoon kosher salt
- 1 teaspoon dill seed or fresh dill
- 2 garlic cloves
- 1/2 teaspoon red pepper flakes (optional)
Method: Pack the green beans vertically into a tall jar so they stand upright. Add garlic, dill, and red pepper flakes. Pour warm brine over the beans, seal, and refrigerate. They need at least 48 hours to fully absorb the brine. [1]
Texture tip: Blanch the green beans for 60 seconds before packing if you prefer a slightly softer texture. Skip blanching entirely for maximum crunch.
8. Pickled Zucchini
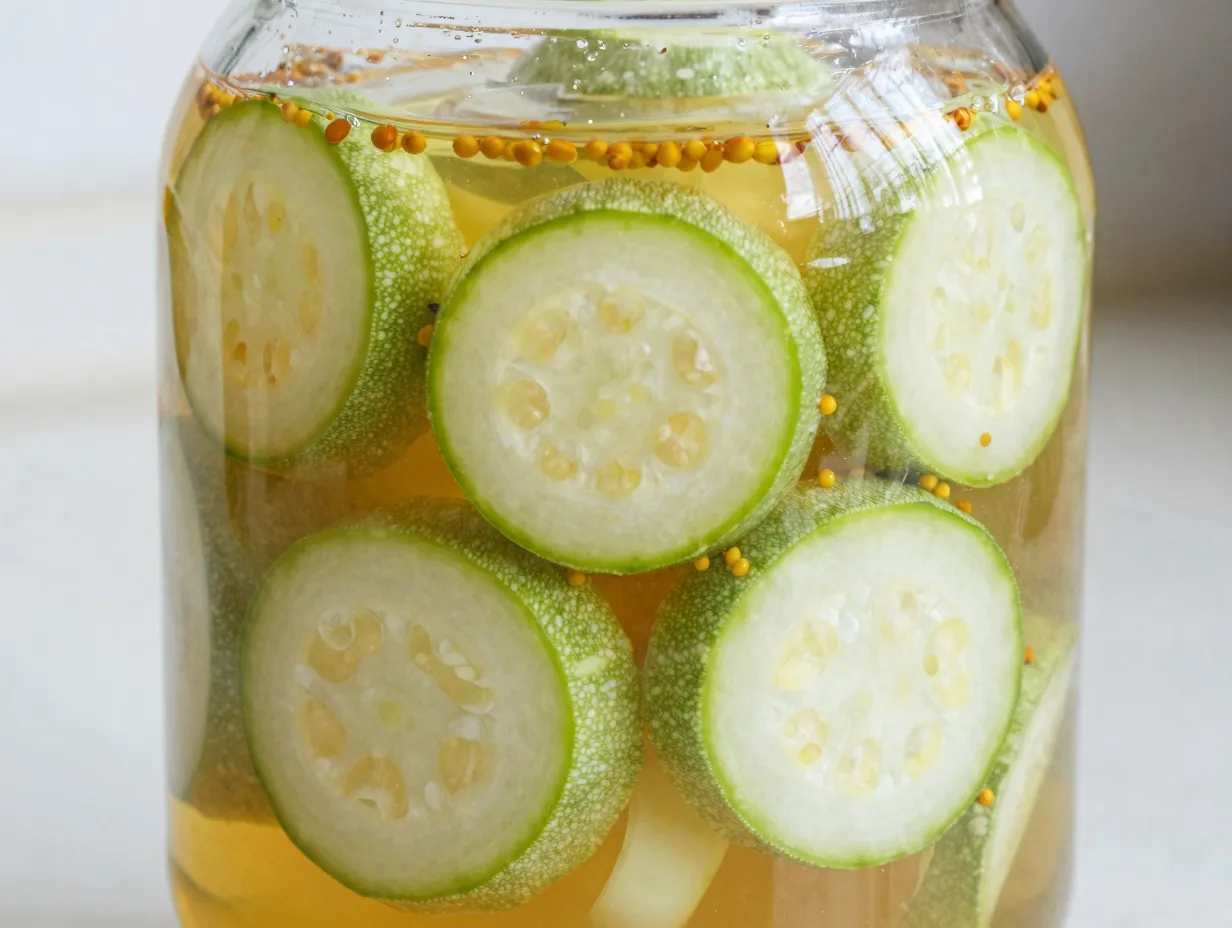
Summer zucchini is one of those vegetables that appears in abundance and can be difficult to use up quickly. Pickling is one of the best solutions. [1]
What you need:
- 2 medium zucchini, sliced into thin rounds or half-moons
- 1 cup apple cider vinegar
- 1/2 cup water
- 1 tablespoon sugar
- 1 teaspoon kosher salt
- 1/2 teaspoon turmeric
- 1/2 teaspoon mustard seeds
- 1 small onion, thinly sliced
Method: Combine the zucchini and onion slices in a jar. Heat the brine with turmeric and mustard seeds until the salt and sugar dissolve. Pour over the vegetables, cool, seal, and refrigerate. Ready in 24 hours. [1]
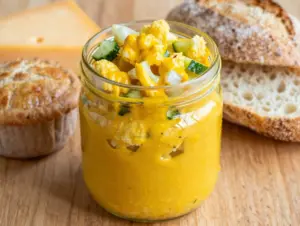
Color note: The turmeric gives the brine a beautiful golden-yellow color that coats the zucchini slices.
9. Pickled Garlic
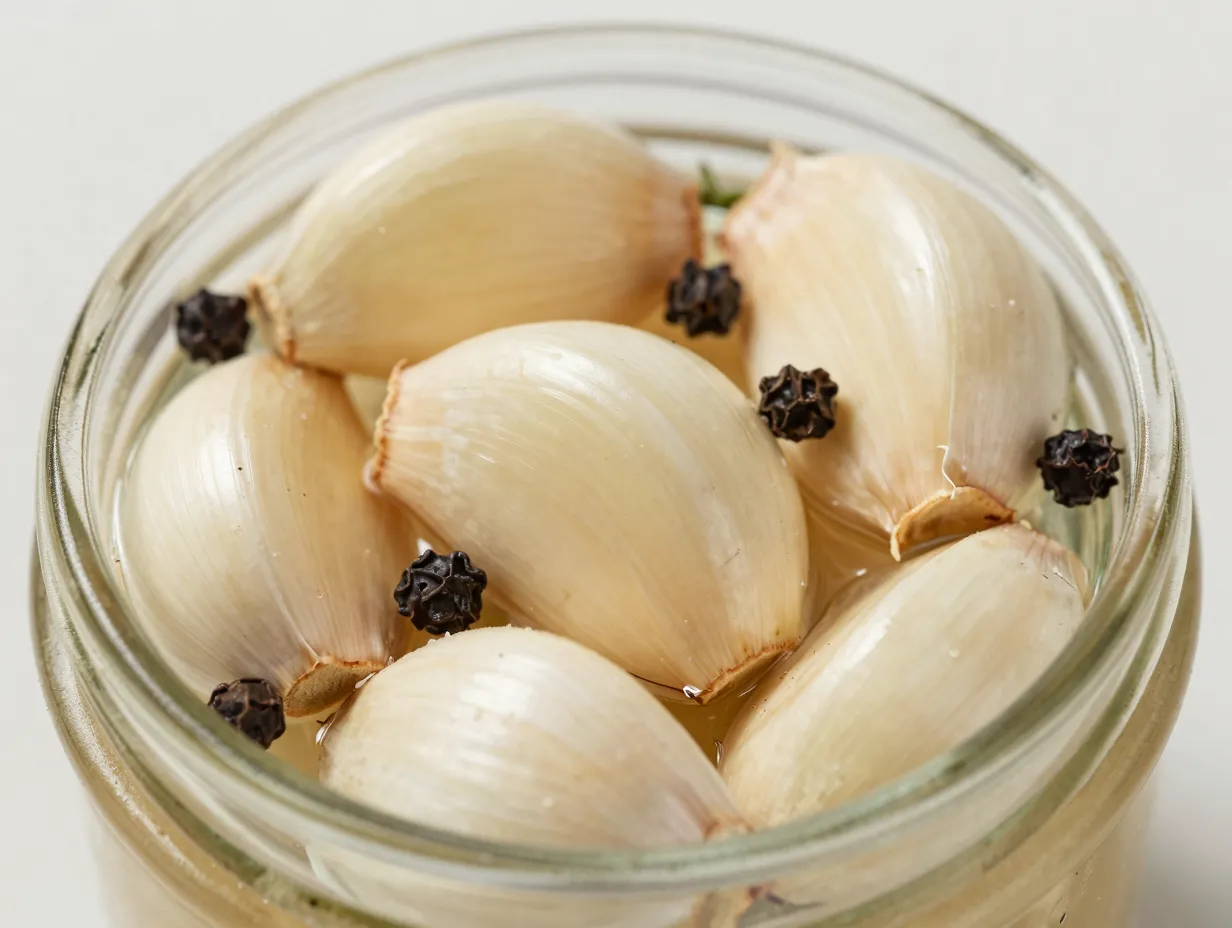
Pickled garlic is the sleeper hit of this list. It takes the longest to develop its full flavor, but the result is a mellow, slightly sweet garlic that is wonderful eaten straight from the jar, added to pasta, or spread on bread. [1]
What you need:
- 1 full head of garlic, cloves separated and peeled
- 1/2 cup white wine vinegar or apple cider vinegar
- 1/2 cup water
- 1 teaspoon kosher salt
- 1 teaspoon sugar
- 1/2 teaspoon black peppercorns
- 1 small sprig of fresh thyme or rosemary (optional)
Method: Pack the peeled garlic cloves into a small jar. Add peppercorns and herbs. Heat the brine until the salt and sugar dissolve, then pour over the garlic. Seal and refrigerate. [1]
Patience required: Pickled garlic needs at least one week in the refrigerator before the flavor fully develops. After two weeks, it is exceptional. The raw sharpness of fresh garlic mellows into something almost sweet and deeply savory.
Tips for Getting the Best Results From These Recipes
Making these 9 easy pickle recipes at home without any special equipment is straightforward, but a few consistent practices will improve every batch you make.
Use kosher salt, not table salt. Table salt contains iodine and anti-caking agents that can cloud your brine and affect flavor. Kosher salt dissolves cleanly and produces a clearer, better-tasting result. [3]
Keep your jars clean. You do not need to sterilize jars for refrigerator pickles, but they should be clean and dry before use. Run them through the dishwasher or wash thoroughly with hot soapy water. [6]
Do not overfill the brine. Leave about half an inch of space at the top of the jar to allow for slight expansion and to make sealing easier.
Label your jars. Write the date and contents on a piece of masking tape and stick it to the jar. Refrigerator pickles last two to four weeks, and it is easy to lose track of when you made a batch.
Taste as you go. After 24 hours, open a jar and taste a piece. If you want more acid, add a splash of vinegar. If you want more salt, dissolve a pinch in a tablespoon of warm water and add it to the jar. Refrigerator pickling is forgiving and adjustable. [2]
How Long Do Refrigerator Pickles Last?
| Recipe | Ready In | Refrigerator Shelf Life |
|---|---|---|
| Classic Dill Pickles | 24 hours | 3 to 4 weeks |
| Spicy Dill Pickles | 24 hours | 3 to 4 weeks |
| Quick Pickled Red Onions | 30 minutes | 2 to 3 weeks |
| Pickled Carrots | 24 hours | 3 weeks |
| Pickled Jalapeños | 4 hours | 3 weeks |
| Pickled Beets | 12 hours | 3 weeks |
| Pickled Green Beans | 48 hours | 3 to 4 weeks |
| Pickled Zucchini | 24 hours | 2 weeks |
| Pickled Garlic | 1 week | 4 to 6 weeks |
Common Mistakes to Avoid
Even with simple recipes, a few missteps can affect the final result. Here are the most common errors and how to avoid them.
Using the wrong cucumbers. Slicing cucumbers sold in most grocery stores are bred for fresh eating, not pickling. They have a higher water content and thinner skin, which means they turn soft quickly in brine. Seek out Kirby or Persian cucumbers whenever possible. [4]
Skipping the salt. Salt is not just a flavoring agent in pickling. It draws moisture out of the vegetables, which helps them stay crisp and allows the brine to penetrate more effectively. Do not reduce the salt below the amounts listed in these recipes. [3]
Using too little vinegar. The acidity of the brine is what preserves the vegetables and keeps them safe to eat. Stick to the ratios provided and use vinegar with at least 5% acidity, which is standard for white and apple cider vinegar sold in grocery stores. [6]
Opening the jar too soon. It is tempting to taste your pickles after just a few hours, but most of these recipes need at least 24 hours for the brine to fully penetrate the vegetables. Pickled garlic, in particular, needs a full week.
Conclusion
These 9 easy pickle recipes you can make at home without any special equipment represent one of the most accessible and rewarding skills in home cooking. You do not need a pressure canner, a water bath setup, or any specialized tools. You need a jar, a brine, and the willingness to wait a day or two.
Start with the classic refrigerator dill pickles or the quick pickled red onions if you want immediate results. Both are ready within 24 hours and will give you a clear sense of how satisfying the process is. Once you are comfortable with those, move on to the pickled beets or pickled garlic, which take more time but reward your patience with exceptional flavor.
Your actionable next steps:
- Choose one recipe from this list and buy the ingredients on your next grocery run.
- Set aside 15 minutes to prepare your first batch.
- Label the jar with today’s date and put it in the refrigerator.
- Taste it after 24 hours and adjust the brine to your preference.
- Once you have made two or three batches, start experimenting with your own spice combinations.
Pickling is a skill that builds on itself. Every batch teaches you something about flavor balance, texture, and timing. By the time you have worked through all nine of these recipes, you will have the confidence and knowledge to pickle almost any vegetable in your kitchen.
References
[1] Refrigerator Pickle Recipes Without Canning – https://homeandedibles.com/blog/refrigerator-pickle-recipes-without-canning/?utm_source=openai
[2] Quick Ferments No Equipment – https://allblogs.in/post/quick-ferments-no-equipment?utm_source=openai
[3] picklewiki – https://picklewiki.com/?p=167&utm_source=openai
[4] Easy 5 Minute Refrigerator Dill Pickles Recipe – https://www.agoudalife.com/easy-5-minute-refrigerator-dill-pickles-recipe/?utm_source=openai
[5] Spicy Refrigerator Dill Pickles – https://www.pinchmeimeating.com/spicy-refrigerator-dill-pickles/?utm_source=openai
[6] Refrigerator Dill Pickles – https://recipeideashop.com/refrigerator-dill-pickles/?utm_source=openai