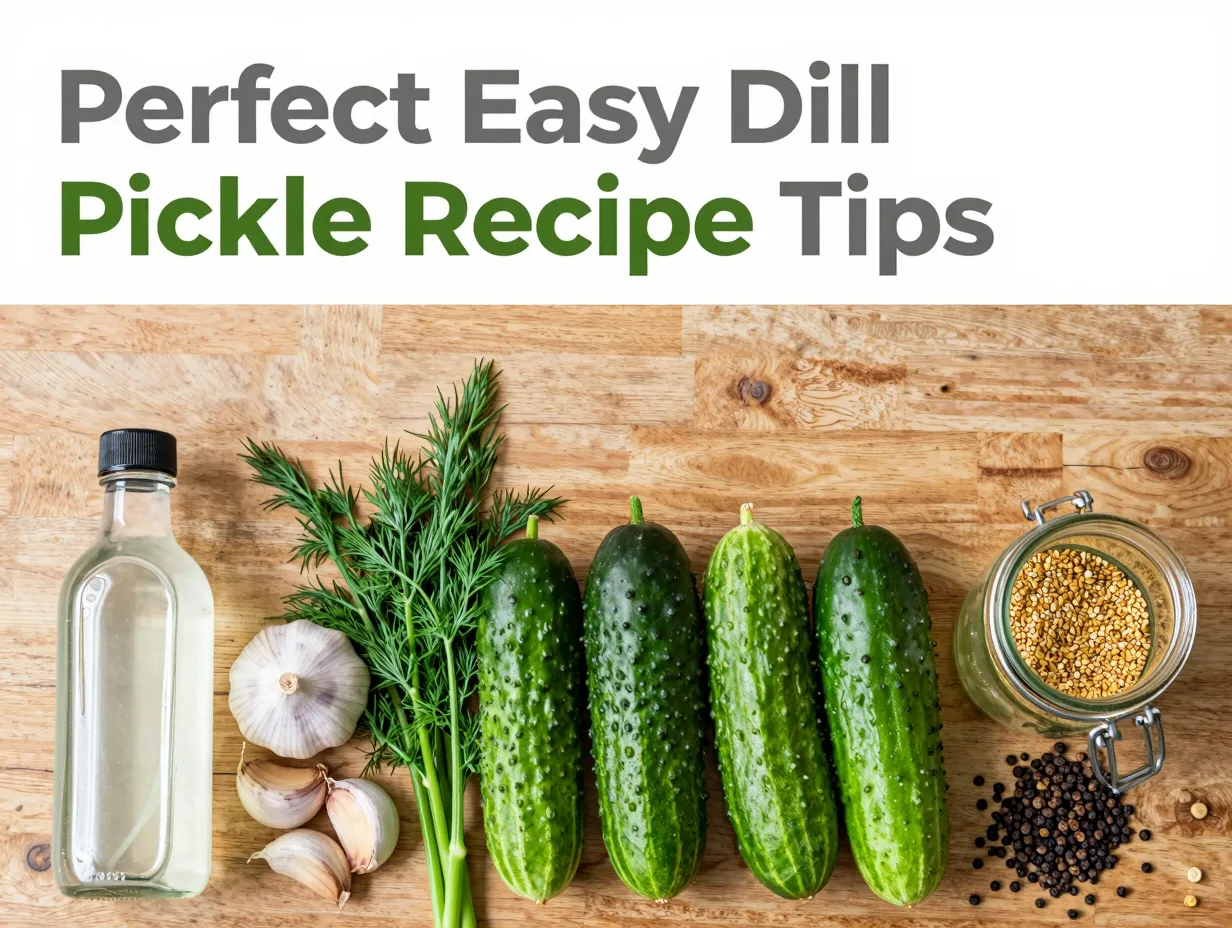
8 Tips for Perfecting an Easy Dill Pickle Recipe You’ll Make Again and Again
The average American eats roughly 8.5 pounds of pickles every year, yet most home cooks have never made a single jar from scratch. That gap between consumption and creation is a missed opportunity, because a homemade dill pickle beats anything from a grocery store shelf in ways that are hard to overstate once you taste the difference. If you have been searching for a reliable, repeatable method, these 8 tips for perfecting an easy dill pickle recipe you’ll make again and again will close that gap for good.
Disclosure: This post contains affiliate links. As an Amazon Associate, we earn from qualifying purchases, and at no extra cost to you.
I made my first batch of refrigerator dill pickles on a rainy Saturday afternoon with cucumbers from a farmers market and a recipe scribbled on a notepad. They were decent. The second batch, after I learned what I was actually doing wrong, was extraordinary. The difference came down to a handful of specific, learnable techniques, the same ones I am sharing here.
Key Takeaways
- Choosing the right cucumber variety is the single most important factor in achieving a crisp, satisfying pickle
- Trimming the blossom end and soaking cucumbers in ice water before pickling dramatically improves texture
- Brine temperature and salt-to-vinegar ratios determine both flavor and food safety
- Fresh aromatics, dill, garlic, and whole spices, create depth that dried substitutes cannot replicate
- Patience during the resting period is non-negotiable; flavors need time to fully develop inside the jar
Why Getting the Basics Right Matters More Than Any Single Tip
Before diving into the numbered list, it is worth understanding why dill pickle recipes fail. Most problems trace back to one of three root causes: wrong cucumber variety, improperly balanced brine, or skipped prep steps. A soft, hollow, or bitter pickle almost always results from ignoring at least one of these fundamentals.
The good news is that dill pickling is genuinely forgiving once you understand the logic behind each step. These are not arbitrary rules. Every tip below has a clear reason behind it, and knowing that reason helps you adapt when something unexpected happens in your kitchen.
These 8 tips for perfecting an easy dill pickle recipe you’ll make again and again are organized in the order you will actually use them, from selecting produce at the market to pulling a finished jar from the refrigerator.
8 Tips for Perfecting an Easy Dill Pickle Recipe You’ll Make Again and Again
1. Choose the Right Cucumber Variety
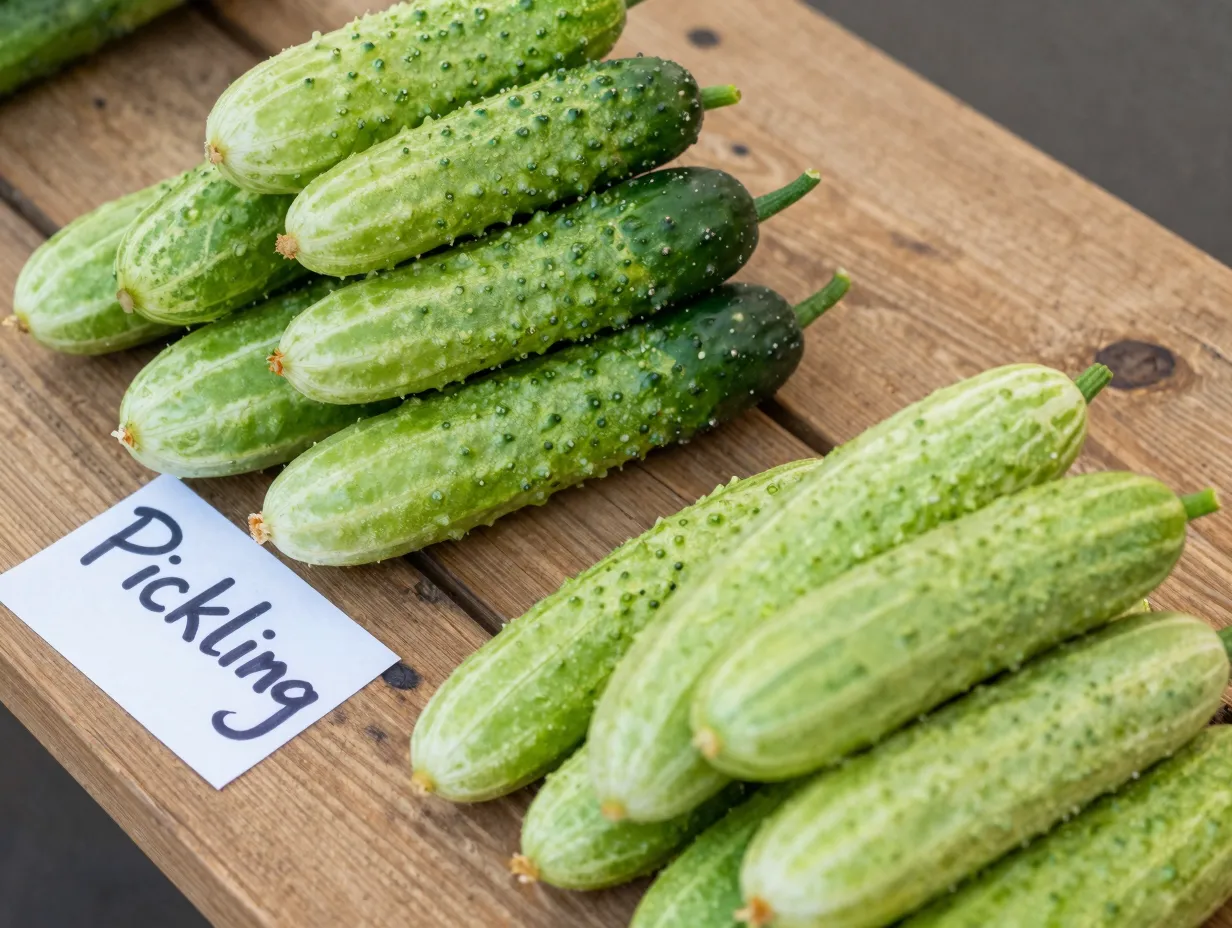
Not all cucumbers are created equal for pickling. Standard slicing cucumbers, the long, smooth ones sold at most grocery stores, have a high water content and thin cell walls that turn mushy in brine within days. The right choice is a Kirby cucumber, sometimes labeled as a “pickling cucumber.”
Kirby cucumbers have bumpy skin, a firm interior, and lower water content. These characteristics help them hold their crunch through the entire pickling process [1]. Persian cucumbers are a strong second option. They are smaller, have thin skin, and fit neatly into wide-mouth pint jars without much trimming [1].
What to look for when buying:
- Firm to the touch with no soft spots
- Uniformly sized (3 to 4 inches is ideal for whole pickles)
- Bright green color with no yellowing
- Purchased as fresh as possible, same-day farmers market cucumbers outperform week-old grocery store ones
If you can only find slicing cucumbers, cut them into spears or rounds rather than leaving them whole. Smaller pieces tolerate the texture limitations of that variety better.
2. Always Trim the Blossom End
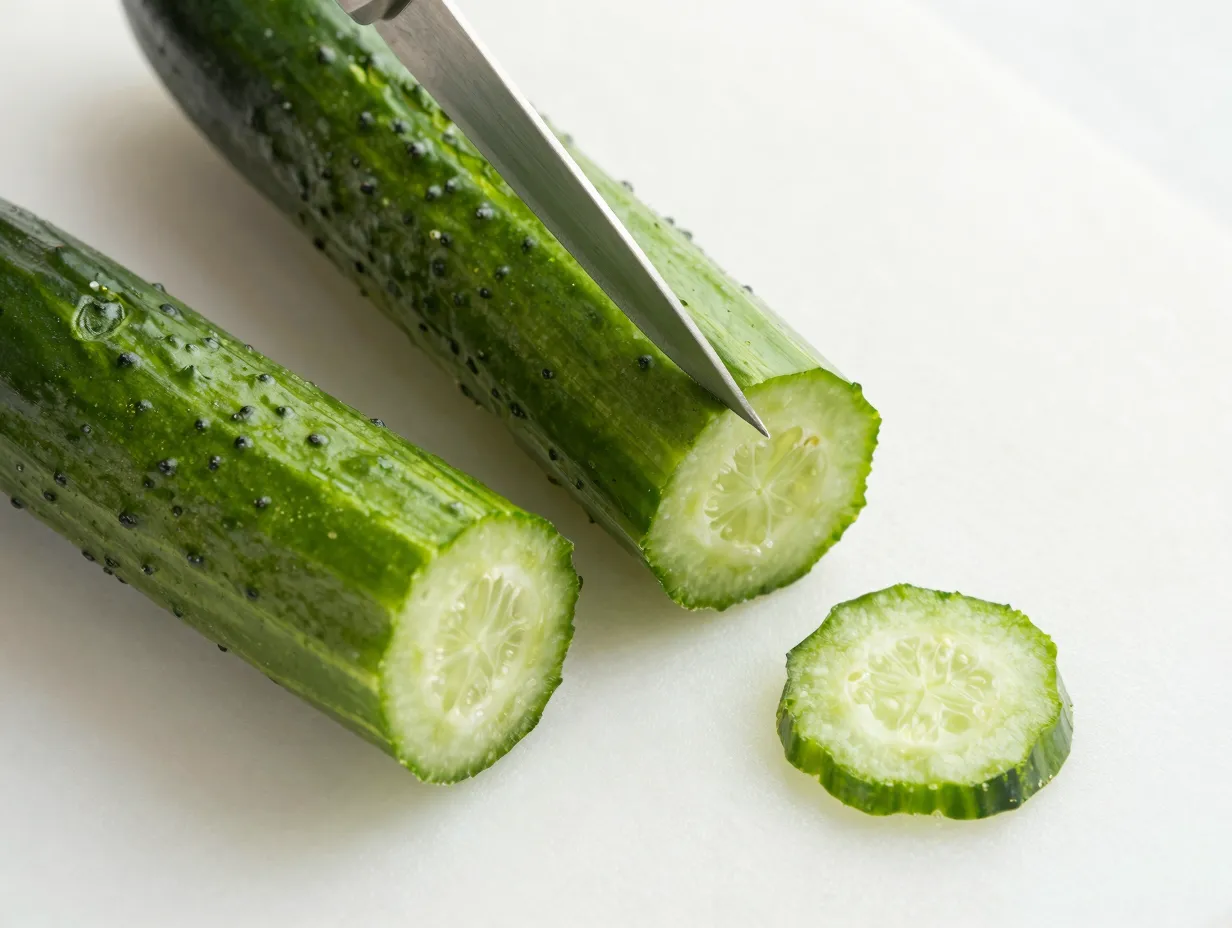
This step takes about 30 seconds per batch and makes a measurable difference in texture. The blossom end of a cucumber, the end opposite the stem, contains naturally occurring enzymes that continue to break down cell walls even after harvest [2].
When those enzymes come into contact with brine, they accelerate softening. The result is a pickle that starts out acceptable but turns disappointingly mushy within a week.
The fix is simple: slice off at least 1/8 inch from the blossom end of every cucumber before packing jars [2]. If you are unsure which end is the blossom end, trim both ends. You lose almost nothing in volume and gain significantly in crunch.
“The blossom end trim is the single most overlooked step in home pickle recipes. It costs nothing and saves everything.”, A lesson I learned the hard way after my first batch went soft by day four.
3. Pre-Soak Cucumbers in Ice Water
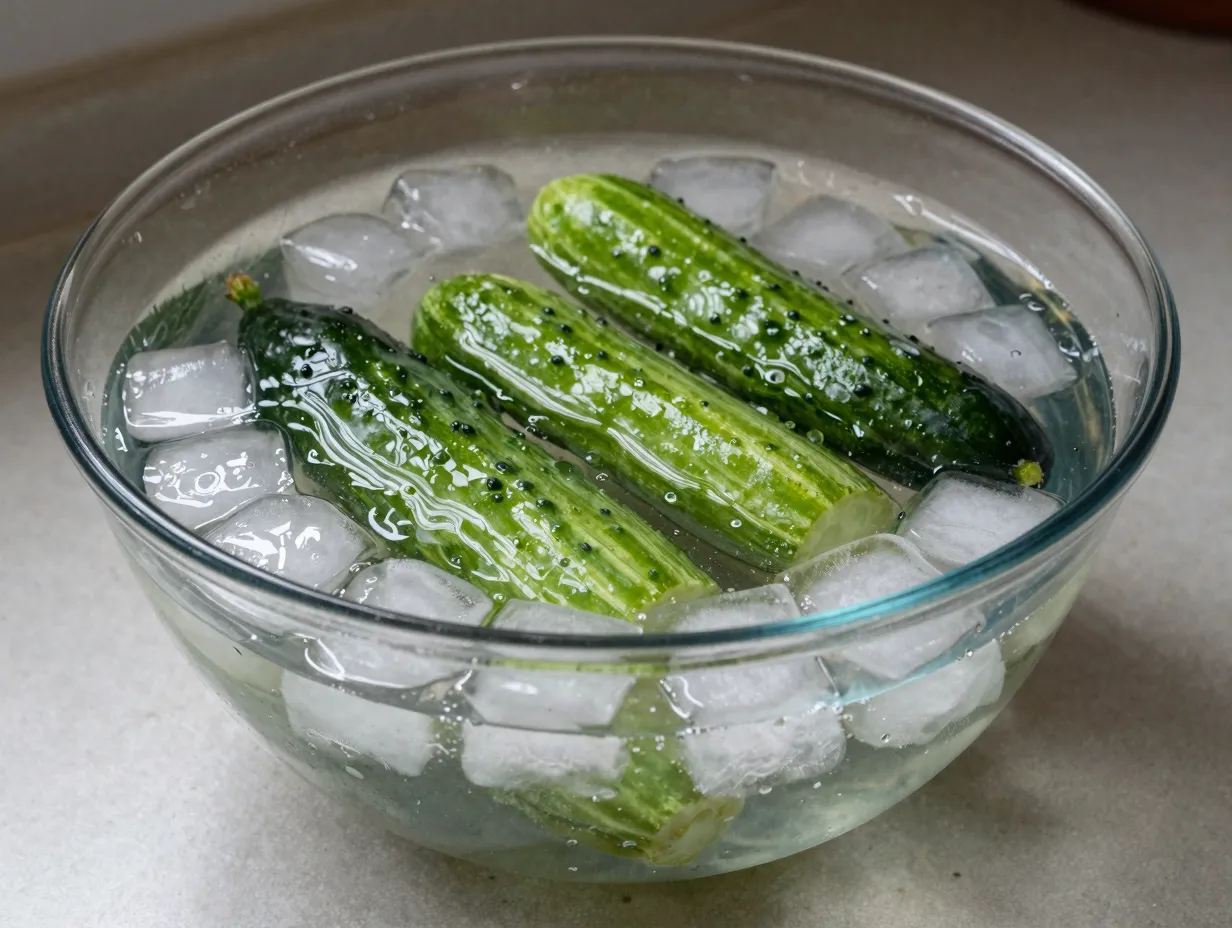
Even freshly picked cucumbers lose a small amount of moisture between harvest and your kitchen counter. That moisture loss translates directly into less crisp pickles. A simple ice water soak before packing jars rehydrates the cucumbers at the cellular level and firms them up considerably [2].
How to do it correctly:
- Fill a large bowl with cold water and add two to three trays of ice
- Submerge the trimmed cucumbers completely
- Soak for a minimum of 30 minutes, up to 2 hours
- Pat dry before packing into jars
Do not skip the drying step. Excess water on the cucumbers dilutes your brine slightly and can throw off the salt concentration, which matters both for flavor and for the safety of longer-term refrigerator storage.
4. Use Fresh Dill and Whole Garlic Cloves
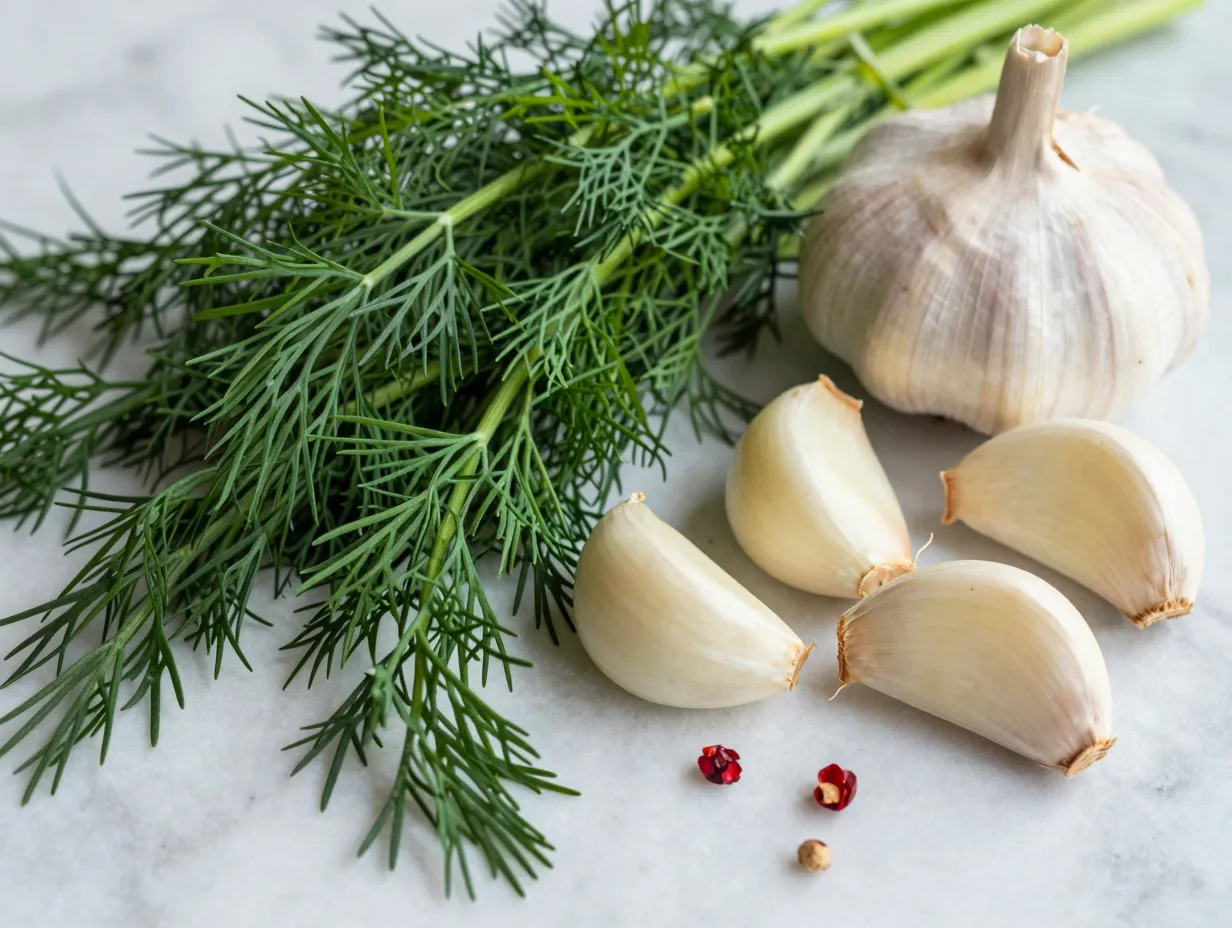
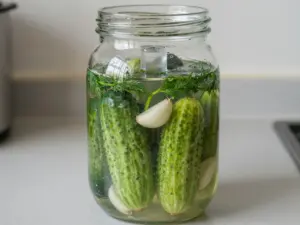
Dried dill is a reasonable pantry staple for cooking, but it produces a noticeably flat, one-dimensional flavor in pickles. Fresh dill, specifically the feathery fronds and, ideally, the flowering dill heads, releases aromatic oils into the brine that dried dill simply cannot match [3].
For each quart jar, use:
| Ingredient | Quantity |
|---|---|
| Fresh dill sprigs or heads | 2 to 3 large sprigs |
| Garlic cloves, peeled | 3 to 4 whole cloves |
| Red pepper flakes (optional) | 1/4 teaspoon |
Whole garlic cloves infuse the brine slowly and evenly [3]. Minced or pressed garlic releases too much allicin too quickly, which can create a sharp, acrid flavor rather than the mellow garlic undertone that defines a great dill pickle.
Place half the dill and garlic on the bottom of the jar before packing cucumbers, then tuck the remaining aromatics along the sides and on top. This ensures even flavor distribution throughout the jar.
5. Prepare the Brine at the Right Temperature
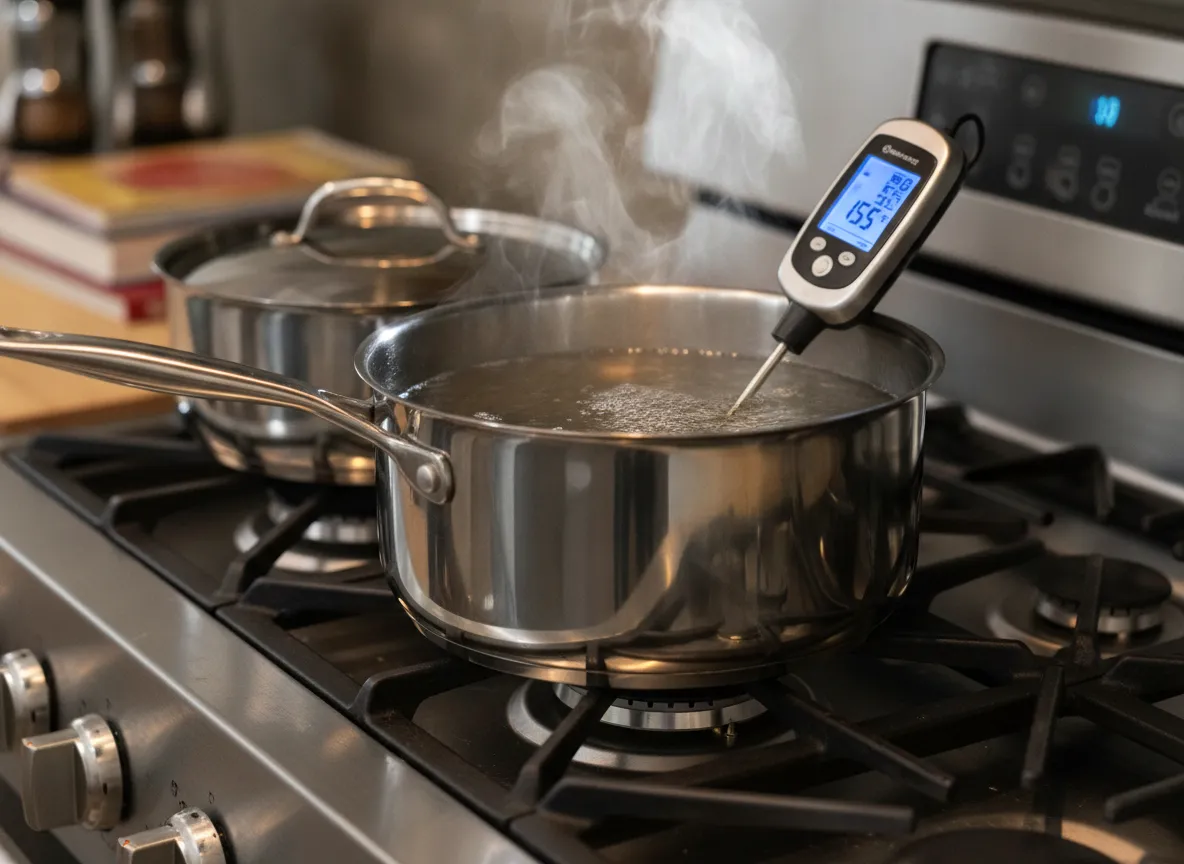
Brine is the heart of any pickle recipe. The standard ratio for dill pickle brine is:
- 1 cup white vinegar (5% acidity)
- 1 cup water
- 1 tablespoon kosher salt (non-iodized)
- 1 teaspoon sugar (optional, for balance)
The critical mistake most beginners make is boiling the brine aggressively before pouring it over the cucumbers. High heat is not necessary and is actively counterproductive [3]. You only need to heat the mixture until the salt and sugar fully dissolve, typically around 150 to 160 degrees Fahrenheit. Once dissolved, remove from heat immediately.
Pouring near-boiling brine over packed cucumbers begins cooking them slightly, which softens the cell walls before fermentation or refrigeration can do their job. Warm brine (not boiling) is sufficient to dissolve the solids and still penetrate the cucumbers effectively.
Use white distilled vinegar as your default. Apple cider vinegar adds a pleasant fruity note but can discolor lighter-colored cucumbers and produces a slightly less sharp flavor profile. Rice vinegar is too mild. Whatever you choose, confirm the bottle states 5% acidity, this is the standard for safe home pickling.
6. Add Whole Pickling Spices for Depth
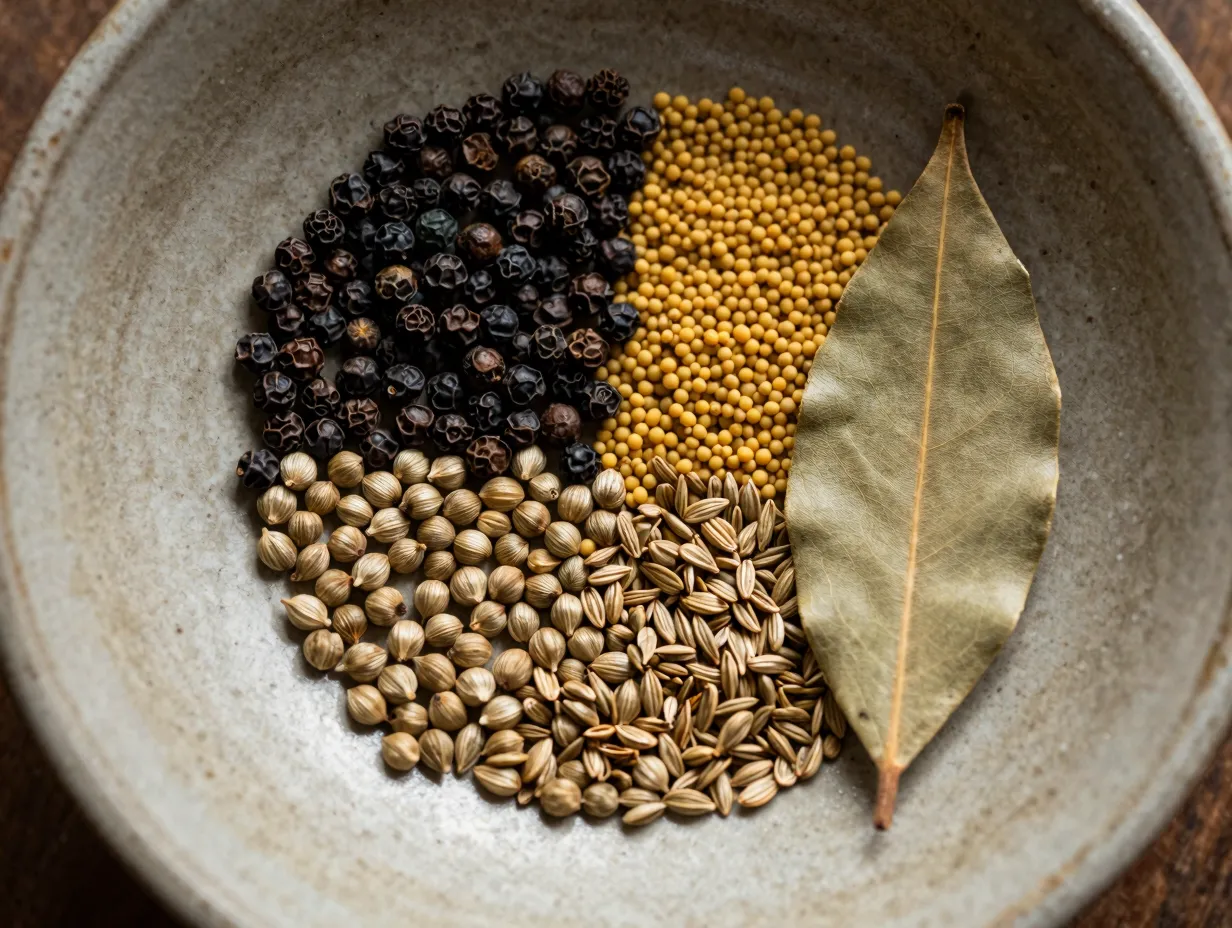
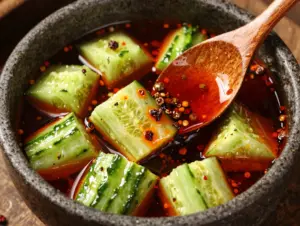
A basic dill pickle brine produces a clean, bright flavor. A brine with whole spices produces something genuinely complex, the kind of pickle that makes people stop mid-bite and ask what you put in it [4].
Recommended spice additions per quart jar:
- 1 teaspoon whole black peppercorns
- 1/2 teaspoon mustard seeds (yellow or brown)
- 1/2 teaspoon coriander seeds
- 1 small dried bay leaf
- Optional: 1/4 teaspoon celery seed for an old-fashioned deli flavor
These spices should go directly into the jar, not just the brine pot [4]. When spices sit inside the jar with the cucumbers, they continue to release flavor compounds slowly over the resting period. Adding them only to the brine and then straining them out produces a noticeably weaker result.
Avoid pre-ground spices. Ground spices cloud the brine, can create bitter off-notes, and distribute unevenly. Whole spices are worth the minor extra cost.
7. Sterilize Jars and Maintain Strict Cleanliness
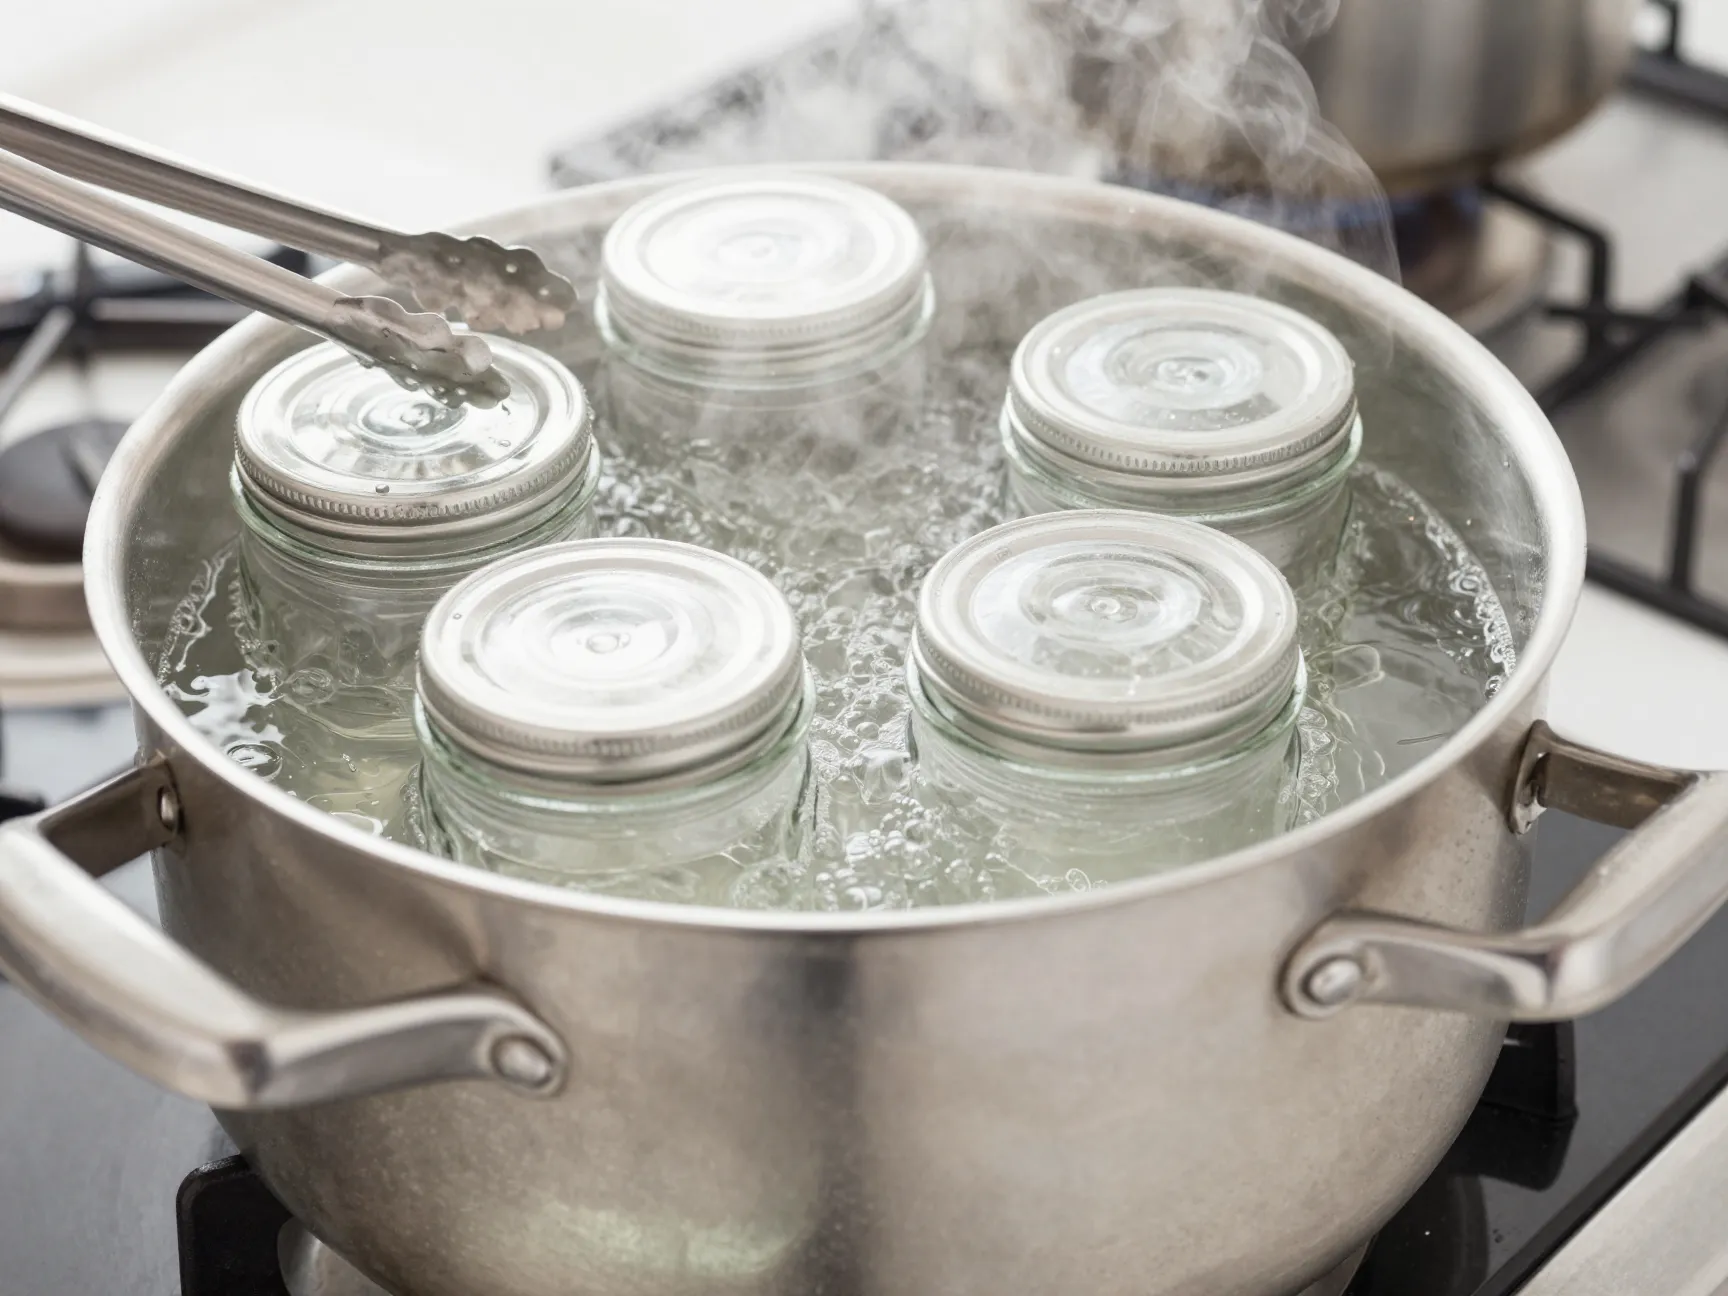
This tip is about both safety and longevity. Contaminated jars introduce bacteria and wild yeasts that compete with your brine’s preserving chemistry, producing off-flavors, cloudiness, or spoilage [5].
Sterilization process for refrigerator pickles:
- Wash jars and lids in hot, soapy water and rinse thoroughly
- Place jars in a pot of boiling water for 10 minutes
- Remove with tongs and allow to air-dry on a clean towel, do not wipe dry, as towels can reintroduce bacteria
- Use lids that are new or in excellent condition; old lids with worn seals are a common source of contamination
For refrigerator pickles, which are not shelf-stable and must be kept cold, full water-bath canning sterilization is not strictly required, but it is still best practice [5]. Clean jars extend the life of your pickles from two to three weeks to a full two months in the refrigerator.
Additional cleanliness habits:
- Wash hands thoroughly before handling cucumbers or jars
- Use stainless steel or glass utensils rather than reactive metals like aluminum
- Wipe jar rims with a clean damp cloth before sealing to ensure a proper lid seal
8. Seal Tightly and Respect the Resting Period
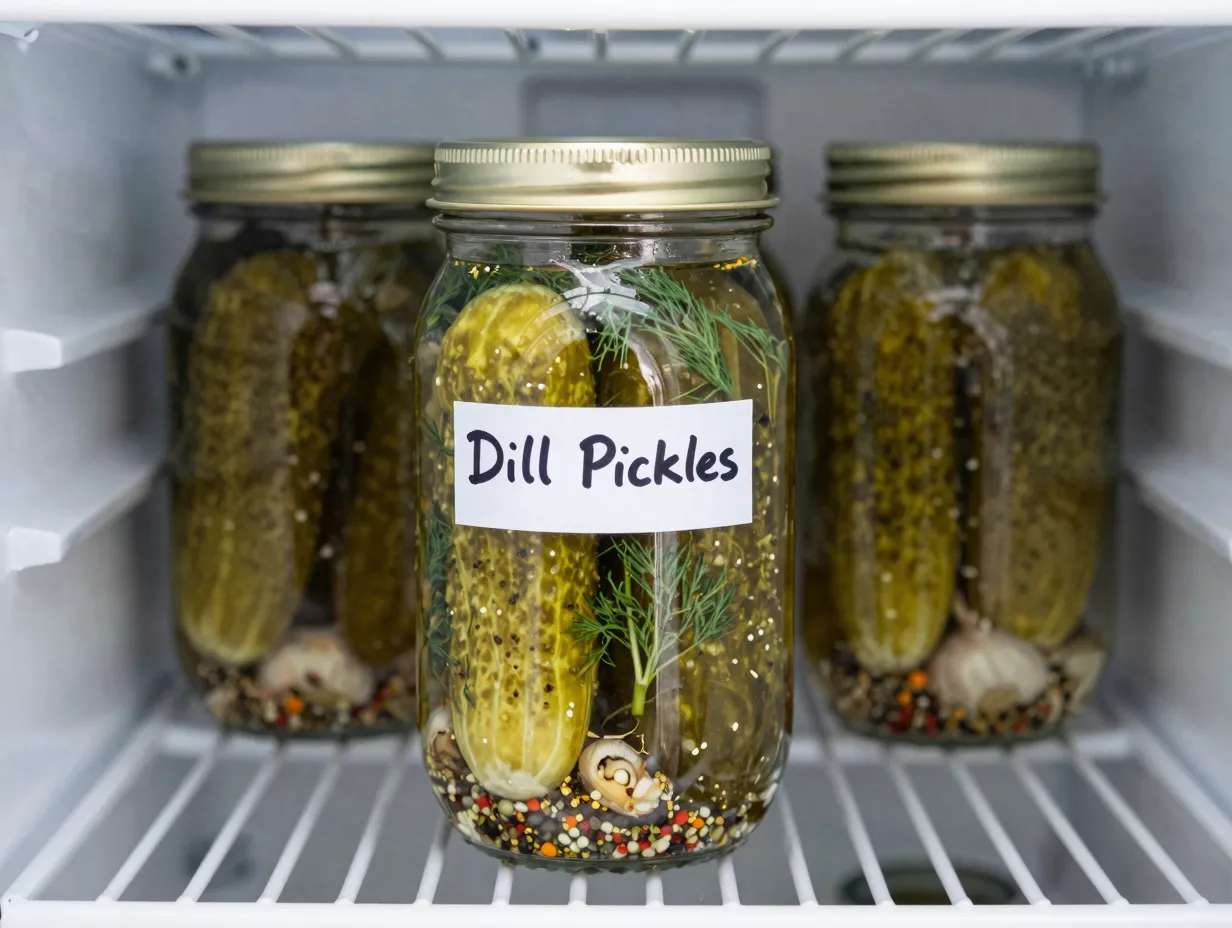
This is the tip that requires the most discipline, because the reward is invisible until you open the jar. Freshly made refrigerator dill pickles taste raw and unbalanced, the vinegar is sharp, the garlic is harsh, and the cucumber flavor dominates everything [3].
After 24 hours, the pickles are edible. After 5 to 6 days, they are genuinely excellent [3]. The brine penetrates the cucumber flesh gradually, the aromatics mellow and integrate, and the overall flavor becomes cohesive and rounded.
Resting timeline:
| Rest Period | Flavor Profile |
|---|---|
| 24 hours | Lightly pickled, still very cucumber-forward |
| 3 days | Balanced, noticeable dill and garlic |
| 5 to 6 days | Fully developed, complex, deeply flavored |
| 2 weeks | Maximum flavor intensity; still crisp if prep was correct |
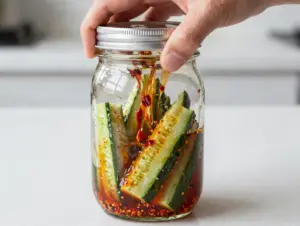
Seal jars finger-tight, snug but not overtightened. Overtightening can warp the lid seal on certain jar types and make the jar difficult to open later. Store upright in the coldest part of your refrigerator, typically the back of the bottom shelf.
Label each jar with the date you made it. This habit takes five seconds and prevents the guesswork of trying to remember whether a jar is two days old or two weeks old.
Common Mistakes and How to Fix Them
Even with the best intentions, batches sometimes go wrong. Here is a quick reference for the most frequent problems:
| Problem | Likely Cause | Fix for Next Batch |
|---|---|---|
| Soft, mushy texture | Blossom end not trimmed; brine too hot | Trim blossom end; cool brine before pouring |
| Hollow center | Cucumbers too large or old | Use smaller, fresher cucumbers |
| Cloudy brine | Ground spices used; starch from cucumbers | Switch to whole spices; normal if no off-smell |
| Too salty or too sour | Incorrect brine ratio | Measure precisely; adjust ratio by 10% increments |
| Weak dill flavor | Dried dill used; insufficient resting time | Use fresh dill; wait full 5 to 6 days |
Scaling the Recipe and Storing Multiple Batches
One of the best things about mastering these 8 tips for perfecting an easy dill pickle recipe you’ll make again and again is that the method scales linearly. Double the batch, double every ingredient proportionally, and the results are identical. I regularly make four to six quart jars at once in late summer when Kirby cucumbers are at peak availability and lowest cost.
Storage notes for multiple jars:
- Refrigerator pickles keep for up to 2 months when properly made and sealed
- Do not freeze, freezing destroys the crisp texture irreversibly
- If gifting jars, label them clearly with the date made and a “keep refrigerated” note
- Once opened, consume within 2 to 3 weeks for best quality
For those interested in shelf-stable canned pickles, the same tips apply during preparation, but the sealing process requires a proper water-bath canning method with tested, approved recipes from sources like the USDA or the National Center for Home Food Preservation. Refrigerator pickles are a safer starting point for beginners.
Conclusion
The path from mediocre store-bought pickles to a jar of crisp, deeply flavored homemade dill pickles is shorter than most people expect. These 8 tips for perfecting an easy dill pickle recipe you’ll make again and again cover every variable that actually matters: cucumber selection, blossom end trimming, ice water soaking, fresh aromatics, brine temperature, whole spice additions, jar sterilization, and patient resting.
Start with a single quart jar this weekend. Use Kirby cucumbers, trim both ends to be safe, soak them in ice water for an hour, pack with fresh dill and whole garlic, pour warm (not boiling) brine over everything, add your whole spices, seal, and wait six days. The result will be better than anything you can buy, and you will understand exactly why each step matters.
Actionable next steps:
- Visit a farmers market or grocery store this week and buy one pound of Kirby cucumbers
- Gather wide-mouth quart mason jars, white vinegar, kosher salt, fresh dill, and garlic
- Follow the eight steps in order, taking notes on your specific ratios and timing
- Taste at 24 hours, 3 days, and 6 days to understand how flavor develops
- Adjust spice levels on your second batch based on what you learned from the first
Once you have made two or three batches, the process becomes intuitive. You will find yourself adjusting garlic levels, experimenting with red pepper flakes, or trying dill heads instead of fronds. That is exactly where you want to be, confident enough to make the recipe your own.
References
[1] How To Make Dill Pickles Cooking Lessons From The Kitchn 193350 – https://www.thekitchn.com/how-to-make-dill-pickles-cooking-lessons-from-the-kitchn-193350?utm_source=openai
[2] Refrigerator Pickles – https://www.novarecipes.com/refrigerator-pickles/?utm_source=openai
[3] Dill Pickle Recipe – https://www.thecookingtwins.com/dill-pickle-recipe/?utm_source=openai
[4] Dill Pickles – https://www.inspiredtaste.net/59484/dill-pickles/?utm_source=openai
[5] Dill Pickles – https://www.therusticelk.com/dill-pickles/?utm_source=openai