9 Secrets to the Perfect Kosher Dill Pickle Recipe That Tastes Better Than Store-Bought
The average American eats roughly 9 pounds of pickles per year, yet most of those pickles come from a jar that has never seen a single day of real fermentation. That gap between what people eat and what they could be eating is exactly why mastering the 9 secrets to the perfect kosher dill pickle recipe that tastes better than store-bought is worth every minute of effort.
Disclosure: This post contains affiliate links. As an Amazon Associate, we earn from qualifying purchases, and at no extra cost to you.
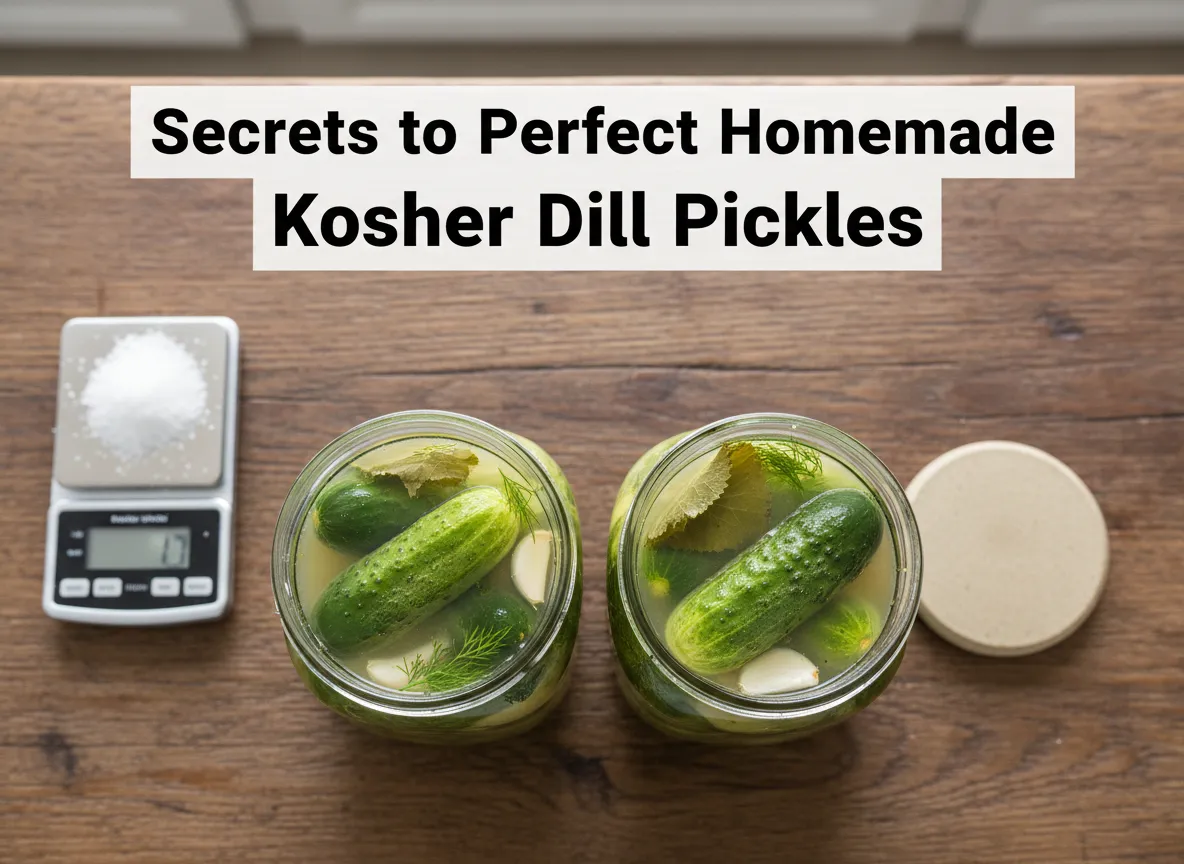
I grew up watching my grandmother pull a heavy ceramic crock out from under her kitchen counter every summer. The smell alone, garlicky, briny, faintly sour, was enough to stop anyone mid-conversation. Those pickles had a crunch that store-bought versions simply cannot replicate, and a depth of flavor that no vinegar shortcut can fake. After years of testing, failing, and refining, I have finally cracked the code. The 9 secrets to the perfect kosher dill pickle recipe that tastes better than store-bought come down to science, patience, and a handful of techniques that most home cooks overlook entirely.
Key Takeaways
- True kosher dill pickles rely on lacto-fermentation, not vinegar, for their signature tangy depth
- Salt concentration between 3% and 5% by weight is the single most critical variable in the brine
- Cucumber variety, freshness, and blossom-end removal directly determine final crunch
- Submersion, temperature control, and gas management during fermentation prevent spoilage
- Flavor layering through garlic, dill, and spices separates great pickles from merely good ones
What Makes a Kosher Dill Pickle Actually “Kosher”
Before diving into the secrets themselves, it helps to understand what “kosher” actually means in the context of pickles. The term does not refer to religious certification in most traditional recipes. Instead, it refers to the New York deli tradition of using garlic as a primary flavoring agent in a salt-brine ferment, no vinegar involved [3]. These are lacto-fermented pickles, meaning beneficial bacteria naturally present on the cucumber skin convert sugars into lactic acid, producing that characteristic sour flavor over several days.
This distinction matters enormously. Vinegar pickles are fast and shelf-stable, but they lack the probiotic complexity and nuanced flavor that fermentation creates. When people say a homemade pickle tastes better than anything from the store, they almost always mean a fermented kosher dill, not a quick-pack vinegar version.
The 9 Secrets to the Perfect Kosher Dill Pickle Recipe That Tastes Better Than Store-Bought
1. Choose the Right Cucumber Variety
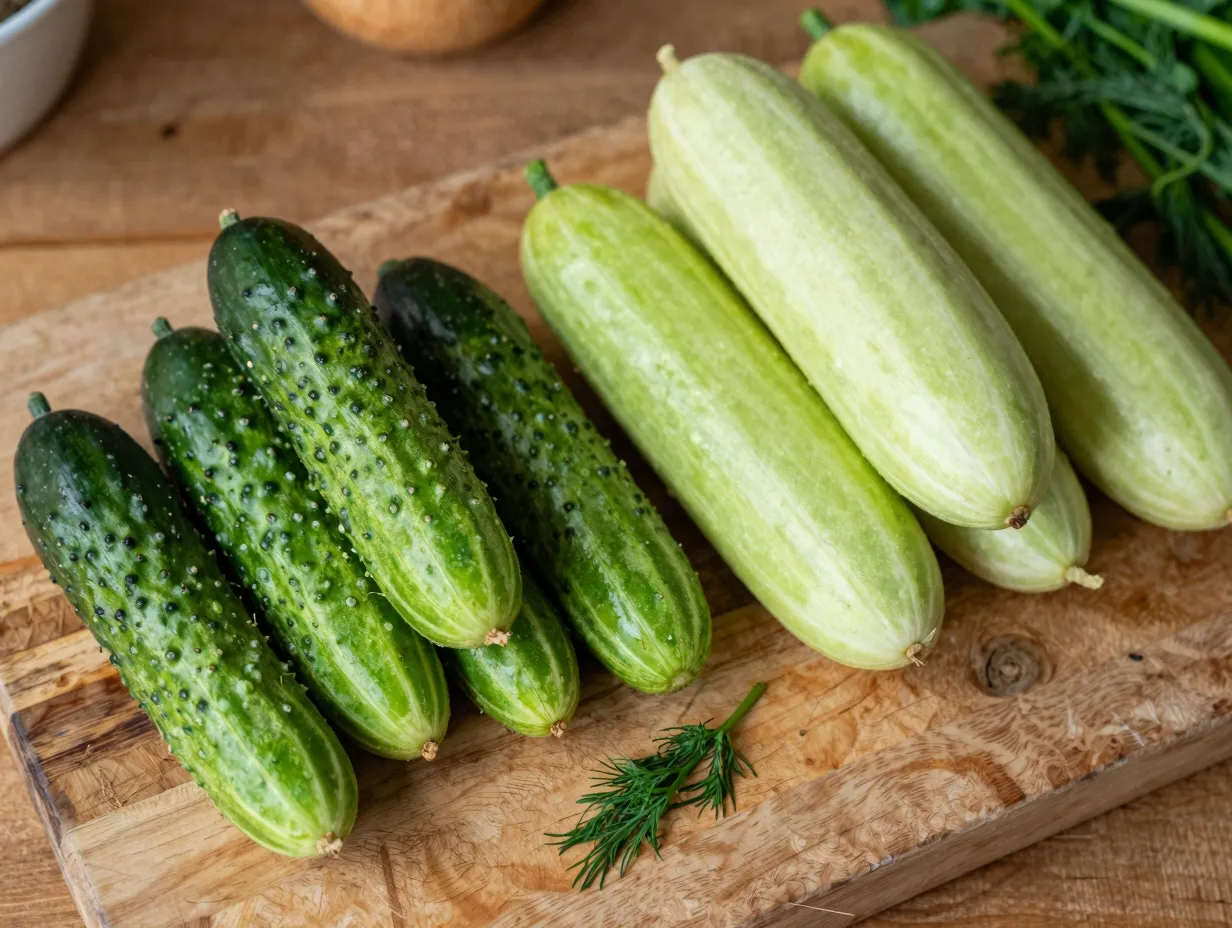
Not all cucumbers are created equal when it comes to pickling. Standard slicing cucumbers, the long, smooth ones at most grocery stores, have thin skins, high water content, and soft flesh that turns mushy during fermentation. The correct choice is a Kirby cucumber or a dedicated pickling variety like National Pickling, Calypso, or Boston Pickling [7].
Pickling cucumbers have:
- Thicker, bumpier skins that hold up during fermentation
- Drier flesh with smaller seed cavities
- A natural crispness that survives days in brine
Freshness is equally important. Cucumbers that have been sitting in a refrigerator for more than 48 hours begin losing the cell structure that creates crunch. Farmers market cucumbers picked that morning are the gold standard. If you grow your own, harvest them when they reach 3 to 4 inches in length for the best texture-to-flavor ratio [4].
2. Remove the Blossom End Before Brining
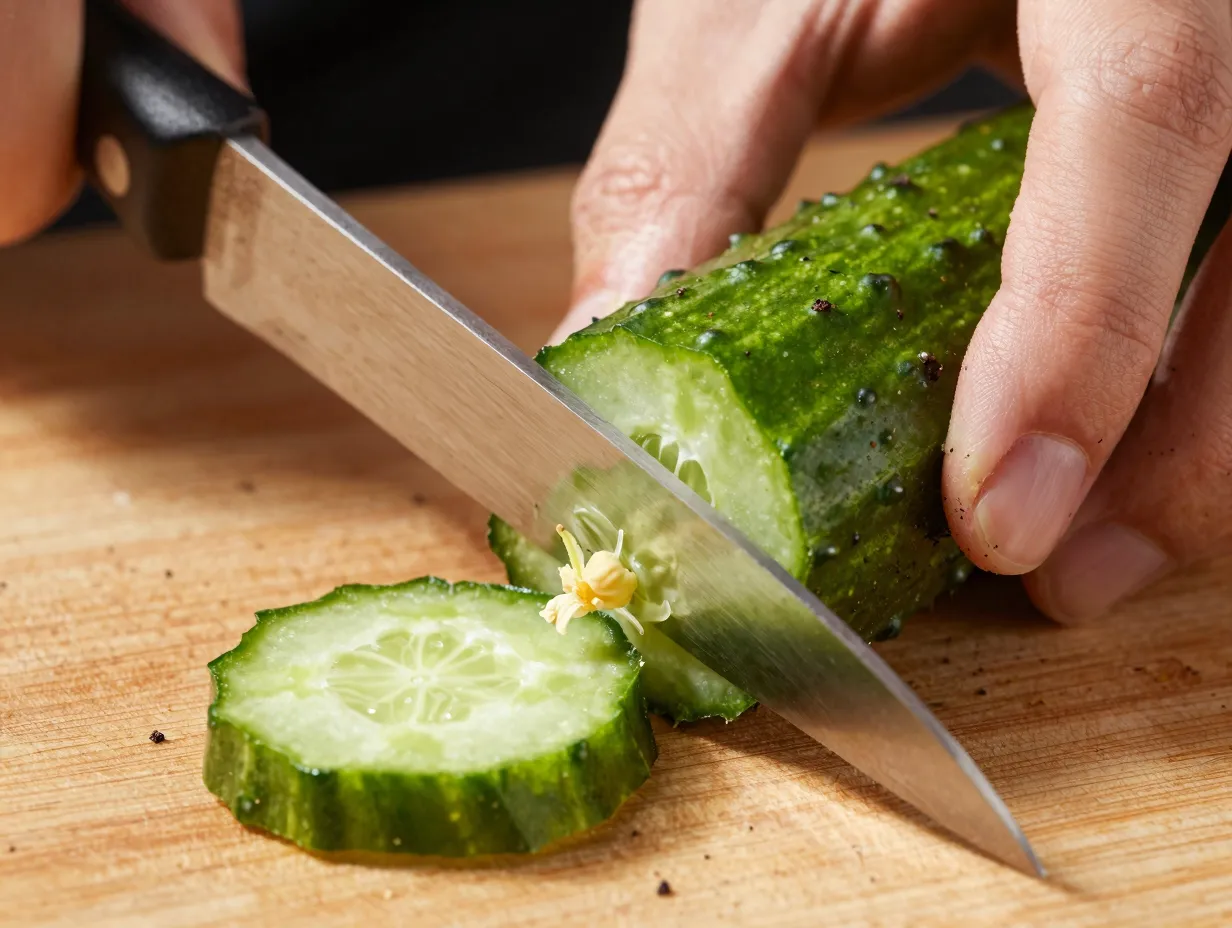
This is one of the most overlooked steps in any kosher dill pickle recipe, and skipping it is the primary reason homemade pickles turn soft. The blossom end of a cucumber, the end opposite the stem, contains enzymes that actively break down pectin during fermentation [10]. Pectin is the structural compound responsible for crunch.
Removing a thin slice (about 1/16 of an inch) from the blossom end neutralizes this enzymatic activity. It takes about ten seconds per cucumber and makes a dramatic difference in the final texture. The stem end is fine to leave intact or trim lightly for aesthetics.
“That tiny slice off the blossom end is the single easiest thing most home picklers forget, and it costs them their crunch every time.”
3. Master the Salt Concentration
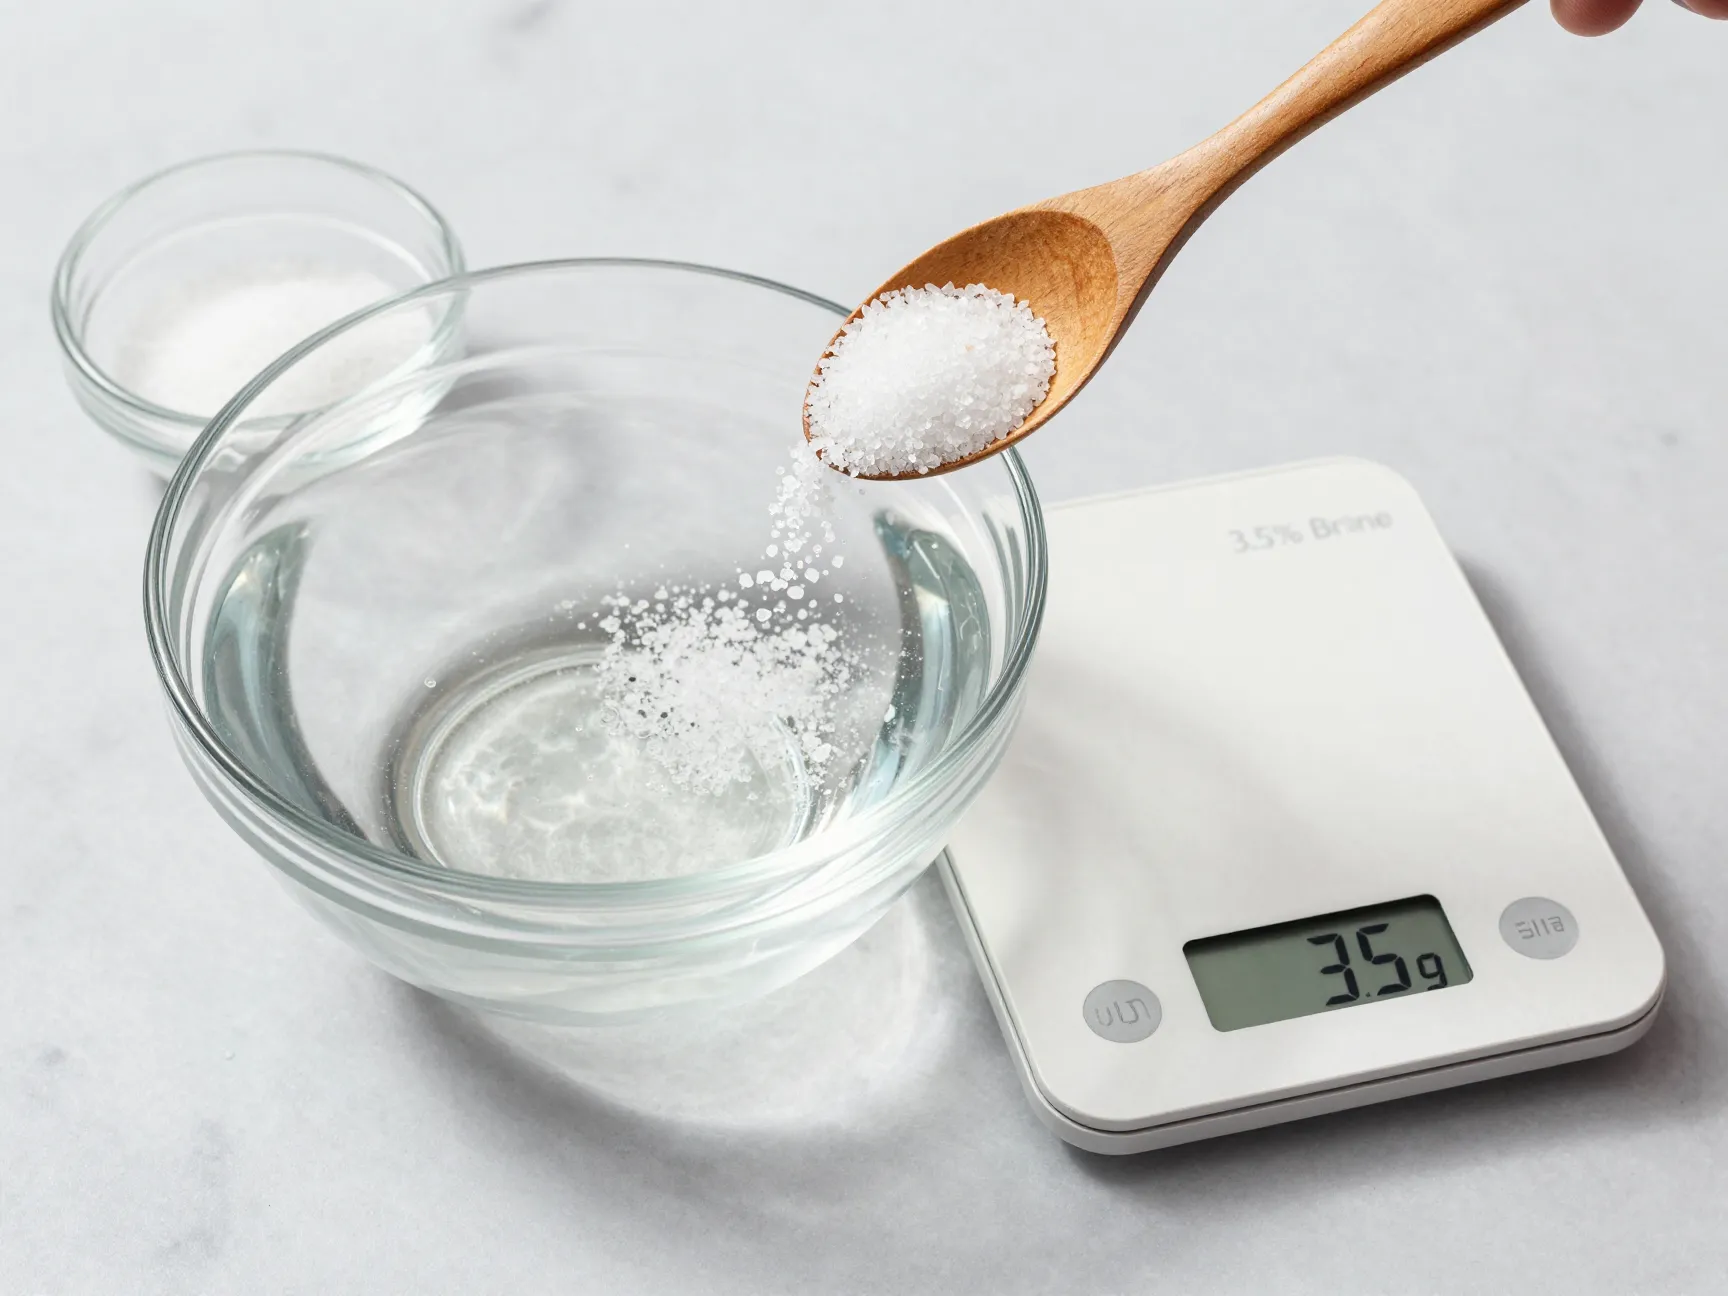
Salt is not just a flavoring agent in fermented kosher dills, it is the control mechanism for the entire fermentation process. Too little salt and harmful bacteria outcompete the beneficial lactobacillus strains, leading to mushy, off-flavored, or even dangerous pickles. Too much salt and fermentation stalls entirely, leaving you with salty cucumbers rather than sour pickles [1].
The correct range is 3% to 5% brine by weight. Here is a simple reference table:
| Water Volume | Salt for 3% Brine | Salt for 3.5% Brine | Salt for 5% Brine |
|---|---|---|---|
| 1 liter (1000g) | 30g | 35g | 50g |
| 2 liters (2000g) | 60g | 70g | 100g |
| 4 liters (4000g) | 120g | 140g | 200g |
Always measure salt by weight, not volume. Different salts (kosher, sea salt, pickling salt) have different densities, so a tablespoon of one is not equivalent to a tablespoon of another. A kitchen scale removes all guesswork [6].
Use non-iodized salt only. Iodine inhibits the lactobacillus bacteria you need for fermentation and can cause brine to turn cloudy and bitter.
4. Build a Flavor Base That Goes Beyond Basic Dill
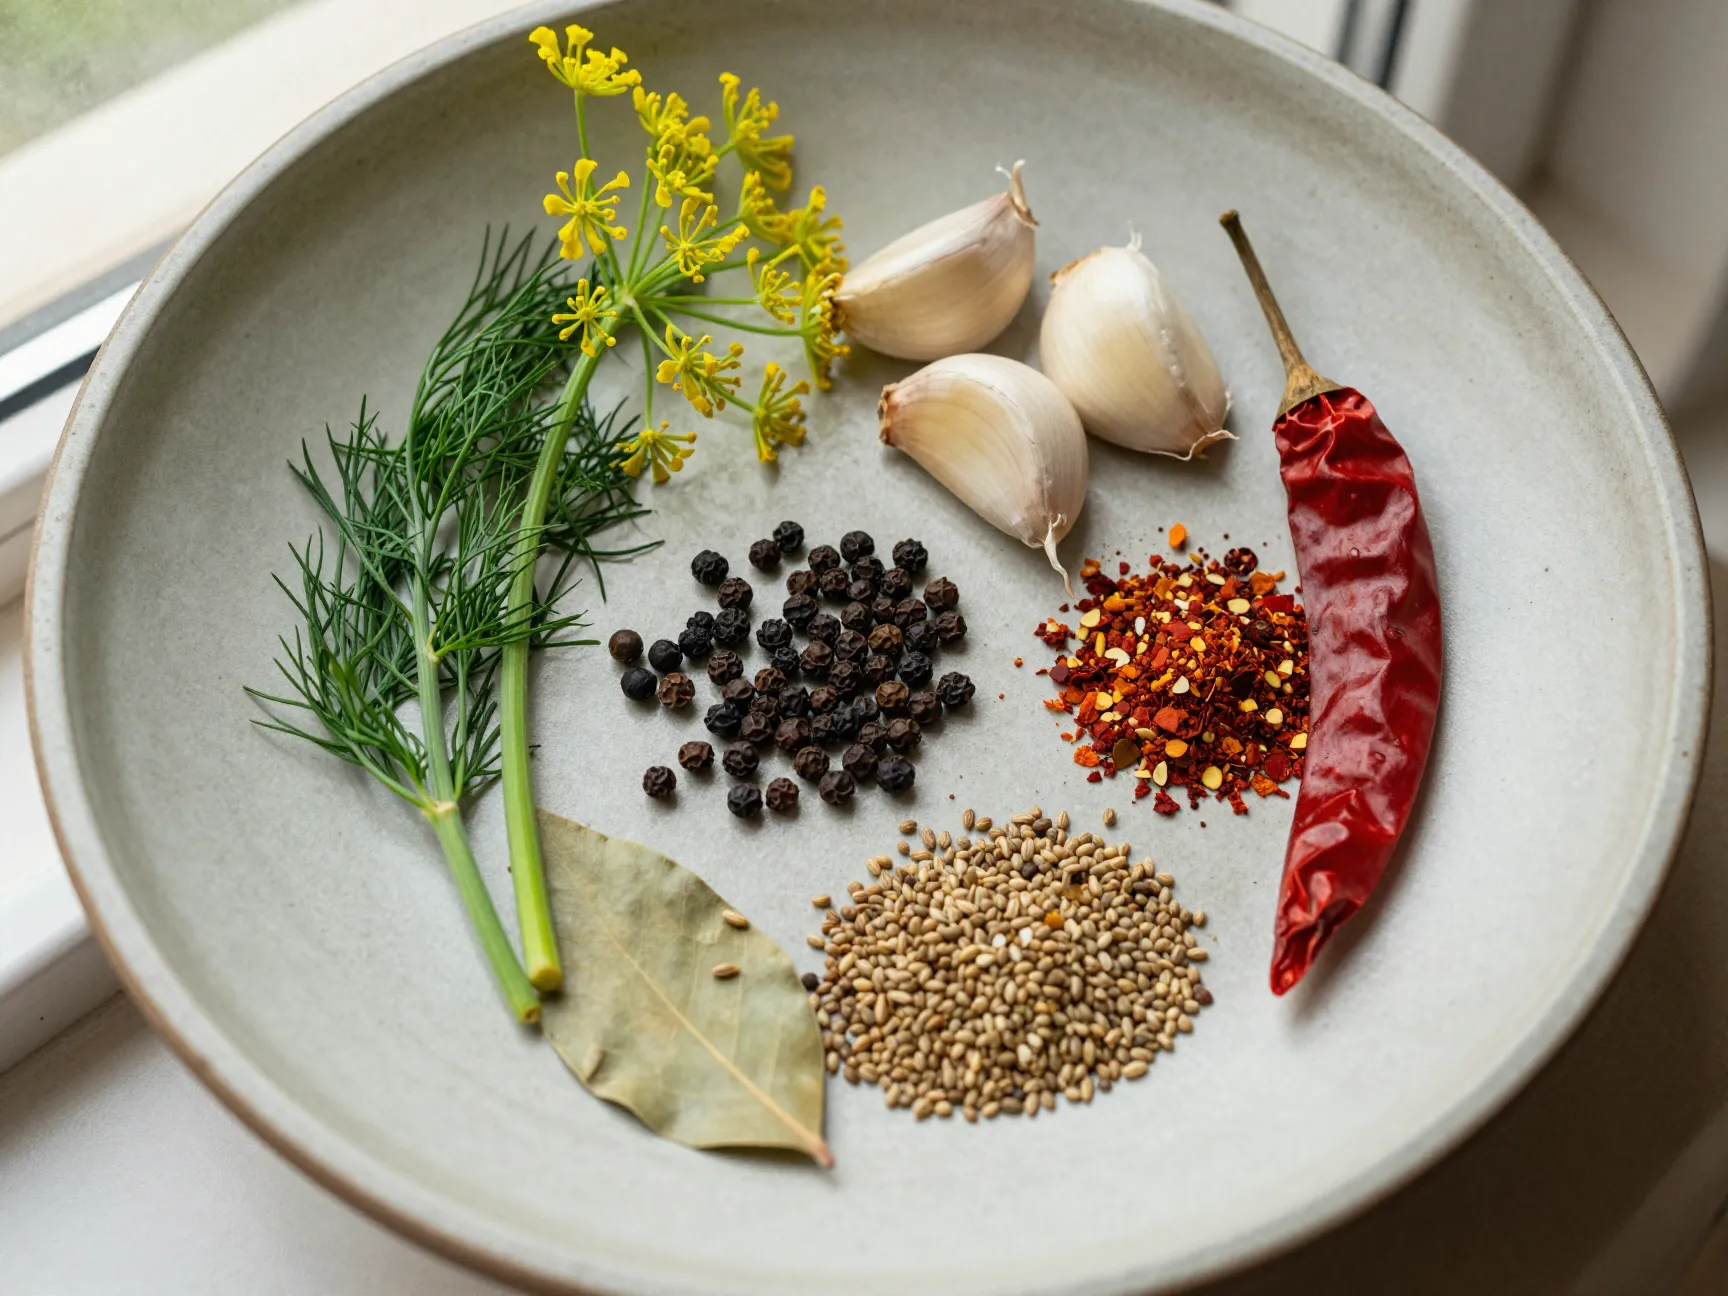
The difference between a forgettable pickle and one that tastes genuinely better than store-bought lies in the layering of aromatics. Fresh dill is non-negotiable, specifically dill heads (the flowering stage) rather than just fronds, because the heads carry more concentrated volatile oils [7]. If dill heads are unavailable, use a generous amount of fresh fronds plus a small amount of dill seed.
A classic kosher dill flavor base includes:
- Fresh dill heads or fronds (2 to 3 heads per quart jar)
- Whole garlic cloves, peeled and lightly smashed (4 to 6 per quart)
- Black peppercorns (1 teaspoon per quart)
- Mustard seeds (1/2 teaspoon per quart)
- Red pepper flakes or a dried hot pepper for heat (optional but recommended) [6]
Some traditional recipes also include a bay leaf, coriander seeds, or even a small piece of horseradish root for a sharper bite [3]. The horseradish addition serves a dual purpose: it adds flavor complexity and its tannins help maintain crunch.
5. Use Tannin-Rich Leaves to Preserve Crunch
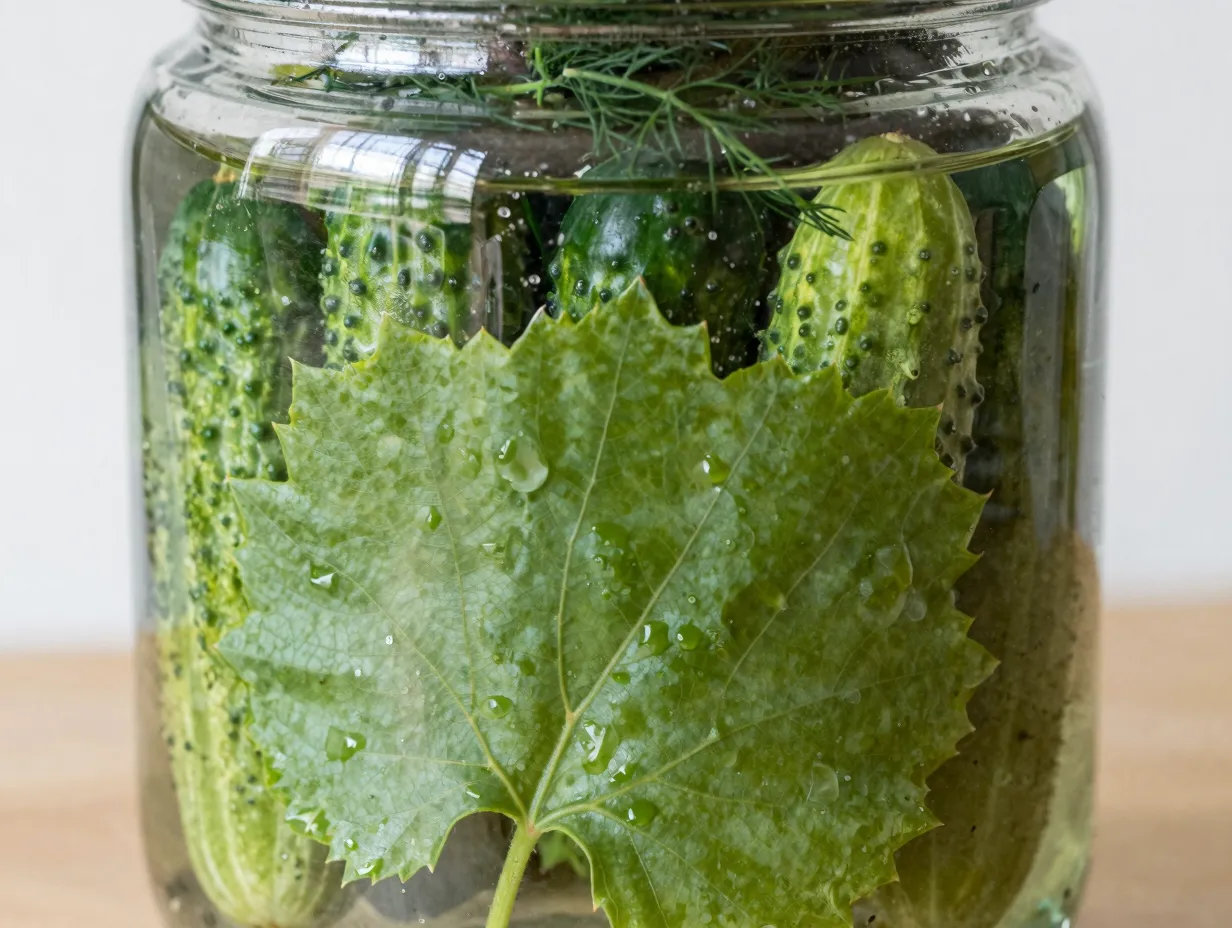
This is one of the most effective, and least discussed, secrets in home pickling. Tannins are naturally occurring compounds that inhibit the pectin-degrading enzymes in cucumbers. Adding a tannin source to each jar creates a chemical environment that preserves cell structure throughout fermentation [9].
The most accessible tannin sources are:
- Grape leaves (fresh or jarred, one leaf per quart)
- Oak leaves (fresh, from untreated trees)
- Horseradish leaves
- Black currant leaves
- Sour cherry leaves
One grape leaf per quart jar is the most common approach and the easiest to source. Farmers markets and grocery stores with international sections often carry them. If you have a grapevine in your yard, fresh leaves picked in summer work perfectly [4].
6. Keep Cucumbers Fully Submerged at All Times
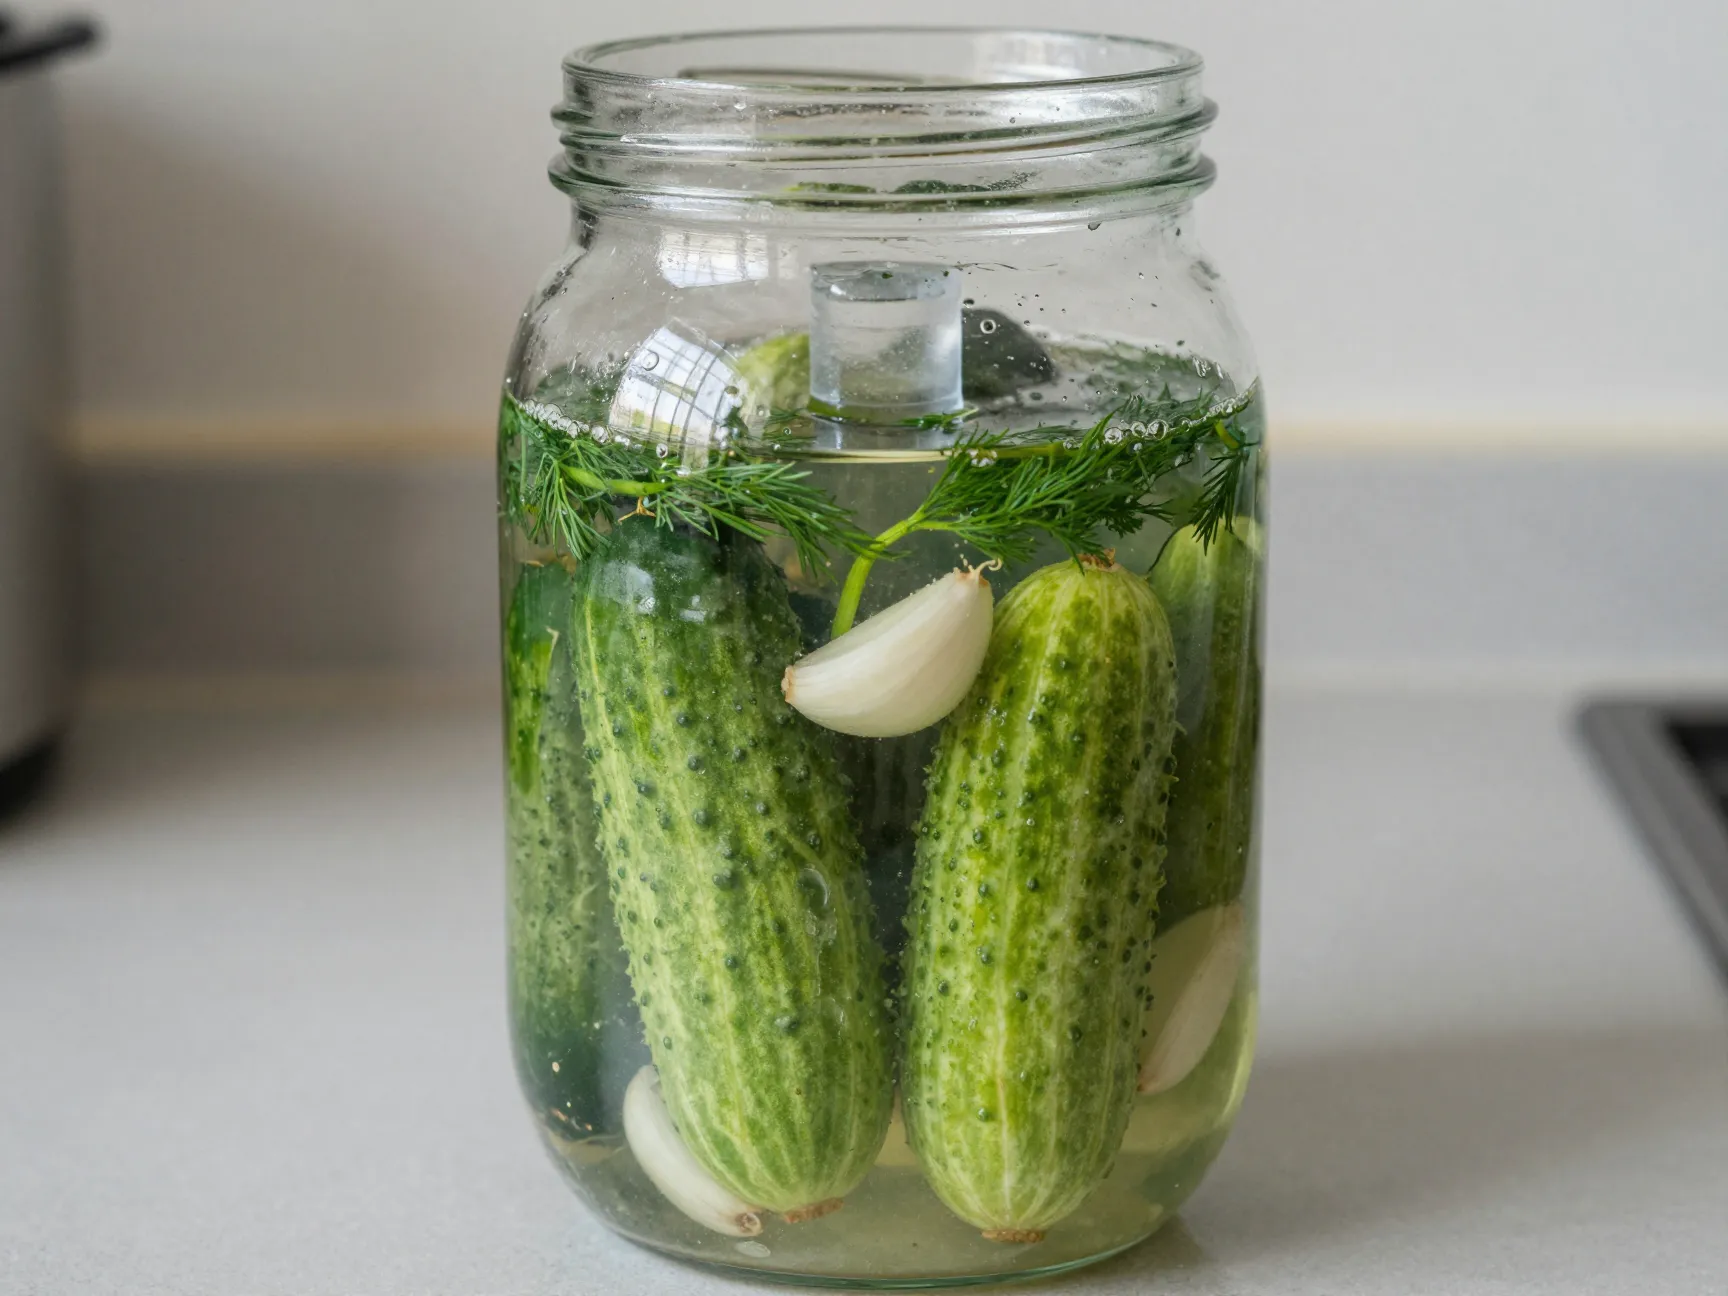
Oxygen is the enemy of lacto-fermentation. Any cucumber exposed to air above the brine line is vulnerable to mold, yeast overgrowth, and off-flavors. Keeping every cucumber fully submerged for the entire fermentation period is not optional, it is the difference between success and failure [1].
Practical submersion methods include:
- A small zip-lock bag filled with brine (not water, in case it leaks) placed on top of the cucumbers
- A smaller jar filled with water set inside the mouth of the fermentation vessel
- A purpose-built fermentation weight made of glass or ceramic
- Packing cucumbers tightly enough that they hold each other down
The brine itself should cover everything by at least half an inch. If the brine level drops during fermentation due to gas activity, top it off with fresh brine at the same salt concentration, never plain water, which would dilute the protective salt environment [4].
7. Control Fermentation Temperature and Gas
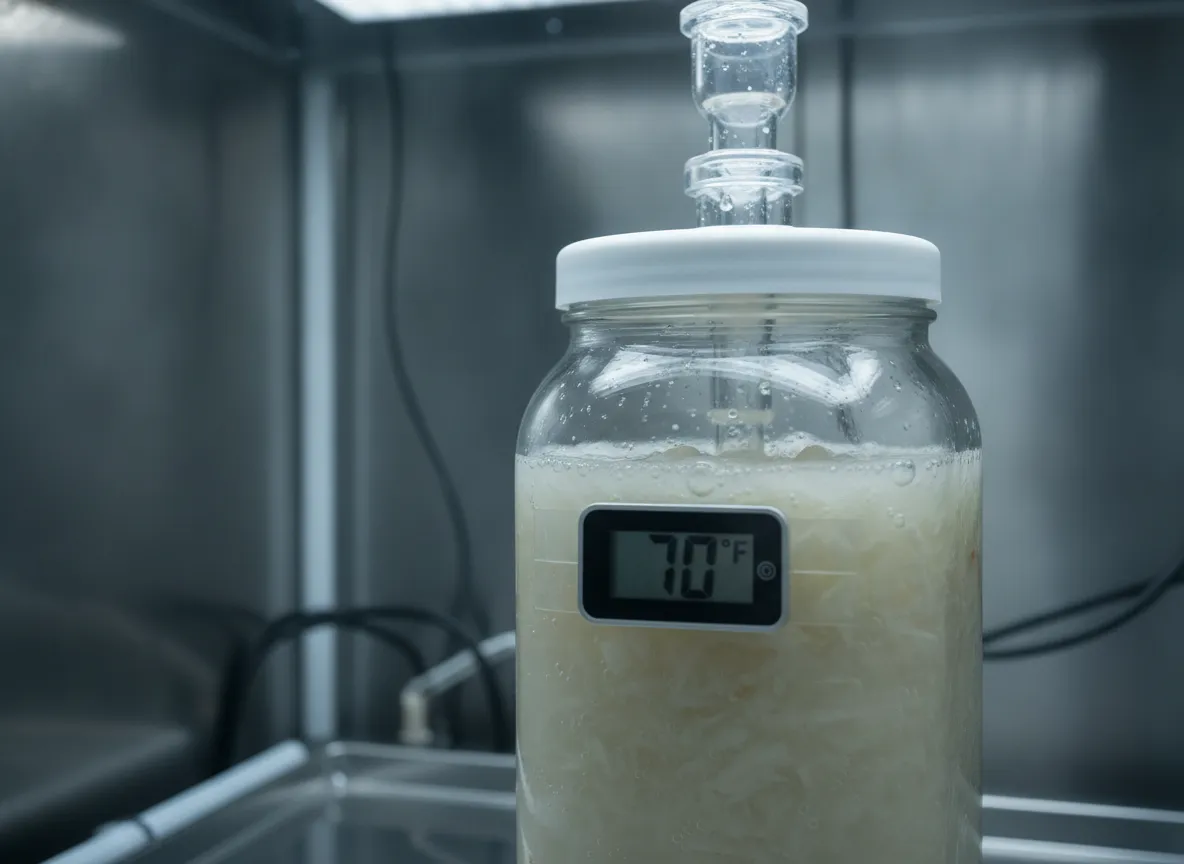
Temperature is the throttle on fermentation speed. Lacto-fermentation works best between 65°F and 75°F (18°C to 24°C). Warmer temperatures accelerate the process but increase the risk of over-fermentation and mushiness. Cooler temperatures slow things down and produce a more complex, nuanced flavor [3].
Ideal fermentation timeline by temperature:
- 65°F to 68°F: 5 to 7 days for a half-sour, 10 to 14 days for a full sour
- 70°F to 75°F: 3 to 5 days for a half-sour, 7 to 10 days for a full sour
- Above 78°F: fermentation happens quickly but quality suffers
Gas management is equally critical. As bacteria ferment the cucumbers, they produce carbon dioxide. This gas needs to escape, or pressure will build and potentially crack a sealed jar. The solution is to use a loose lid, a cloth cover secured with a rubber band, or a purpose-built airlock [6]. Check jars daily and press the cucumbers back down if they have floated upward. “Burp” sealed jars (briefly open the lid) at least once per day during active fermentation.
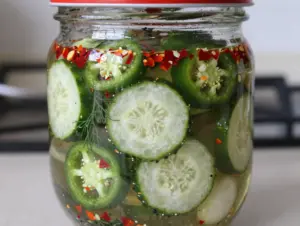
Cloudiness in the brine is a good sign, it indicates active bacterial activity. A white film on the surface is kahm yeast, which is harmless but should be skimmed off to prevent off-flavors [9].
8. Time the Fermentation to Your Taste
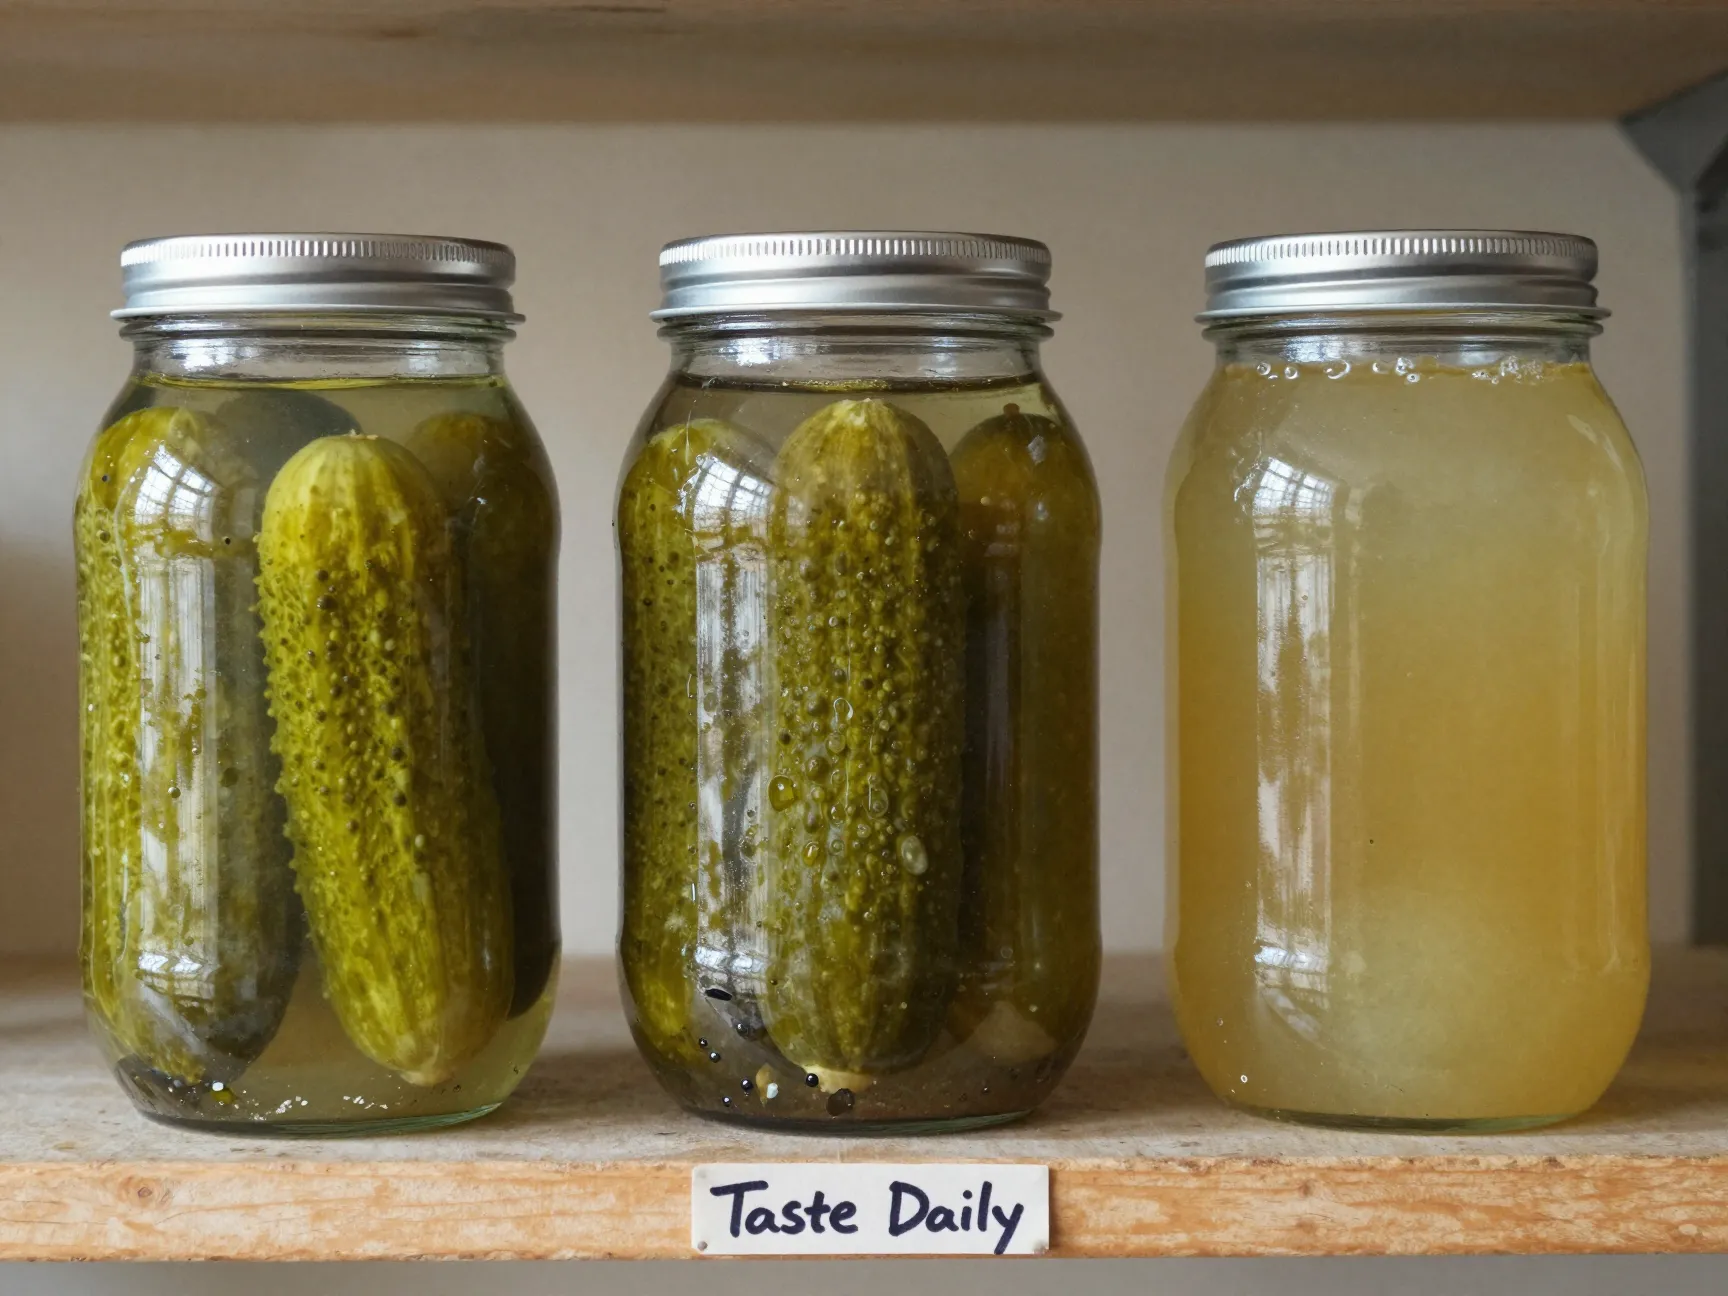
One of the great advantages of making your own kosher dill pickles is that you control the final flavor profile. Fermentation is not a fixed endpoint, it is a spectrum.
- Half-sour (2 to 4 days): Bright green color, fresh cucumber flavor with a light tang, mild garlic presence. These are the pickles served at classic New York delis alongside a sandwich [3].
- Three-quarter sour (5 to 7 days): Deeper flavor, more pronounced acidity, slightly softer texture, beginning to yellow-green in color.
- Full sour (10 to 14 days or more): Fully translucent, deeply sour, intensely garlicky, the texture of a classic deli pickle. This is what most people mean when they say “kosher dill” [7].
Taste a pickle every day starting on day two. When it reaches your preferred level of sourness, move the jar to the refrigerator. Cold temperatures do not stop fermentation entirely but slow it dramatically, effectively locking in the flavor profile you want [10].
9. Store Correctly and Let Flavor Develop Further
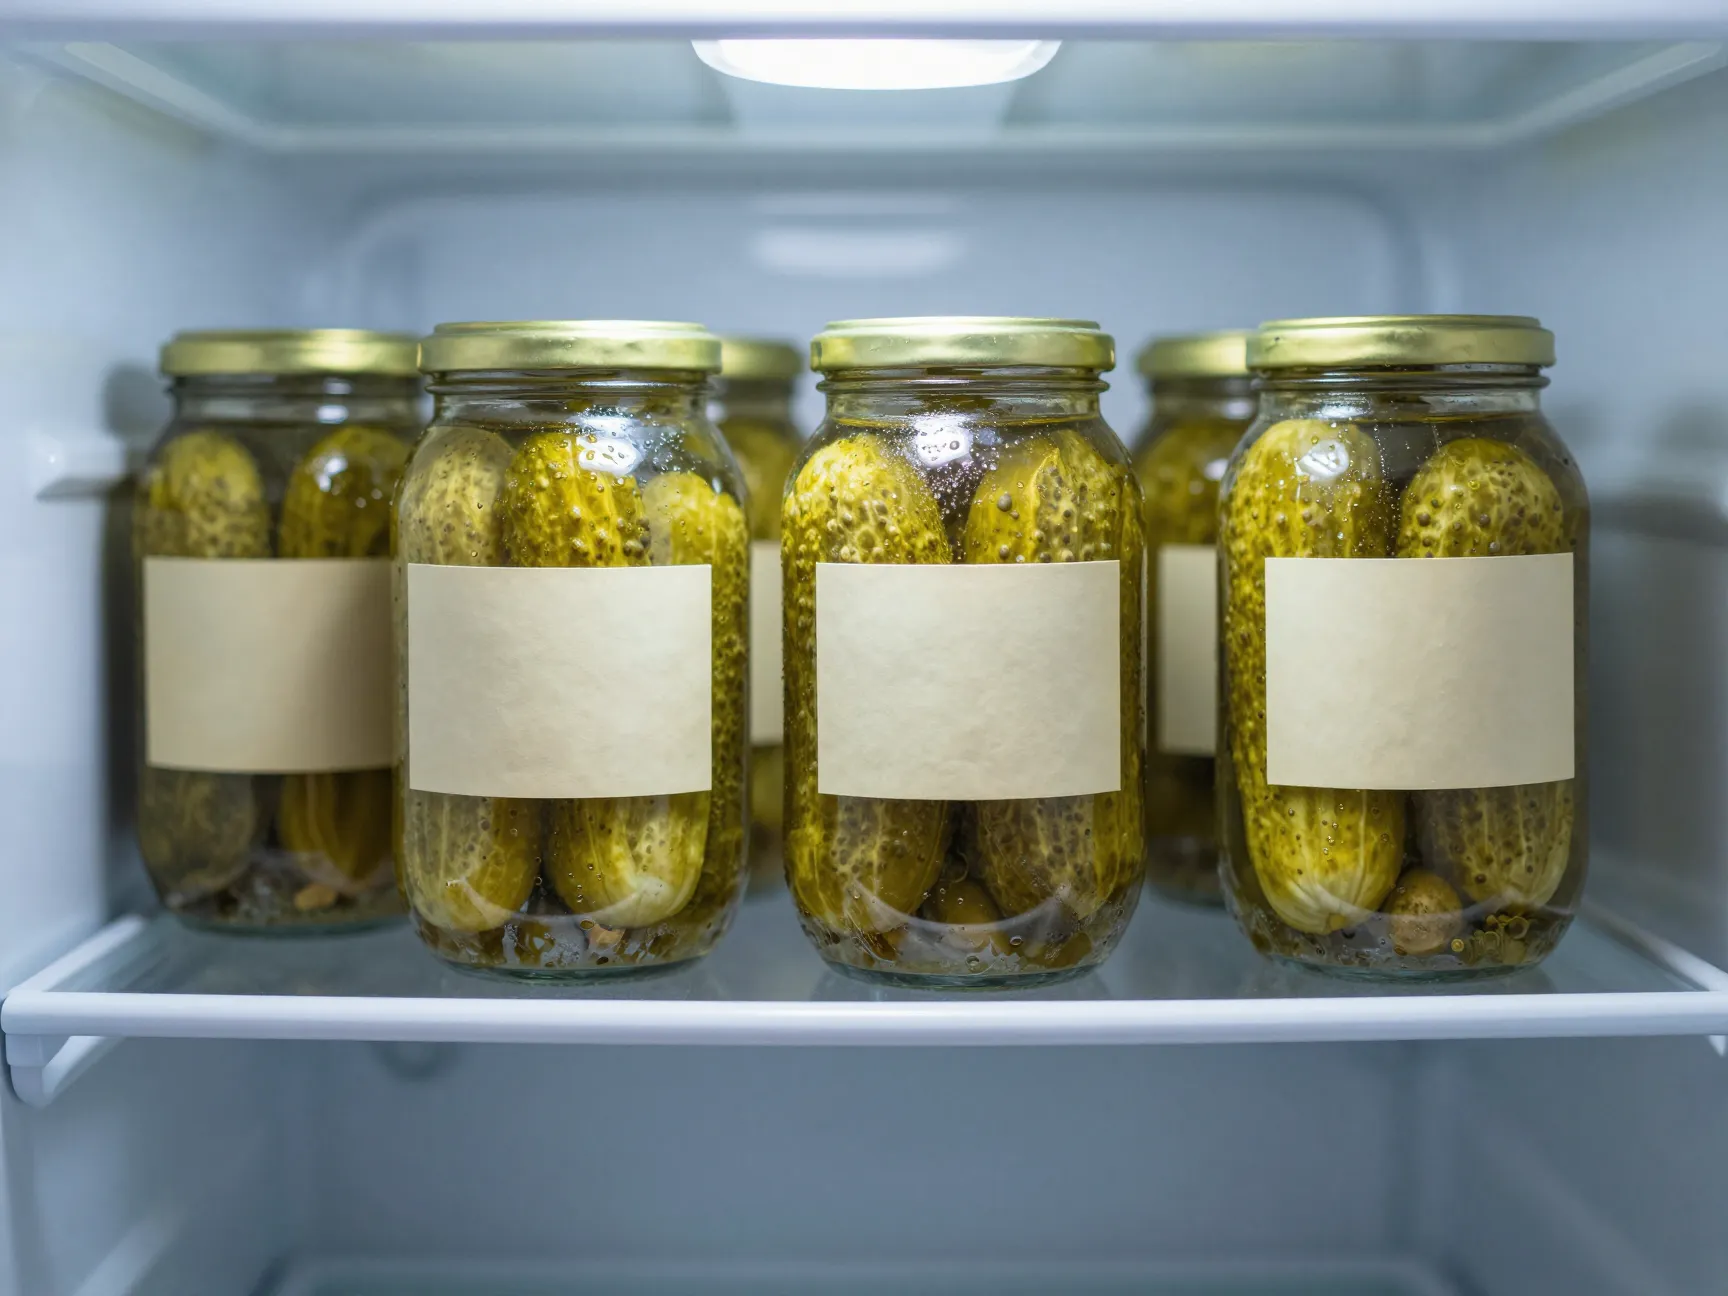
The final secret is patience after fermentation. Many home picklers rush to eat their pickles the moment they hit the refrigerator, and while they are certainly edible at that point, the flavor continues to develop and mellow over the following one to two weeks in cold storage [1].
Refrigerator storage guidelines:
- Fermented kosher dills keep well for 3 to 6 months in the refrigerator
- Always keep them submerged in their brine
- The brine itself is valuable, use it in salad dressings, marinades, or as a post-workout electrolyte drink
- If any pickle develops soft spots, sliminess, or an off smell (not the normal sour smell), discard it
For longer storage, some home picklers transfer fully fermented pickles to fresh brine and process them in a water bath canner. However, this kills the beneficial bacteria and softens the texture somewhat. For the best flavor and probiotic benefit, refrigerator storage is the preferred method [7].
Common Mistakes That Ruin Homemade Kosher Dill Pickles
Even with the 9 secrets to the perfect kosher dill pickle recipe that tastes better than store-bought firmly in mind, a few common errors trip up home picklers repeatedly.
Using the wrong water: Chlorinated tap water can inhibit fermentation by killing the beneficial bacteria on the cucumber skin. Use filtered water, well water, or water that has been left uncovered for 24 hours to allow chlorine to dissipate [4].
Overcrowding the jar: Cucumbers need to be packed firmly but not crushed. Damaged cucumbers release excess moisture that dilutes the brine concentration.
Skipping the daily check: Fermentation is an active process. Jars left unattended for several days in a warm kitchen can over-ferment quickly. Daily tasting and observation are part of the process.
Using old spices: Dill that has been sitting in a drawer for two years has lost most of its volatile oils. Fresh or recently purchased spices make a measurable difference in final flavor.
A Simple Base Recipe to Get Started
For those ready to apply all nine secrets immediately, here is a foundational recipe that incorporates every principle discussed above.
Ingredients for one quart jar:
- 4 to 6 Kirby cucumbers (3 to 4 inches each)
- 2 cups filtered water
- 1 tablespoon plus 1 teaspoon non-iodized kosher salt (approximately 3.5% brine)
- 2 to 3 fresh dill heads or a generous handful of dill fronds
- 4 garlic cloves, peeled and smashed
- 1 teaspoon black peppercorns
- 1/2 teaspoon mustard seeds
- 1 dried hot pepper or 1/4 teaspoon red pepper flakes
- 1 fresh grape leaf or horseradish leaf
Method:
- Dissolve salt in water by weight to create the brine.
- Trim the blossom end from each cucumber.
- Place the grape leaf, dill, garlic, and spices in the bottom of a clean quart jar.
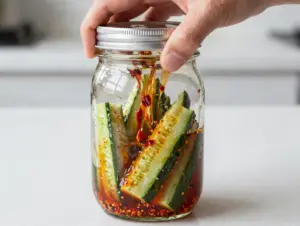
- Pack cucumbers vertically as tightly as possible without bruising them.
- Pour brine over cucumbers, ensuring they are fully submerged with at least half an inch of brine above them.
- Place a weight on top to maintain submersion.
- Cover loosely and ferment at room temperature (68°F to 72°F) for 3 to 14 days, tasting daily.
- Transfer to the refrigerator when the desired sourness is reached [7] [10].
Conclusion
The 9 secrets to the perfect kosher dill pickle recipe that tastes better than store-bought are not mysteries reserved for professional fermenters or old-world grandmothers. They are practical, science-backed techniques that any home cook can apply starting today.
Begin with the right cucumber, fresh Kirbys with the blossom end trimmed. Build a precise brine at 3% to 5% salt by weight. Layer your aromatics thoughtfully, add a tannin source for crunch, keep everything submerged, manage your fermentation temperature, taste daily, and refrigerate at the right moment. Then wait just a little longer than feels comfortable before opening that first jar.
The reward is a pickle that carries real flavor complexity, genuine probiotic benefit, and a crunch that makes every store-bought version taste flat by comparison. Start with one quart jar this week. Once you taste the difference, you will find yourself clearing shelf space in the refrigerator for a dozen more.
References
[1] The Best Kosher Dill Pickle Recipe Ever – https://daneliadesign.com/2022/07/25/the-best-kosher-dill-pickle-recipe-ever/
[2] Watch – https://www.youtube.com/watch?v=qOZzZmEzNm4
[3] New York Style Kosher Dill Pickles – https://jeffskitchen.net/2020/06/09/new-york-style-kosher-dill-pickles/
[4] How To Make Fermented Pickles Kosher Dill Pickles – https://immigrantstable.com/how-to-make-fermented-pickles-kosher-dill-pickles/
[5] Watch – https://www.youtube.com/watch?v=moMZFUTJHp8
[6] Hot And Spicy Kosher Dills No Vinegar – https://www.instructables.com/Hot-and-Spicy-Kosher-Dills-no-Vinegar/
[7] The Ultimate Classic Kosher Dill Pickle Recipe – https://www.tiarastantrums.com/blog/the-ultimate-classic-kosher-dill-pickle-recipe.html
[8] Watch – https://www.youtube.com/watch?v=w7hO4kmKXdw
[9] Kosher Pickles – https://www.instructables.com/Kosher-Pickles/
[10] Favorite Kosher Dills – https://www.lanascooking.com/favorite-kosher-dills/