9 Essential Tips for Canning Spaghetti Sauce Safely at Home Like a Pro
Every year, roughly 3,000 Americans are hospitalized due to foodborne botulism, and improperly home-canned foods remain one of the most preventable causes. That statistic stopped me cold the first time I read it, right in the middle of my grandmother’s kitchen while she was cheerfully ladling tomato sauce into jars without a second thought. She had been canning for decades and never had a problem, but luck is not a food safety strategy.
Disclosure: This post contains affiliate links. As an Amazon Associate, we earn from qualifying purchases, and at no extra cost to you.
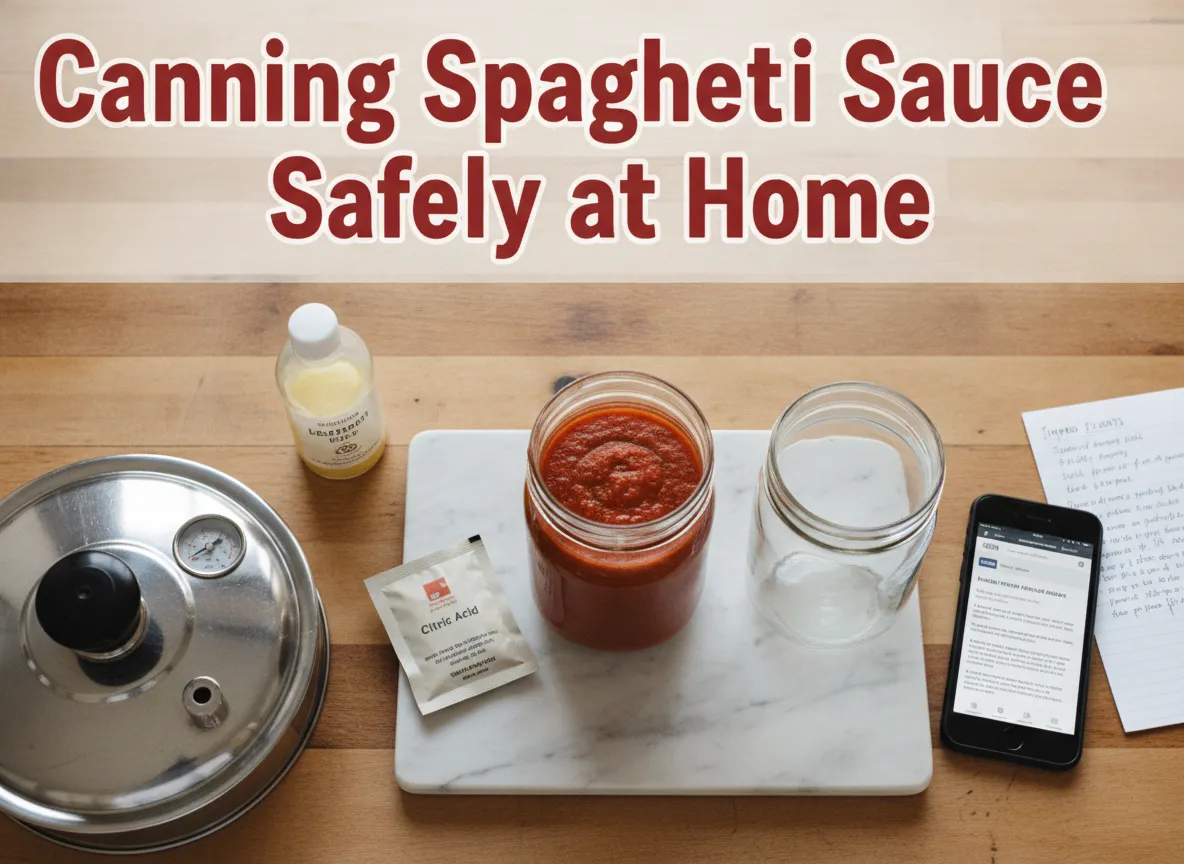
If you have ever wanted to preserve a big batch of homemade spaghetti sauce and actually feel confident about the results, this guide is for you. These 9 Essential Tips for Canning Spaghetti Sauce Safely at Home Like a Pro will walk you through every critical step, from choosing the right equipment to storing your finished jars correctly. Whether you are a first-timer or someone who learned from a well-meaning but outdated family tradition, these tips will help you can with real confidence.
Key Takeaways
- Tomatoes are borderline in acidity and must be acidified with bottled lemon juice or citric acid before water bath canning.
- Any spaghetti sauce containing meat or low-acid vegetables requires a pressure canner, not a water bath canner.
- Always follow tested recipes from the USDA or university extension programs, never improvise proportions.
- Headspace, air bubble removal, and altitude adjustments are small details that make a major difference in safety.
- Proper storage and a thorough spoilage check before eating are the final lines of defense.
Why Safe Canning Matters More Than You Think
Home canning has seen a massive revival over the past decade. People want to control what goes into their food, reduce waste from garden harvests, and build a reliable pantry. Spaghetti sauce is one of the most popular items to can at home because a single batch can feed a family for months.
But spaghetti sauce sits in a tricky middle ground. Tomatoes hover right at the edge of the safe acidity threshold. Add meat, mushrooms, peppers, or onions, and the pH climbs even higher, moving the sauce into territory where Clostridium botulinum, the bacteria responsible for botulism, can survive and produce its deadly toxin.
The good news is that safe home canning is not complicated. It just requires following the right steps every single time. The 9 Essential Tips for Canning Spaghetti Sauce Safely at Home Like a Pro outlined in this article are grounded in current food science, not guesswork.
The 9 Essential Tips for Canning Spaghetti Sauce Safely at Home Like a Pro
1. Use a Pressure Canner When Your Sauce Contains Low-Acid Ingredients
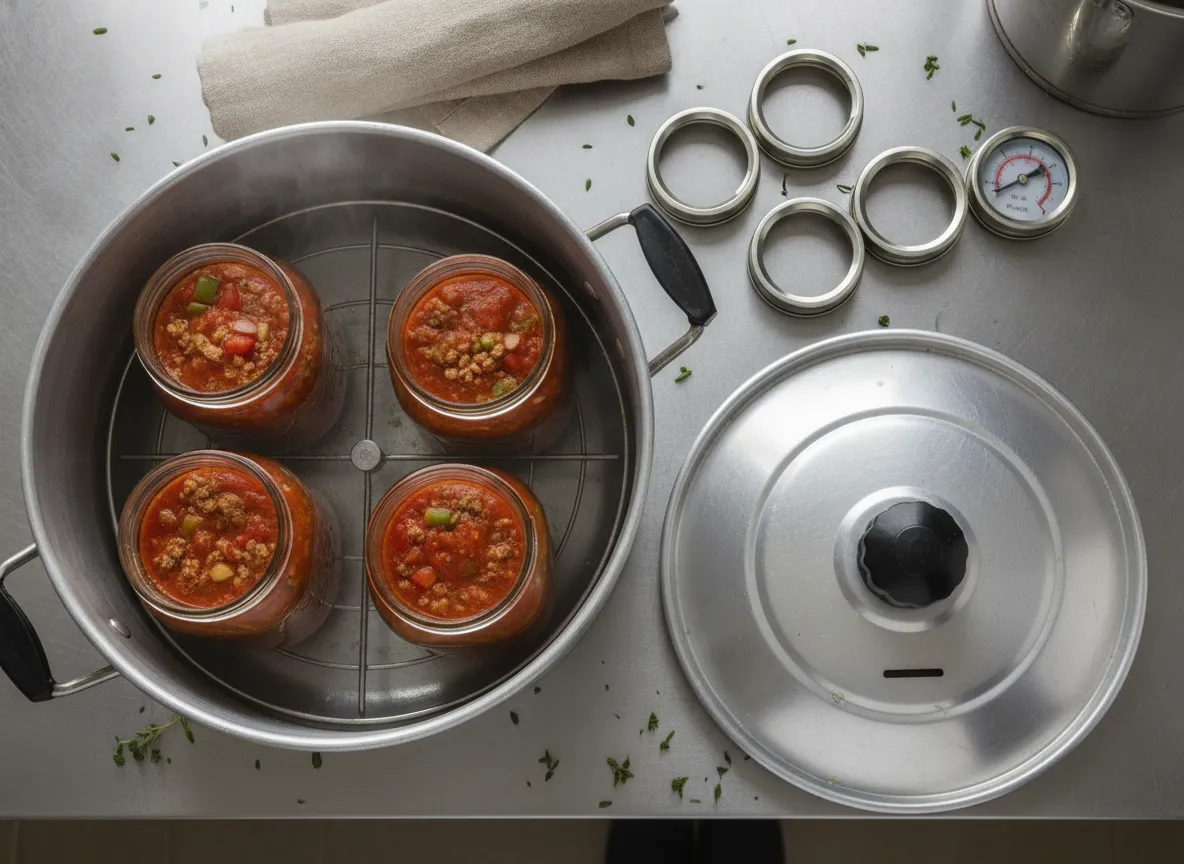
This is the single most important rule in home canning. If your spaghetti sauce includes meat, mushrooms, zucchini, or large quantities of onions and peppers, you must use a pressure canner [1].
A water bath canner only reaches 212 degrees Fahrenheit (100 degrees Celsius) at sea level. That temperature is not hot enough to destroy C. botulinum spores in low-acid environments. A pressure canner, by contrast, reaches 240 degrees Fahrenheit (116 degrees Celsius), which is the minimum required to eliminate those spores reliably [1].
Key rule: If it has meat, it needs pressure canning. No exceptions.
Here is a quick reference for canning method by sauce type:
| Sauce Type | Canning Method | Processing Temp |
|---|---|---|
| Plain tomato sauce (acidified) | Water bath canner | 212°F (100°C) |
| Meatless sauce with vegetables | Pressure canner | 240°F (116°C) |
| Sauce with ground meat | Pressure canner | 240°F (116°C) |
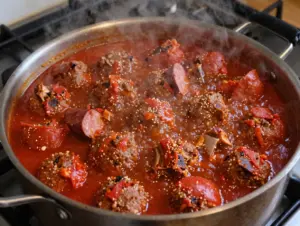
| Sauce with sausage or meatballs | Pressure canner | 240°F (116°C) |
2. Acidify Every Tomato-Based Sauce Before Canning
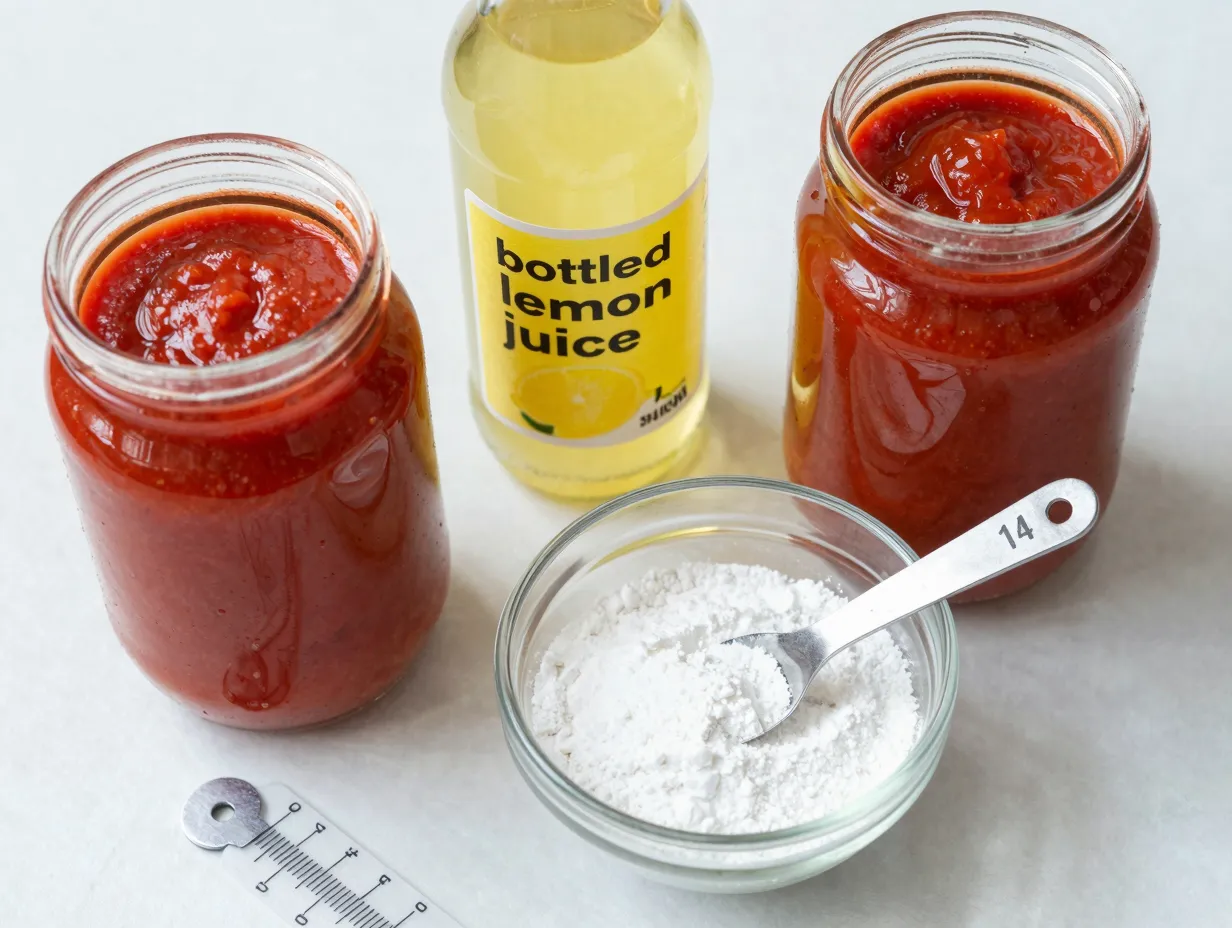
Even a pure tomato sauce without any added vegetables needs acidification. Tomatoes have a naturally variable pH, and some varieties, especially low-acid heirloom types, can drift above the 4.6 threshold that keeps botulism at bay [1].
The fix is simple and adds almost no detectable flavor change:
- Bottled lemon juice: Add 2 tablespoons per quart jar or 1 tablespoon per pint jar.
- Citric acid powder: Add 1/2 teaspoon per quart jar or 1/4 teaspoon per pint jar.
Always use bottled lemon juice, not fresh. Fresh lemon juice has inconsistent acidity levels. Bottled versions are standardized to a reliable pH, which is exactly what food safety requires [1].
“Acidification is not optional, it is the chemical barrier between your family and a serious illness.”
Do not rely on vinegar as a substitute unless a tested recipe specifically calls for it. The acidity level and flavor impact of vinegar varies too much to be a reliable stand-in.
3. Never Use Oven Canning
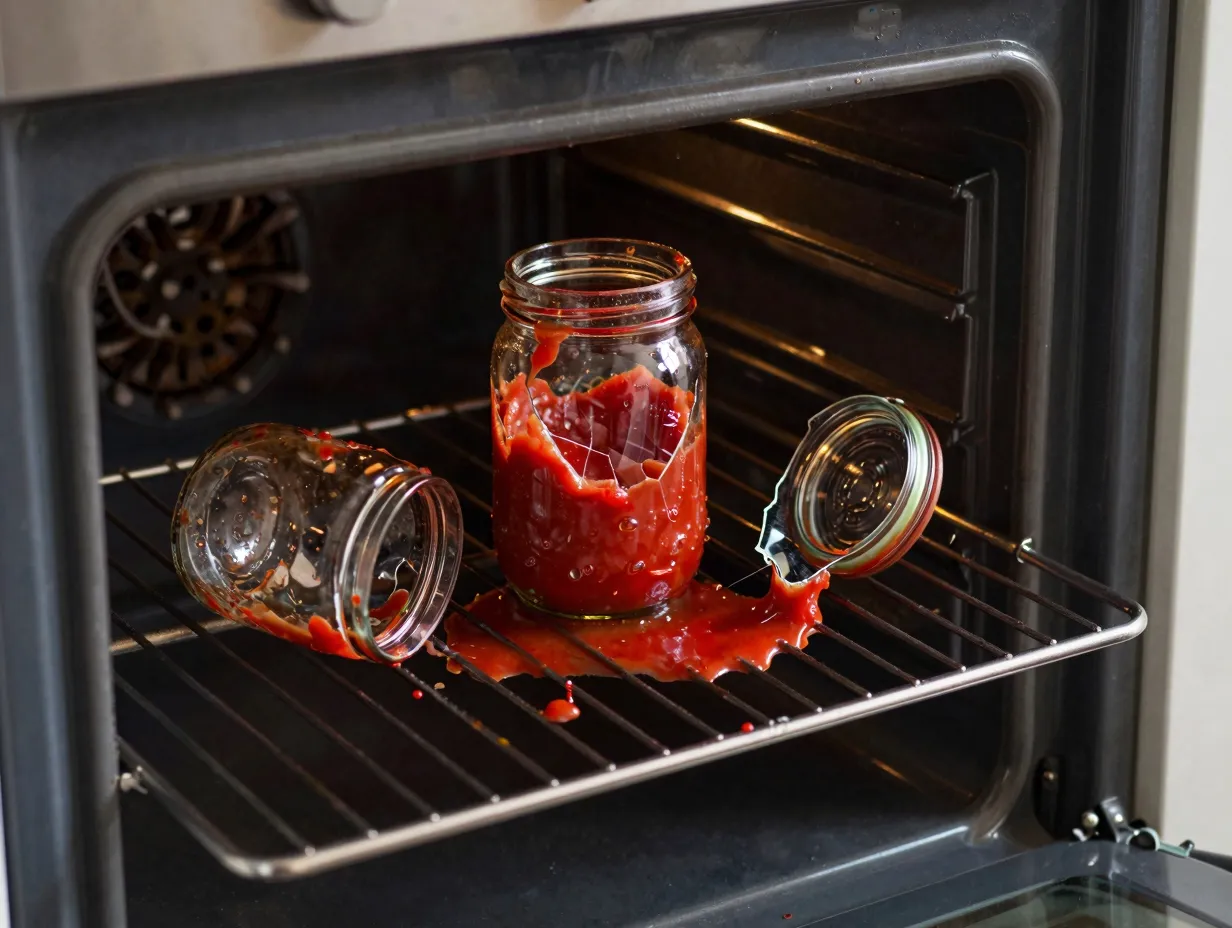
I have seen this method pop up repeatedly on social media, often presented as a clever shortcut. It is not. Oven canning is genuinely dangerous and should be avoided entirely [2].
The core problem is heat distribution. Ovens heat food from the outside in, and they cycle on and off to maintain temperature. This creates uneven heating inside the jar, meaning the center of the sauce may never reach a safe temperature. Additionally, the dry heat of an oven does not transfer to jars the same way boiling water or steam does.
There is also a physical danger: glass jars are not designed to withstand prolonged dry oven heat. They can shatter, sending hot glass and scalding sauce across your kitchen [2].
No legitimate food safety authority, not the USDA, not Health Canada, not any university extension program, recommends oven canning. If you see a recipe that calls for it, set it aside.
4. Follow Only Tested Recipes from Reputable Sources
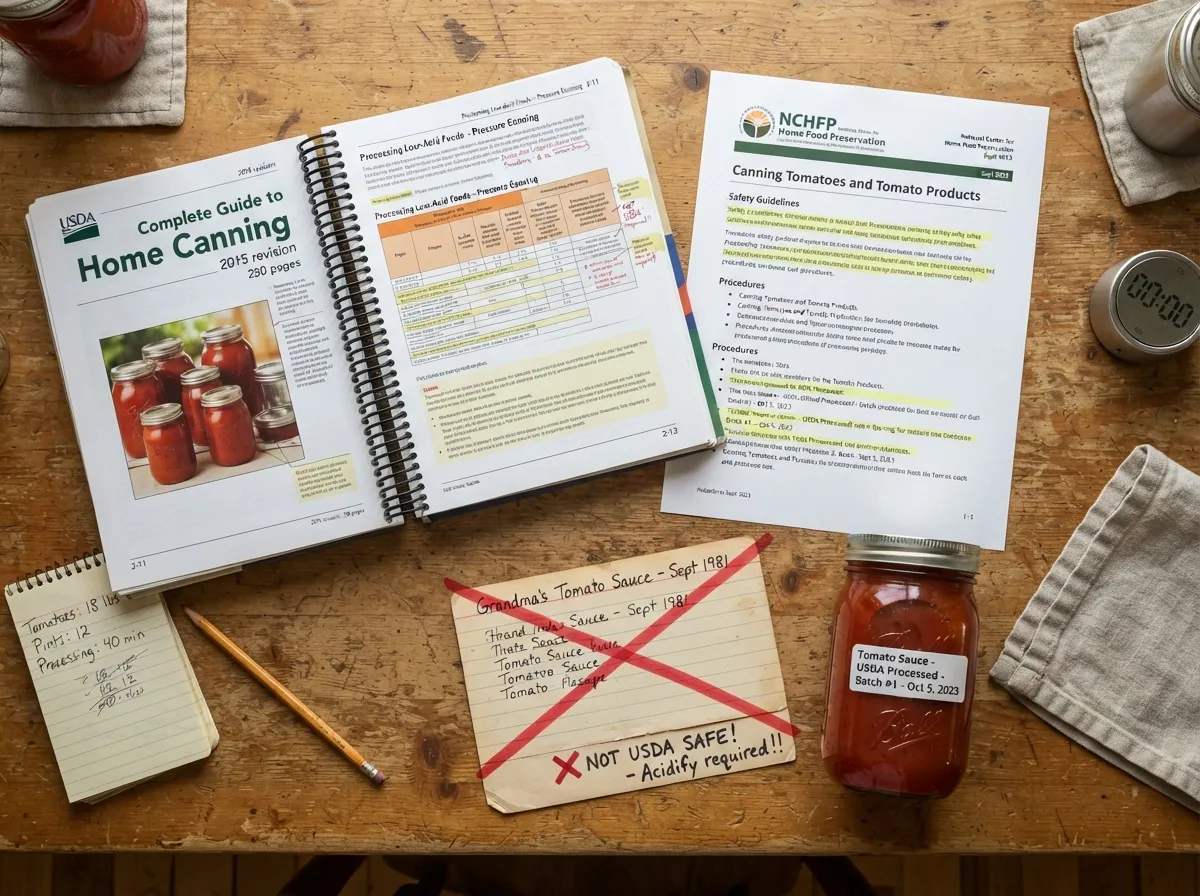
This is where many home canners go wrong. A recipe that tastes great is not automatically a recipe that is safe to can. Canning safety depends on precise ratios of acid to low-acid ingredients, specific processing times, and jar sizes. Changing any of these variables can compromise safety [3].
Reliable sources for tested spaghetti sauce canning recipes include:
- USDA Complete Guide to Home Canning
- National Center for Home Food Preservation (nchfp.uga.edu)
- University cooperative extension programs (such as Penn State Extension or Utah State University Extension)
- Health Canada’s home canning guidelines [1]
What you can safely adjust: Salt levels, dried herbs, and sugar quantities.
What you must never change: The ratio of tomatoes to low-acid vegetables, the type and amount of acidifier, jar size, and processing time [3].
I learned this the hard way when I tried to double the garlic in a tested recipe. A quick call to my local extension office confirmed that even garlic, a low-acid ingredient, can shift the pH enough to require a different processing method when added in large quantities.
5. Ensure Proper Headspace in Every Jar
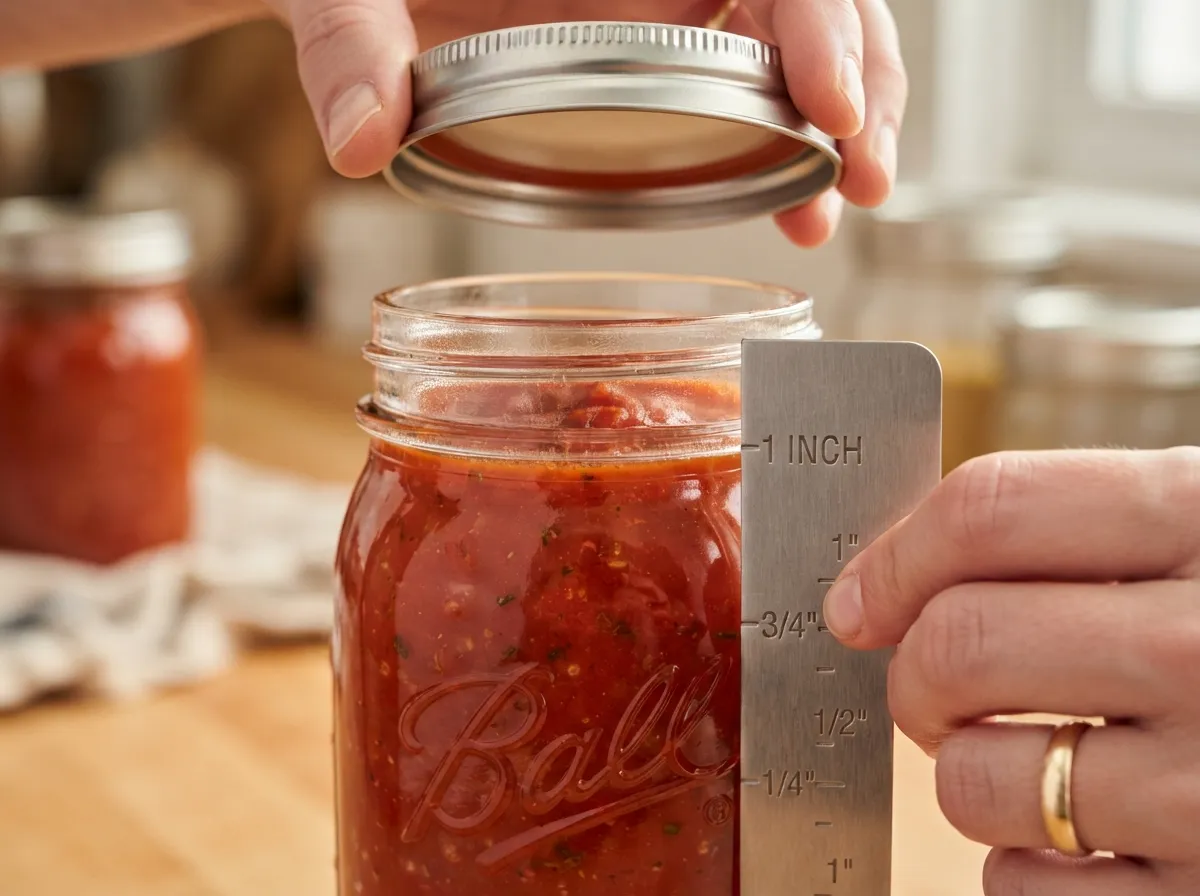
Headspace is the empty space between the top of the food and the lid of the jar. It might seem like a minor detail, but it directly affects whether your jar seals correctly and whether the contents expand safely during processing [4].
For pressure-canned spaghetti sauce, the standard headspace is 1 inch. For water bath canned tomato sauce, it is typically 1/2 inch. Always check the specific tested recipe you are using, as requirements can vary slightly.
Too little headspace: The sauce expands during processing, pushes against the lid, and can prevent a proper seal or even force the lid off.
Too much headspace: There is not enough air displacement to create a strong vacuum seal, which can lead to premature spoilage.
Use a headspace measuring tool (often included with canning kits) or a clean ruler to check every single jar before processing. This takes about five seconds per jar and is absolutely worth the effort [4].
6. Remove Air Bubbles Before Sealing
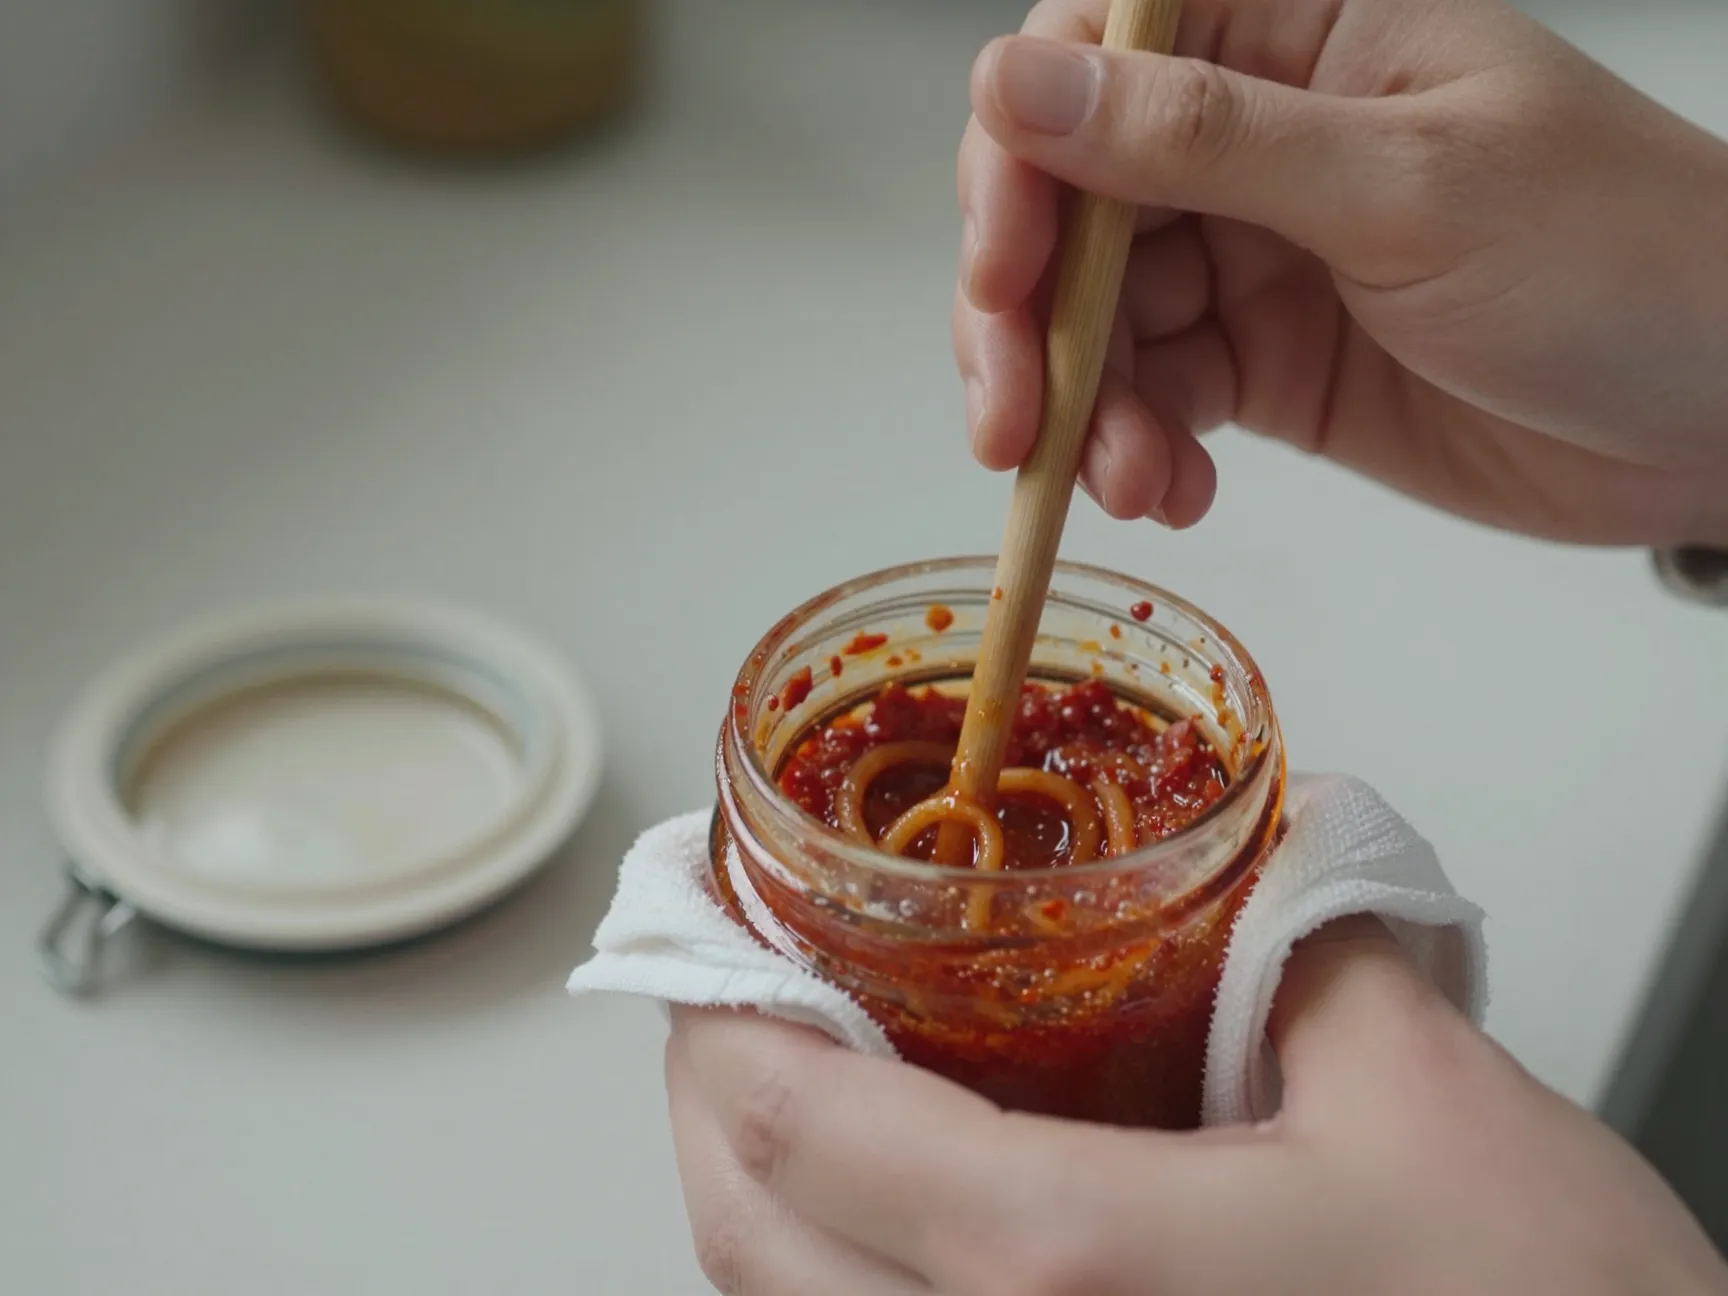
After filling your jars with sauce, you will almost certainly have air pockets trapped between chunks of tomato or vegetable. These pockets need to be removed before you put the lid on [4].
Air bubbles left inside a jar can:
- Create false headspace readings
- Interfere with heat penetration during processing
- Contribute to seal failure over time
To remove air bubbles, slide a thin non-metallic tool, a plastic bubble remover, a wooden chopstick, or a plastic knife, around the inside edge of the jar and through the sauce several times. Do not use a metal knife or fork, as these can scratch the glass and weaken the jar.
After removing bubbles, recheck your headspace and adjust if needed by adding a small amount of sauce or removing a little. Then wipe the jar rim with a clean, damp cloth before placing the lid [4].
7. Adjust Processing Times and Pressure for Your Altitude
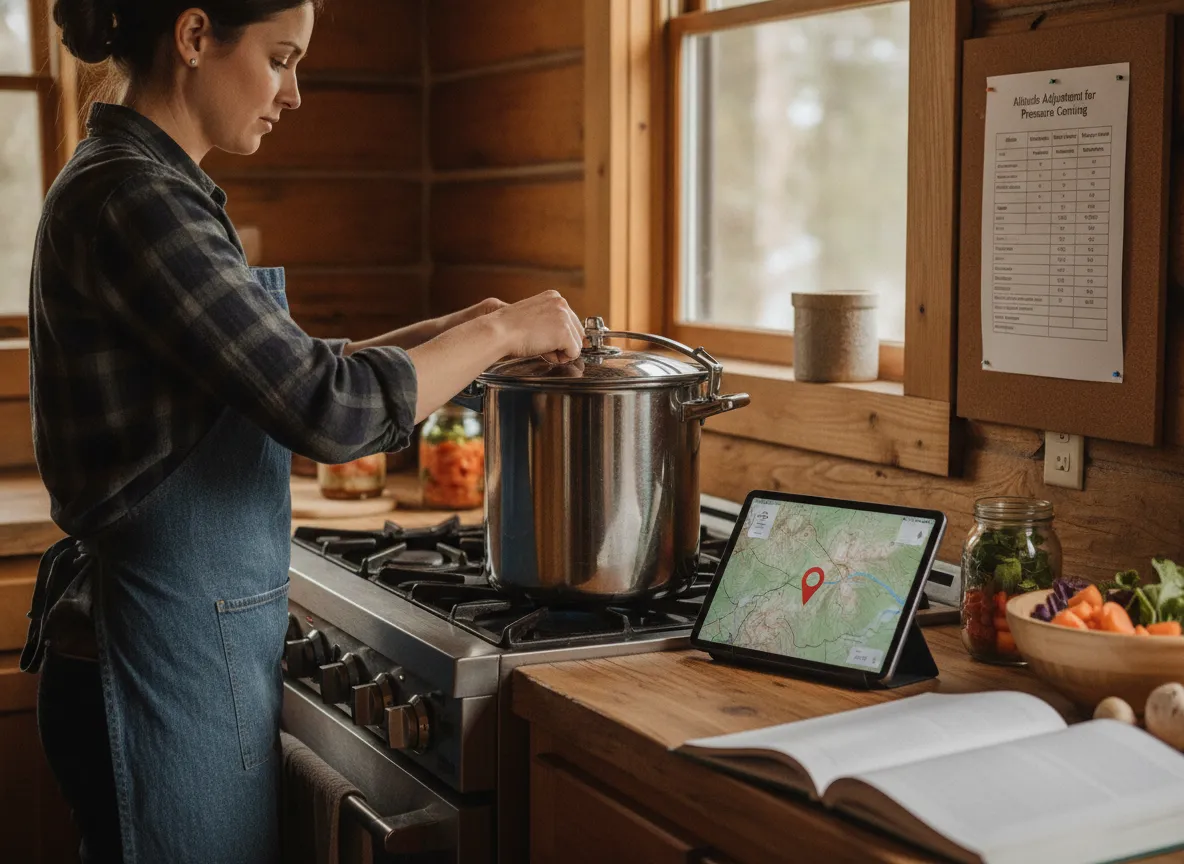
This is one of the most commonly overlooked steps in home canning, especially for people who learned from someone at a different elevation. Water boils at a lower temperature at higher altitudes, which means standard processing times designed for sea level are not sufficient if you live in the mountains [5].
Water bath canning altitude adjustments:
| Altitude | Increase in Processing Time |
|---|---|
| 0-1,000 ft | No adjustment needed |
| 1,001-3,000 ft | Add 5 minutes |
| 3,001-6,000 ft | Add 10 minutes |
| Above 6,000 ft | Add 15 minutes |
For pressure canning, higher altitudes require increased pressure rather than longer time. A dial-gauge canner and a weighted-gauge canner each have specific adjustment protocols. Check the USDA guidelines or your canner’s manual for the exact numbers based on your elevation [5].
If you are not sure of your altitude, your local cooperative extension office can tell you, or you can look it up using a USGS topographic tool online.
8. Store Canned Jars Correctly and Check for Spoilage Before Eating
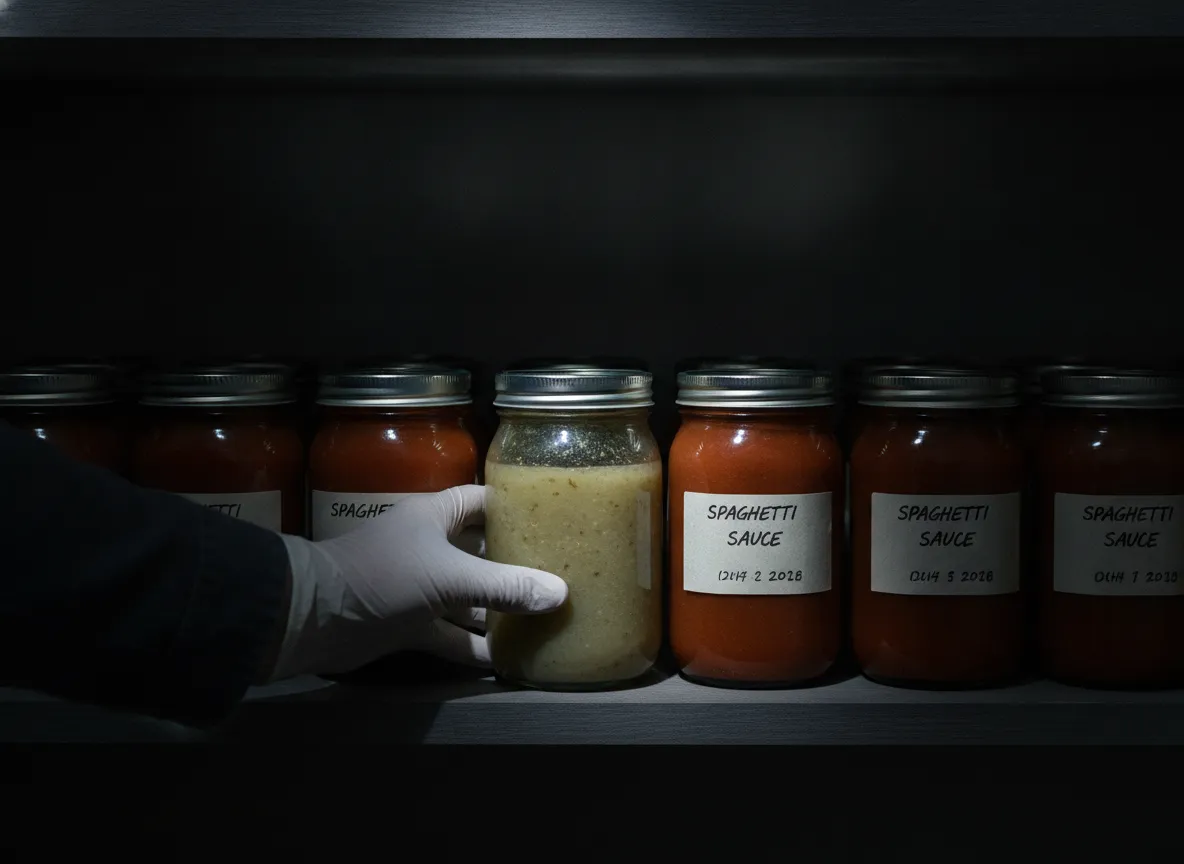
Processing your sauce correctly is only half the job. Proper storage protects your work and ensures the food remains safe throughout its shelf life [1].
Ideal storage conditions:
- Cool temperature: between 50 and 70 degrees Fahrenheit (10 to 21 degrees Celsius)
- Dark location: light degrades color, flavor, and nutritional content over time
- Dry environment: humidity can corrode lids and cause seal failure
- Single-layer storage: do not stack jars on top of each other
Label every jar with the contents and the date processed. Home-canned spaghetti sauce is best used within 12 to 18 months for peak quality, though properly sealed jars can remain safe beyond that window [1].
Before opening any jar, check for these warning signs:
- A lid that does not pop or flex when pressed (indicating a lost seal)
- Spurting liquid when opened
- Off or unusual odors
- Mold, cloudiness, or discoloration
- Bubbling or foam inside the jar
If you notice any of these signs, do not taste the contents. Dispose of the jar safely by placing it in a heavy garbage bag, sealing it, and discarding it in a trash receptacle that is inaccessible to children and animals [1].
9. Stay Current with Canning Guidelines

Food safety science evolves. Recommendations that were considered safe twenty years ago may have been revised based on new research. This is not a reason to be anxious about canning, it is a reason to stay informed [5].
For example, the USDA updated its guidance on canning tomatoes several times over the past few decades as researchers gathered more data on pH variability across tomato varieties. Recipes from older cookbooks or family handwritten cards may not reflect these updates.
Make it a habit to:
- Check the USDA National Center for Home Food Preservation website at the start of each canning season
- Review Health Canada’s home canning safety page for any new advisories [1]
- Connect with your local university extension office, which often holds free or low-cost canning workshops
- Replace older canning books with current editions (look for publication dates within the last five years)
The canning community is also active and well-informed. Forums and groups moderated by certified Master Food Preservers can be a good resource, as long as you verify any advice against an official tested source before acting on it [5].
Common Mistakes to Avoid When Canning Spaghetti Sauce
Even experienced canners slip up. Here are the most frequent errors and how to prevent them:
Thickening the sauce too much before canning. Dense sauces do not allow heat to penetrate evenly. If your recipe calls for a thick consistency, can it thinner and reduce it on the stovetop after opening.
Using cracked or chipped jars. Inspect every jar before each use. A hairline crack can cause the jar to break during processing.
Reusing single-use lids. Standard canning lids (the flat disc portion) are designed for one use only. The sealing compound degrades after the first processing cycle. Bands (the ring portion) can be reused if they are in good condition.
Skipping the jar warm-up. Placing a cold jar into boiling water can cause thermal shock and breakage. Keep jars warm in hot (not boiling) water until you are ready to fill them.
Letting filled jars sit too long before processing. Once filled, jars should go into the canner promptly. Letting them sit at room temperature gives bacteria an opportunity to multiply.
A Final Word on Equipment
You do not need to spend a fortune to can safely, but you do need the right tools. Here is a basic checklist:
- A tested pressure canner with a functioning gauge (have dial gauges tested annually at your local extension office)
- Canning jars in good condition (Ball, Kerr, or equivalent)
- New flat lids for every batch
- A jar lifter
- A wide-mouth funnel
- A bubble remover or thin non-metallic tool
- A headspace measuring tool
- Clean cloths for wiping jar rims
Avoid using jars from commercial products (like pasta sauce or pickle jars) for home canning. These are not manufactured to withstand the repeated thermal stress of home canning and are more likely to fail during processing.
Conclusion
Safe home canning is a skill that rewards careful attention to detail. The 9 Essential Tips for Canning Spaghetti Sauce Safely at Home Like a Pro covered in this article, from choosing the right canner and acidifying your tomatoes to adjusting for altitude and checking stored jars for spoilage, form a complete, science-backed framework for preserving spaghetti sauce with confidence.
Your actionable next steps:
- Identify whether your sauce recipe requires a pressure canner or a water bath canner based on its ingredients.
- Source a tested recipe from the USDA or your local university extension program.
- Check your altitude and note any required adjustments to processing time or pressure.
- Inspect your equipment before your next canning session, replacing any worn lids or questionable jars.
- Bookmark the USDA National Center for Home Food Preservation and check it at the start of each canning season.
Home-canned spaghetti sauce, made right, is one of the most satisfying things you can pull from your pantry shelf on a cold weeknight. Take the time to do it safely, and every jar you open will be worth it.
References
[1] Home Canning Safety – https://www.canada.ca/en/health-canada/services/general-food-safety-tips/home-canning-safety.html?utm_source=openai
[2] Oven Canning – https://www.simplycanning.com/oven-canning/?utm_source=openai
[3] Canning Homemade Spaghetti Sauces – https://www.healthycanning.com/canning-homemade-spaghetti-sauces?utm_source=openai
[4] Canning Spaghetti Sauce Meatless – https://www.simplycanning.com/canning-spaghetti-sauce-meatless/?utm_source=openai
[5] Spaghetti Sauce – https://pantryprofessor.com/canning/spaghetti-sauce/?utm_source=openai