8 Tips for Capturing a Delicious Food Image That Stops the Scroll Every Time
A single food photograph can drive more restaurant reservations than a week of paid advertising. Studies consistently show that high-quality food images increase online order values by up to 30%, yet most home cooks, food bloggers, and small restaurant owners still rely on quick, poorly lit snapshots that disappear into the noise of a crowded feed. The difference between a scroll-stopping image and a forgettable one rarely comes down to expensive gear. It comes down to technique.
Disclosure: This post contains affiliate links. As an Amazon Associate, we earn from qualifying purchases, and at no extra cost to you.
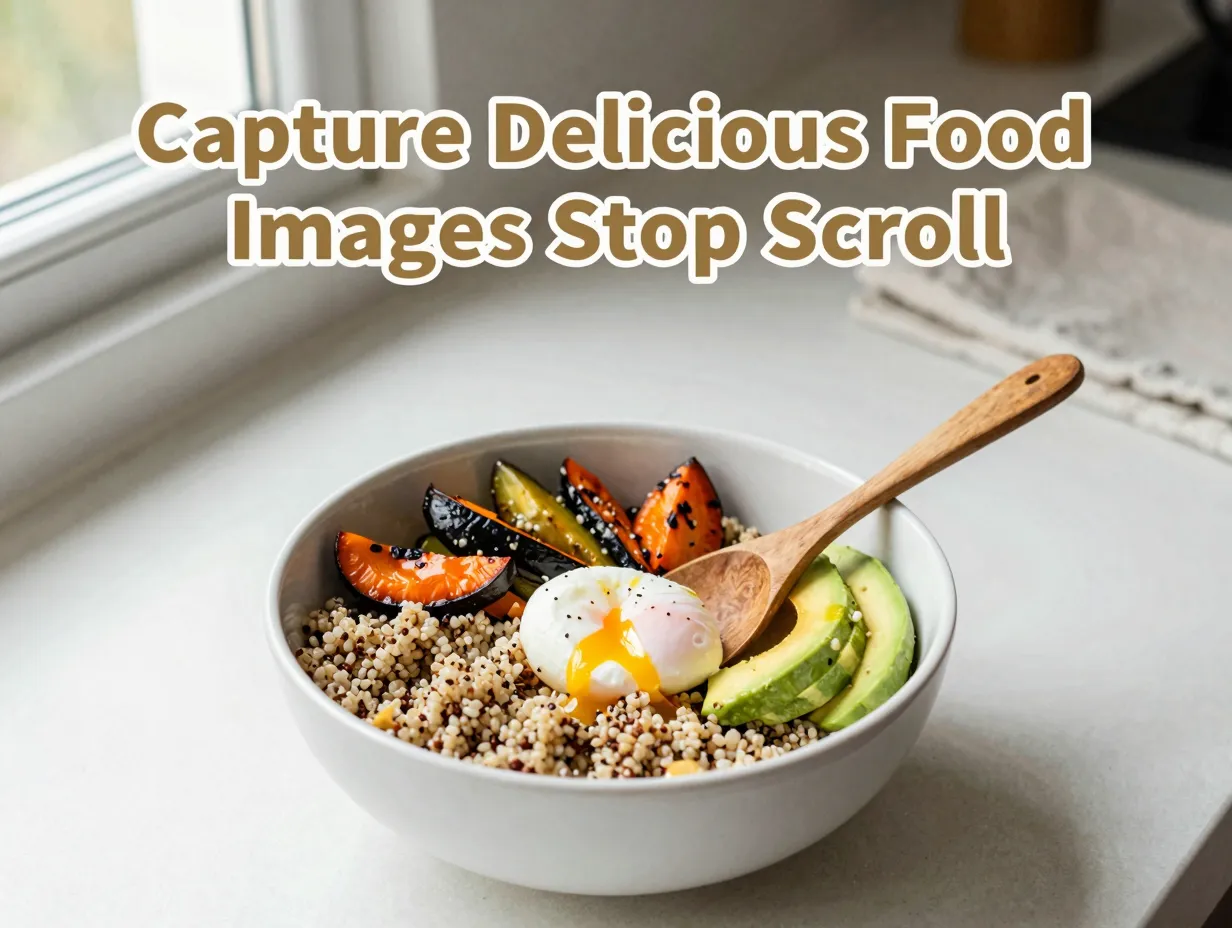
These 8 tips for capturing a delicious food image that stops the scroll every time are drawn from professional food stylists, working photographers, and platform data about what actually makes people pause, tap, and save. Whether you are shooting on a smartphone or a mirrorless camera, these principles apply. I have tested most of them myself, often learning the hard way that a beautiful dish can look completely flat under the wrong light or from the wrong angle.
Key Takeaways
- Natural light from a window is the single most powerful free tool in food photography
- Angle choice is not optional, the wrong angle hides what makes a dish special
- Composition rules like the rule of thirds create visual interest without extra props
- Moisture, texture, and movement add life and energy to static food images
- Light editing enhances; heavy editing destroys the natural appeal of food
Why Most Food Photos Fail Before the Shutter Clicks
Before diving into the specific tips, it helps to understand the root cause of most bad food photography. The problem is almost never the food itself. A bowl of pasta can look extraordinary or deeply unappetizing depending entirely on the decisions made in the thirty seconds before the photo is taken.
Most people rush. The food is hot, the family is waiting, and the lighting situation is whatever happens to be available at that moment. That urgency is the enemy of a great food image. Professional food photographers spend more time on setup than on shooting. They adjust, move, taste the light, and rearrange before a single frame is captured.
The good news is that with a clear checklist in mind, the setup process becomes faster over time. These 8 tips for capturing a delicious food image that stops the scroll every time function as exactly that kind of checklist, a repeatable system you can build into a habit.
8 Tips for Capturing a Delicious Food Image That Stops the Scroll Every Time
1. Position Your Dish to Use Natural Light
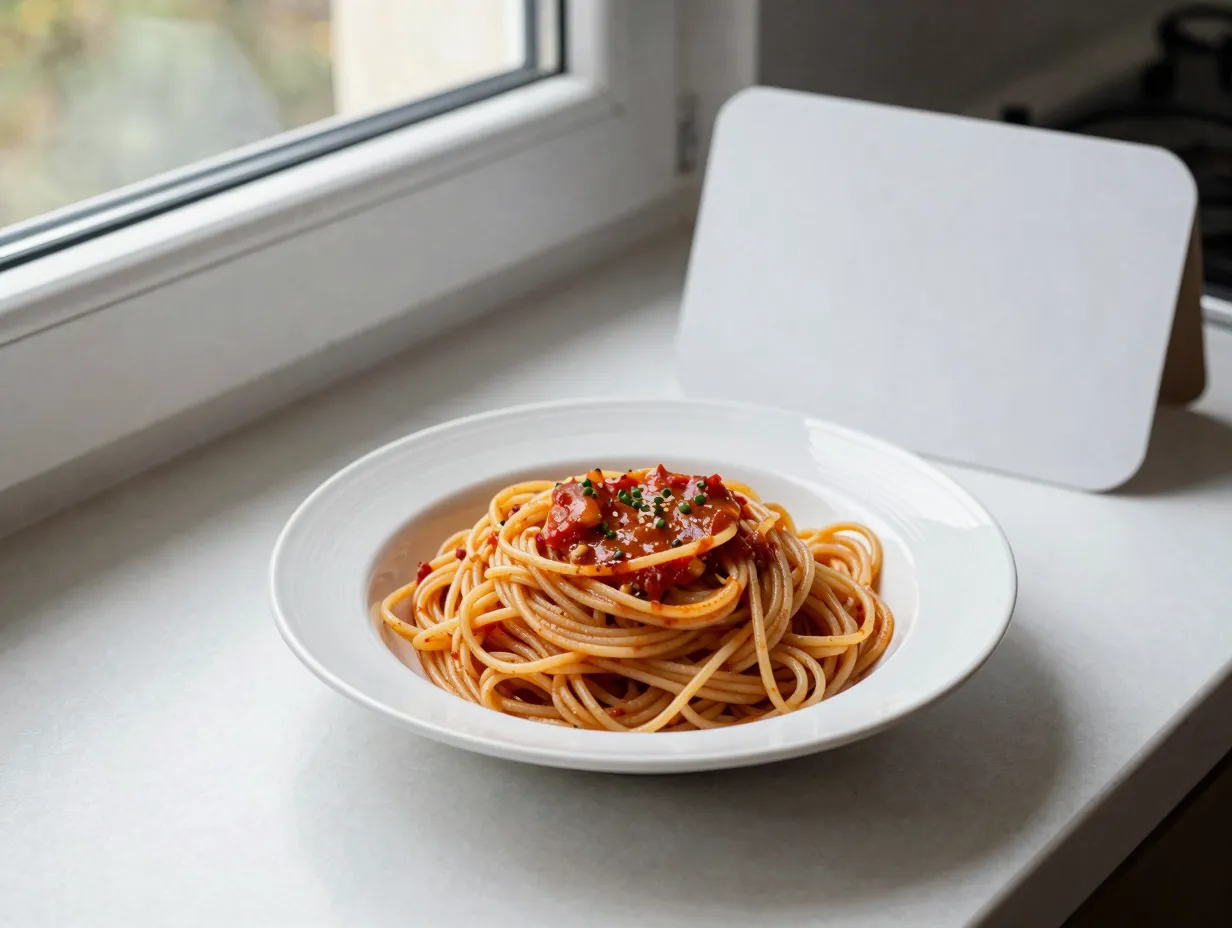
Light is the foundation of every great food photograph. Soft, diffused natural light from a window enhances color accuracy, reveals texture, and creates gentle shadows that give food a three-dimensional quality no artificial light can easily replicate [1].
The technique is straightforward. Place your dish within two to three feet of a window, ideally one that receives indirect light rather than direct harsh sunlight. Direct sunlight creates blown-out highlights and hard shadows that make food look flat or overexposed. If the only window available is receiving direct sun, hang a white curtain or tape a piece of white tissue paper to the glass to diffuse the light.
Avoid your phone’s flash entirely. The built-in flash fires from directly in front of the lens, which creates a flat, washed-out look and eliminates the shadows that give food its depth and texture [1]. Even a dim window on an overcast day produces better results than a phone flash.
A simple reflector card made from white cardboard placed on the opposite side of the dish from the window will bounce light back into the shadow side, reducing contrast and revealing more detail. This one addition can transform a flat image into something that looks professionally lit.
2. Select the Right Angle for Every Dish
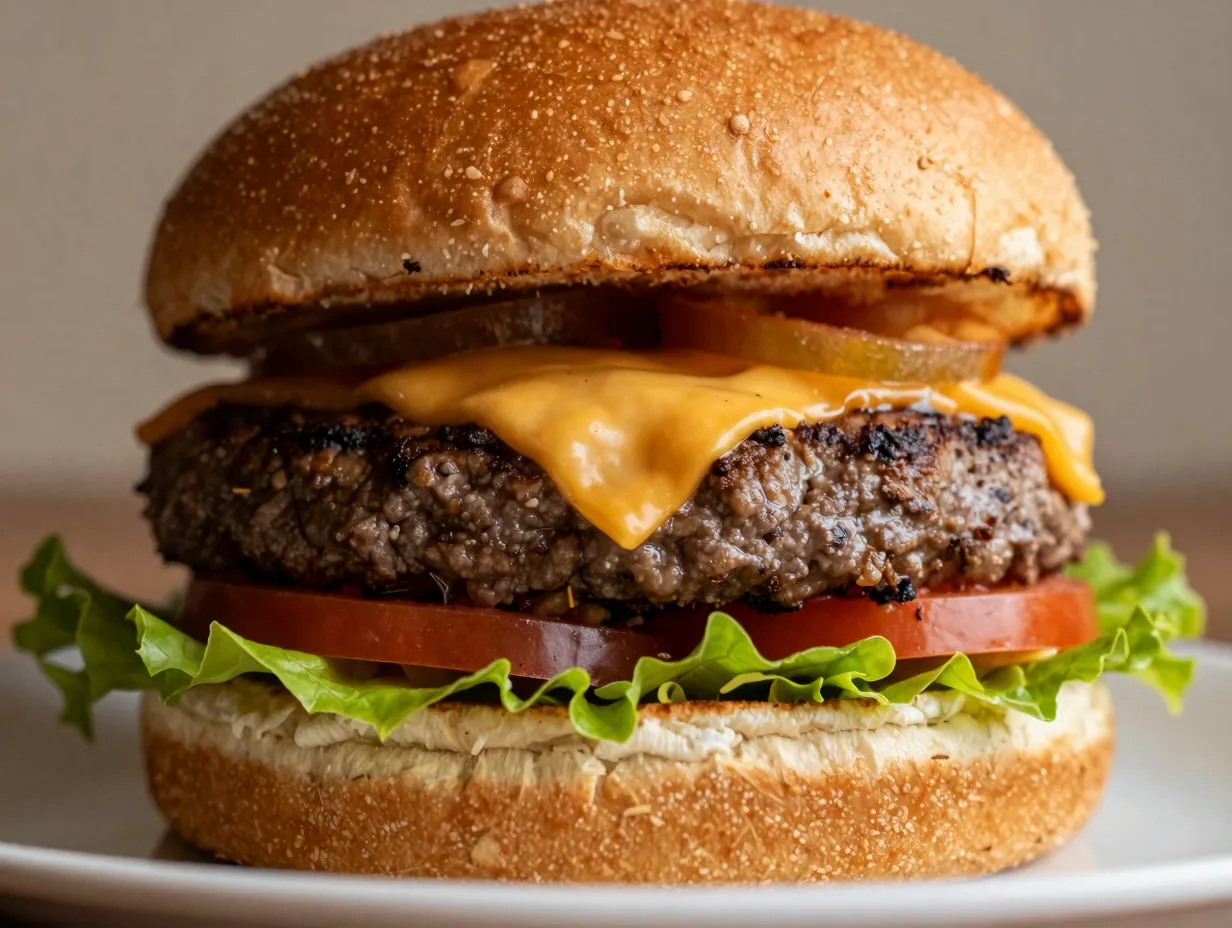
Not every dish looks best from the same angle, and choosing the wrong one is one of the most common and costly mistakes in food photography [2].
Here is a practical guide:
| Dish Type | Best Angle | Why It Works |
|---|---|---|
| Pizza, salads, grain bowls | Overhead (90 degrees) | Shows the full spread of toppings and colors |
| Burgers, cakes, sandwiches | Side (0-15 degrees) | Reveals layers and height |
| Soups, stews, pasta | 45-degree angle | Shows depth while revealing surface texture |
| Drinks, cocktails | Eye level or slight elevation | Shows condensation, garnish, and liquid clarity |
The 45-degree angle is often called the “restaurant menu angle” because it works for a wide range of dishes and gives a natural, approachable feel. When I first started photographing food, I defaulted to overhead for everything. A burger photographed from directly above looks like a compressed, confusing circle. Shooting it from a low side angle immediately reveals the architecture of the layers, the melted cheese draping over the patty, the height of the brioche bun, the crispness of the lettuce [2].
3. Apply the Rule of Thirds to Your Composition
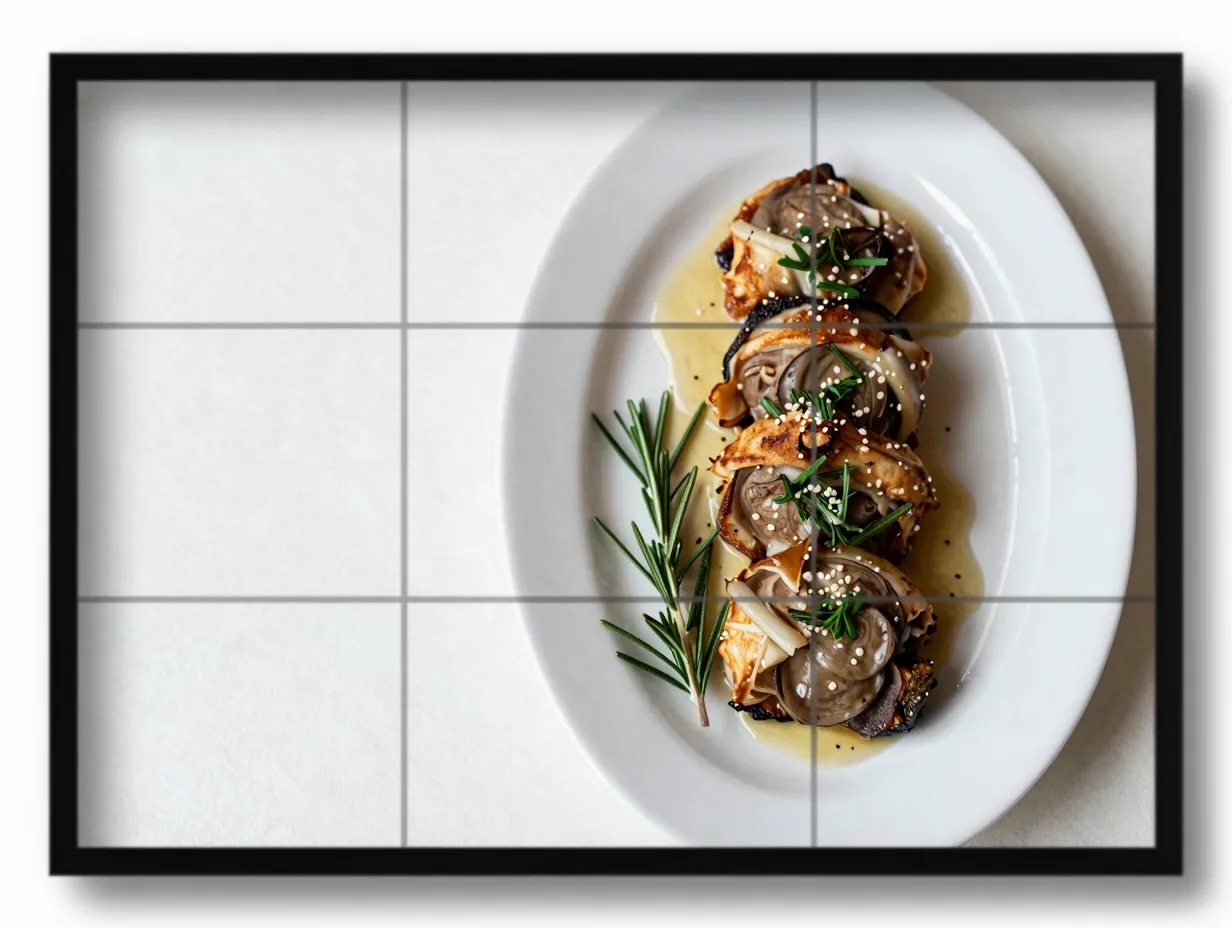
Centering your dish in the frame is the most natural instinct, and it is almost always the wrong choice. Centered compositions feel static and predictable. The rule of thirds solves this problem with a simple grid [5].
Activate the grid overlay on your phone or camera. Most smartphones have this option in the camera settings. The grid divides your frame into nine equal sections with two horizontal and two vertical lines. Place your main subject, the dish, or its most visually interesting element, along one of those lines or at one of the four intersection points where the lines cross.
“The rule of thirds is not a rule you follow blindly. It is a starting point that trains your eye to see where visual weight naturally falls in a frame.”
The remaining space in the frame becomes negative space, which gives the image room to breathe and draws the viewer’s eye directly to the subject. A small sprig of rosemary placed at a lower intersection point, with the main dish anchored along the right vertical line, creates a composition that feels intentional and dynamic rather than accidental [5].
4. Add Texture and Movement to Create Energy
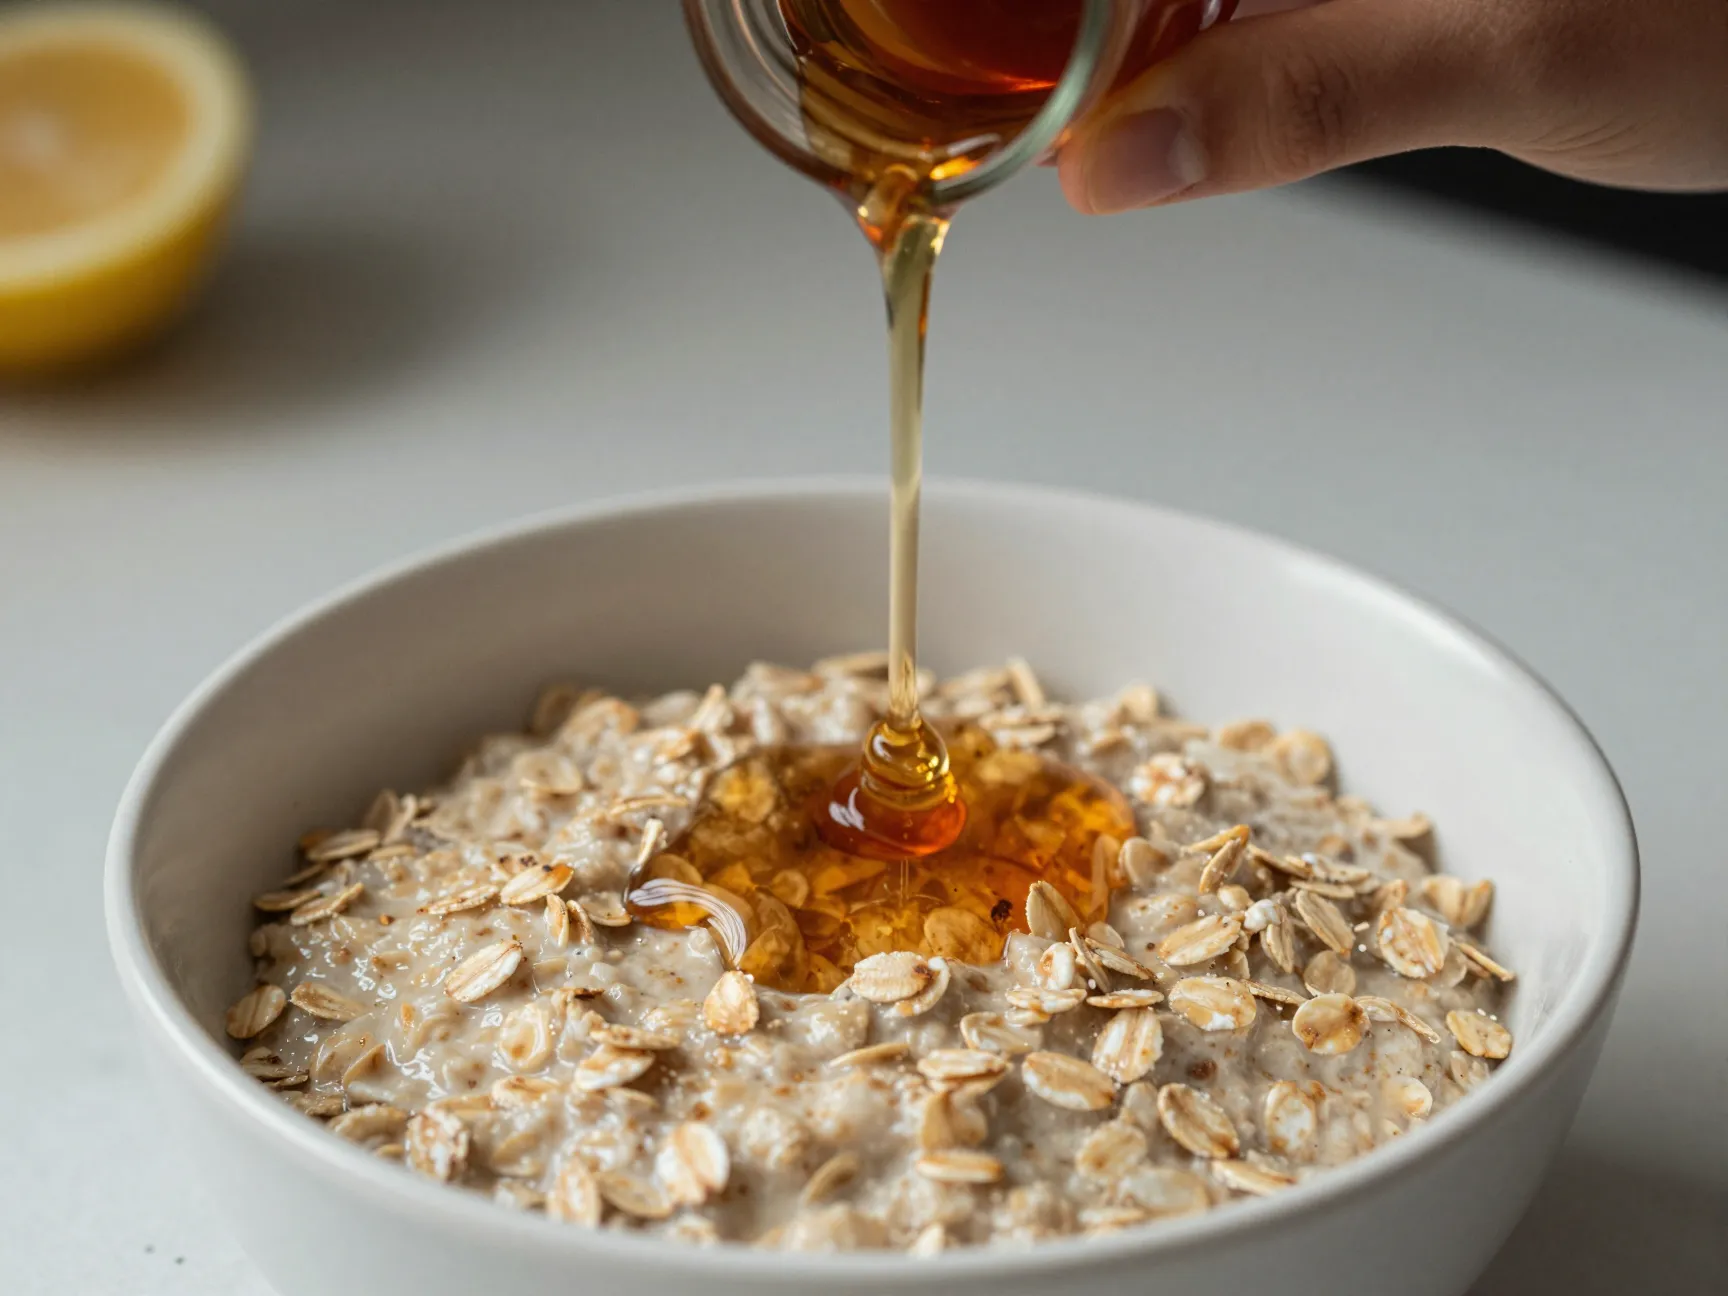
A technically perfect photograph of a perfectly plated dish can still feel lifeless if everything in the frame is static. Texture and movement are the two elements that inject energy into a food image and make the viewer feel like they could almost taste what they are seeing [3].
Texture is revealed by light. Side lighting, light coming from the left or right of the dish rather than from directly above, rakes across the surface of food and casts tiny shadows that make every grain of salt, every bubble in a sauce, and every pore in a piece of toasted bread visible. If your images look flat, try moving your light source to the side.
Movement can be captured or implied. Capturing it means photographing action: a hand pouring honey, a fork lifting a strand of pasta, powdered sugar being dusted over a waffle from above. Implying it means arranging elements to suggest something just happened, a spoon resting in a bowl at an angle, a napkin that looks casually tossed rather than precisely folded [3].
I once spent an hour trying to make a bowl of oatmeal look interesting from overhead with no success. The moment I added a slow pour of maple syrup and shot the action, the image became one of my most-shared posts. Movement tells the viewer the food is alive.
5. Keep Your Lens and Plate Spotlessly Clean
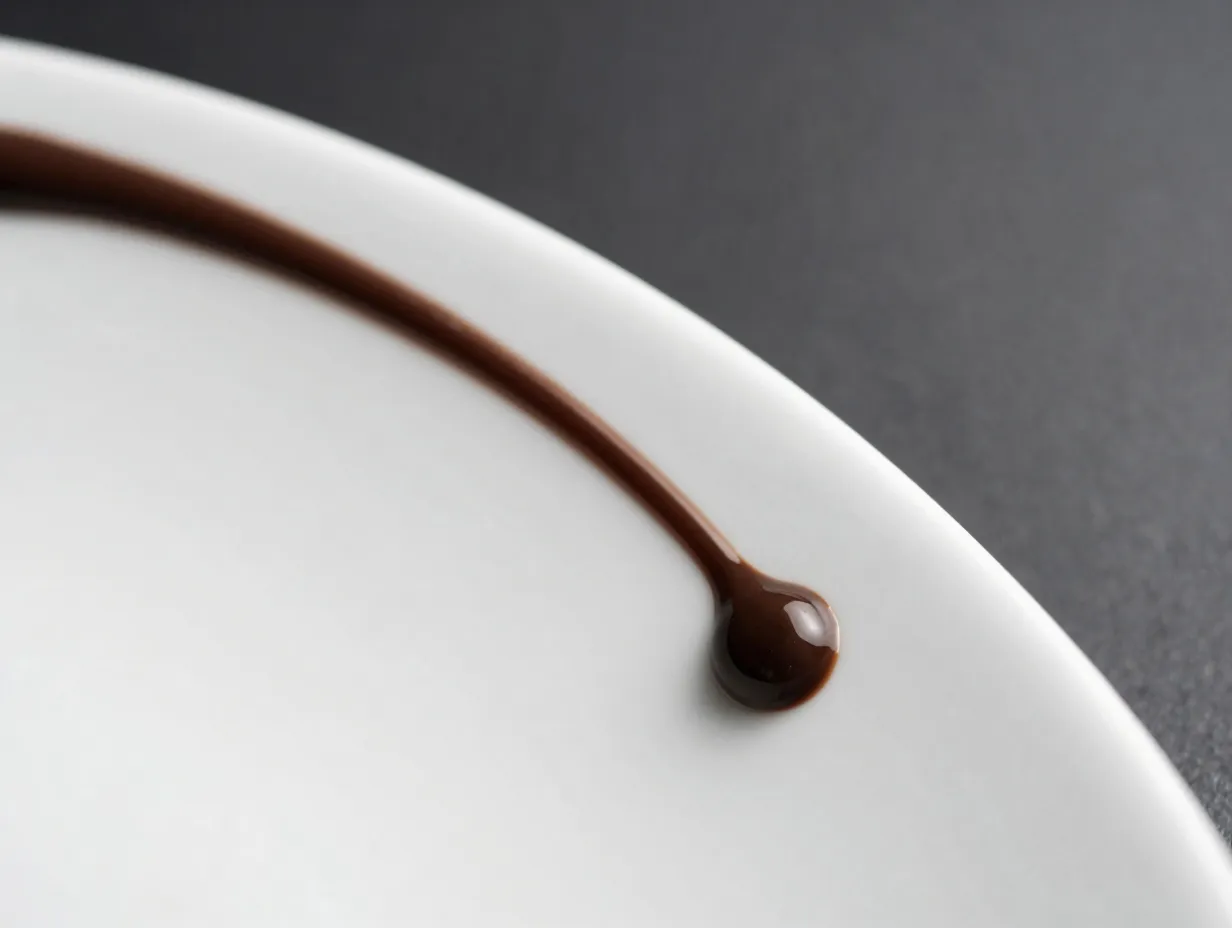
This tip sounds almost insultingly simple, but a smudged lens or a messy plate edge ruins more food photographs than any lighting mistake [4].
A fingerprint on your phone camera lens does not create a visible smudge in the image, it creates a soft, hazy glow across the entire frame that reduces sharpness and makes the image look like it was shot through fog. Before every single shoot, wipe your lens with a clean microfiber cloth. This takes five seconds and makes a measurable difference in image sharpness.
The plate is equally important. When plating food for photography, use a clean kitchen towel or a cotton swab dipped in water to wipe any drips, smears, or crumbs from the rim of the plate. The exception is intentional styling, a drizzle of chocolate sauce that trails off the plate edge in a deliberate arc can be a beautiful compositional element. The goal is intention, not sterility [4].
Quick pre-shoot checklist:
- Wipe camera lens with microfiber cloth
- Check plate rim for unintended drips or crumbs
- Remove any props that are not contributing to the story
- Check the background for distracting elements (a stray fork, a phone charger)
- Confirm light source is consistent and not flickering
6. Control Moisture to Make Food Look Fresh and Juicy
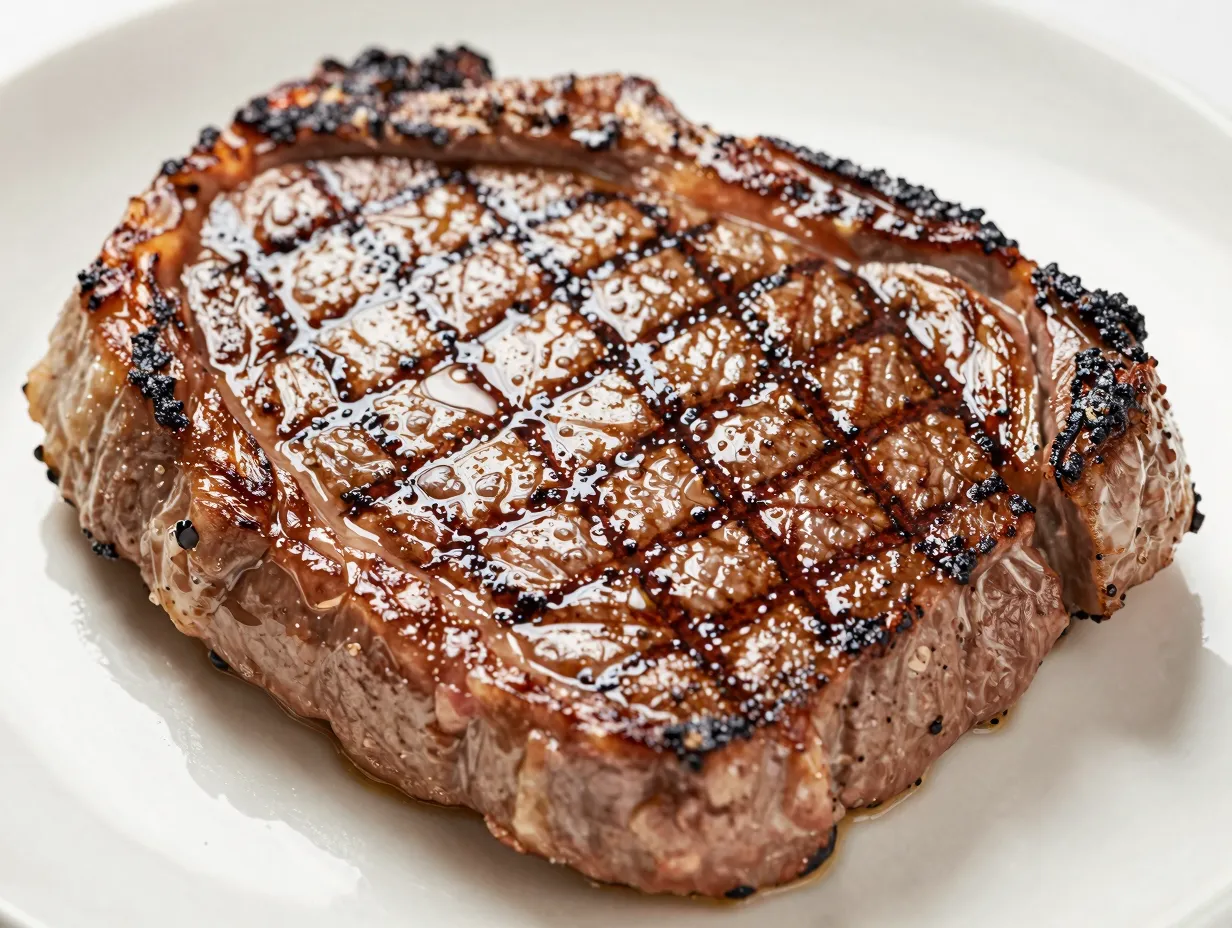
One of the most overlooked professional techniques in food photography is moisture control. Food that looks dry looks unappetizing. Food that looks moist and glistening looks fresh, flavorful, and alive [6].
The professional approach is to lightly brush proteins, vegetables, and even some baked goods with a mixture of water and a very small amount of neutral oil, something like a 90/10 ratio of water to oil. This mixture creates a natural-looking sheen that photographs beautifully and lasts longer than plain water, which evaporates quickly under warm lights [6].
For salad greens and fresh herbs, a light mist of plain water from a small spray bottle creates the appearance of freshness. For cut fruit, a brush of lemon juice prevents browning while also adding a subtle glisten. For grilled meats, a light brush of oil applied just before shooting restores the fresh-off-the-grill appearance that fades within minutes.
This technique is not deception, it is presentation. The same instinct that leads a chef to add a final drizzle of olive oil before a dish leaves the kitchen applies here. You are showing the food at its best.
7. Add a Human Element to Create Connection
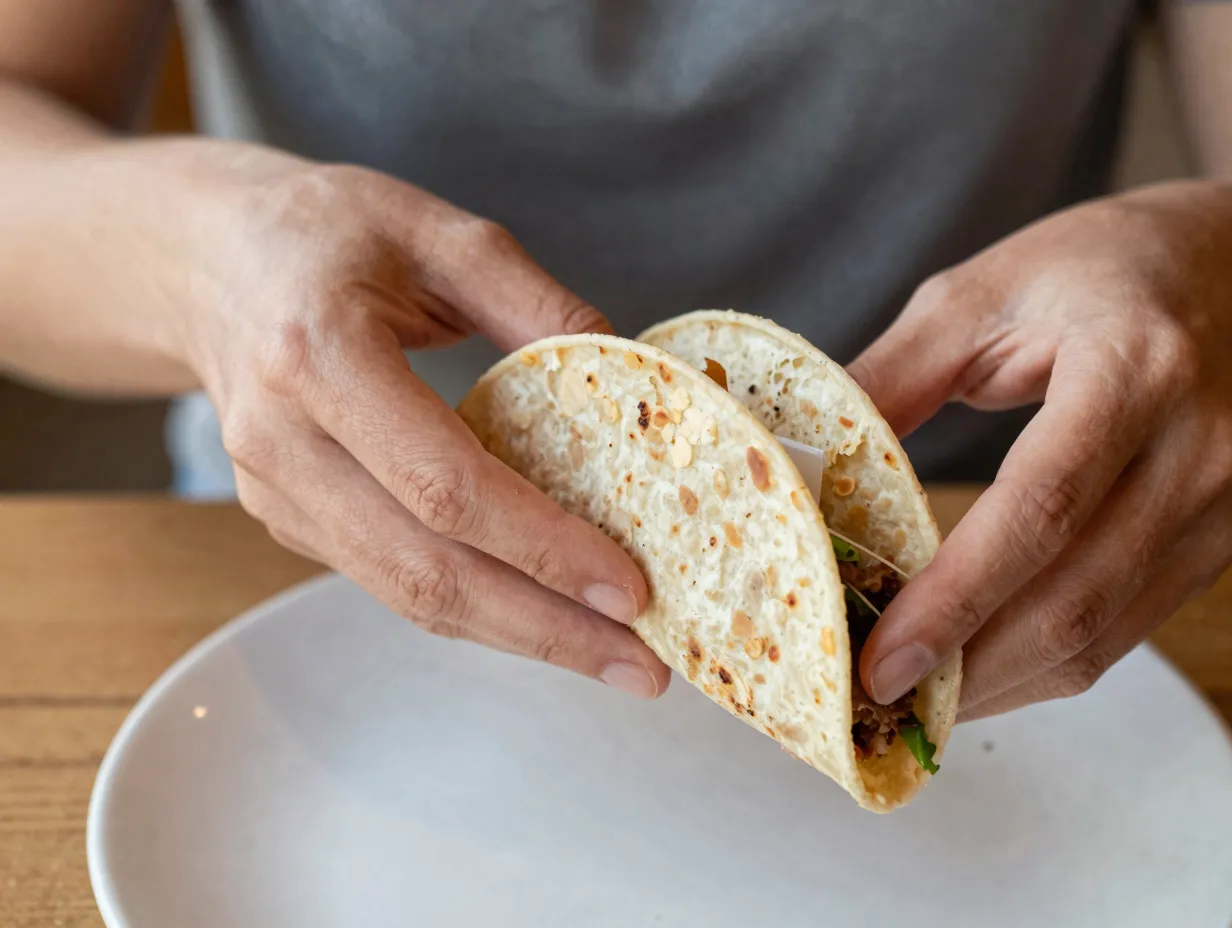
Food is inherently social. It is made by human hands, shared between people, and experienced through all the senses. A photograph that includes a human element, even just a pair of hands, communicates that social dimension and makes the viewer feel invited into the scene [3].
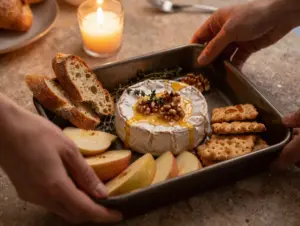
The most accessible version of this technique is including hands in the frame. A hand holding a taco, fingers tearing a piece of bread, or a wrist pouring coffee from a height all create an immediate sense of scale, warmth, and relatability. The viewer projects themselves into the image.
You do not need a second person to achieve this. Set up your shot, then reach in with your own non-dominant hand. Use a tripod or prop your phone against a stable object so your dominant hand is free to shoot. Alternatively, set a timer and use both hands.
Tips for photographing hands in food images:
- Keep nails clean and neutral, chipped polish or elaborate nail art distracts from the food
- Use natural skin tones without heavy filters that make hands look unnatural
- Position hands at the edge of the frame so they frame the food rather than compete with it
- Avoid stiff, posed hand positions, a relaxed, natural grip reads as authentic
The human element also works with implied presence: a half-eaten slice of cake, a coffee cup with a lipstick mark, a fork resting mid-plate. These details tell a story without requiring anyone to be in the frame [6].
8. Tell a Full Story with Props, Backgrounds, and Light Editing
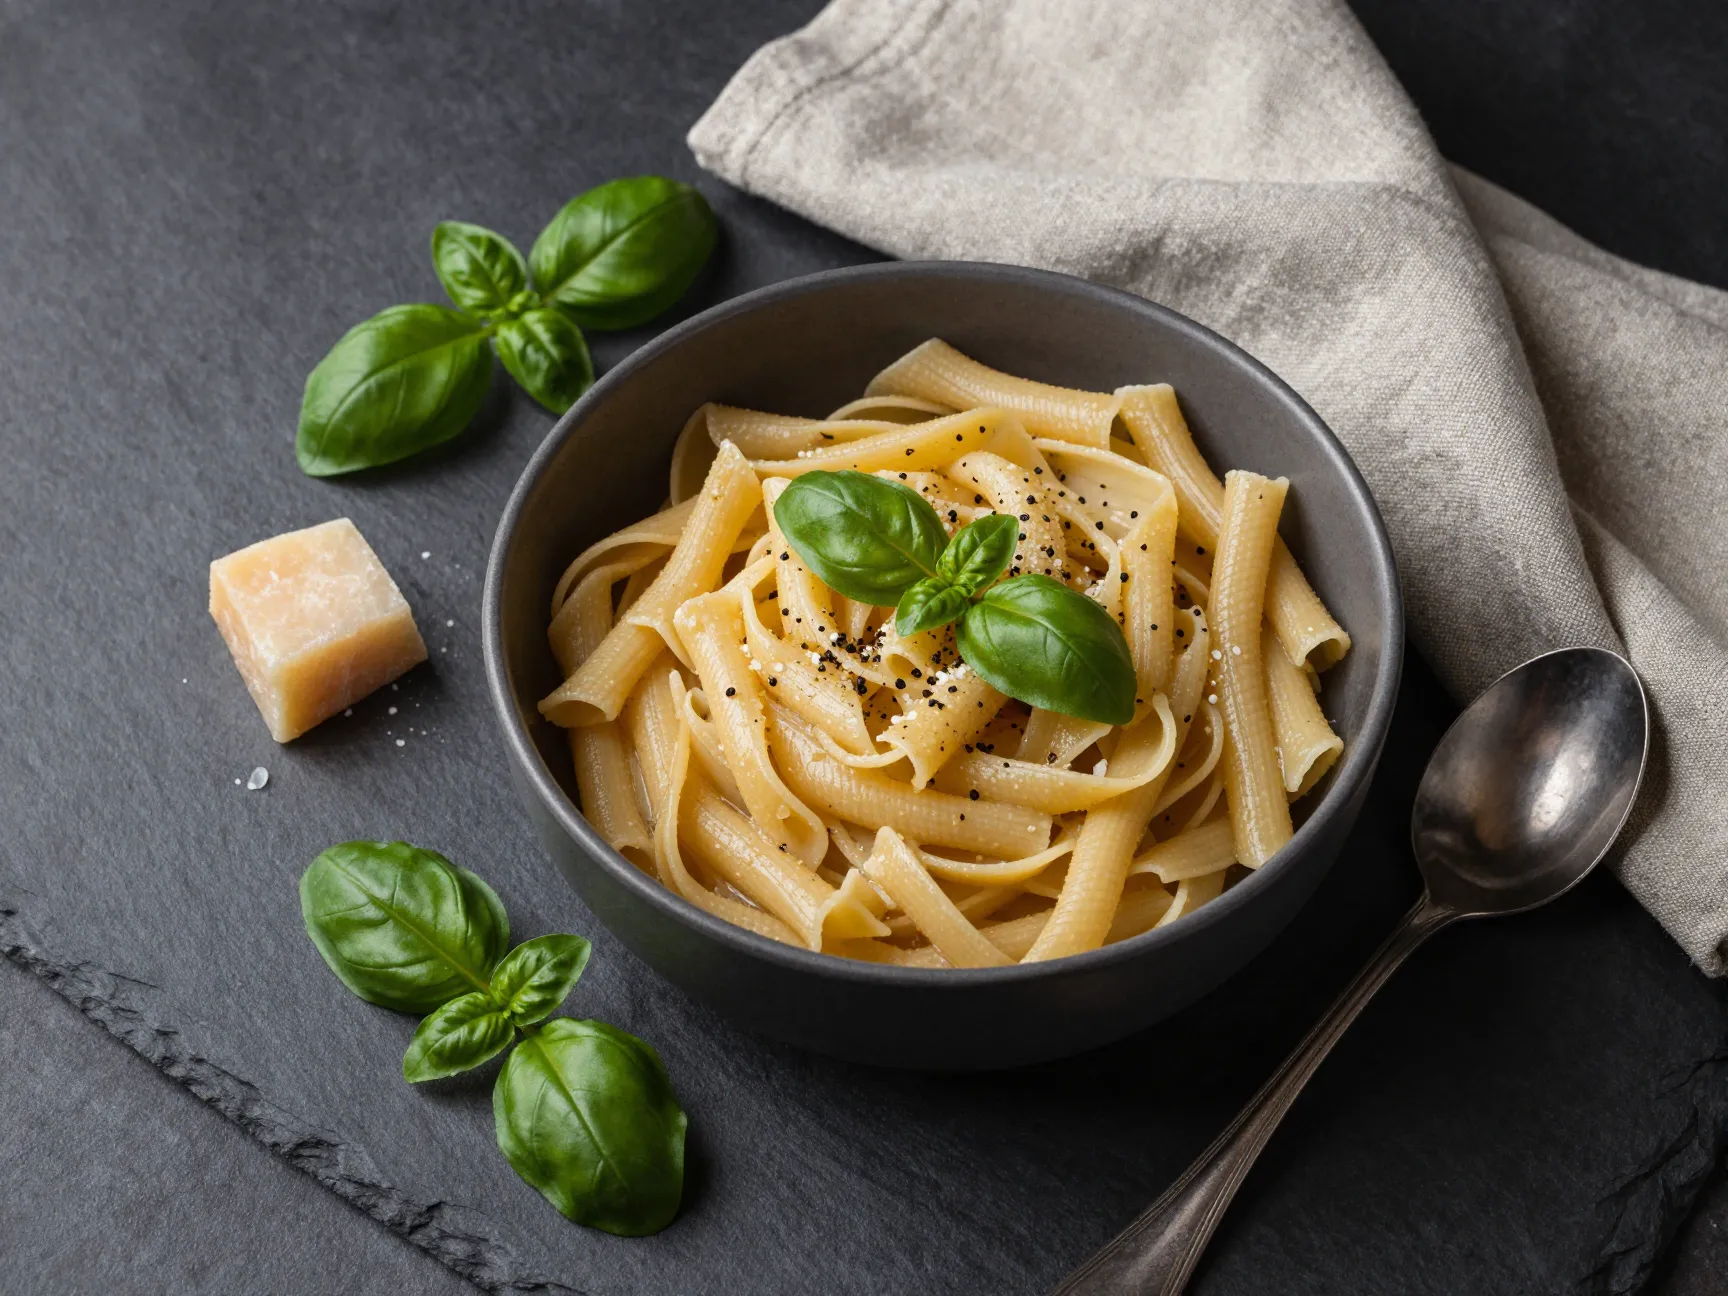
The final tip brings everything together. A great food image is not just a photograph of food, it is a small, complete story told in a single frame [6].
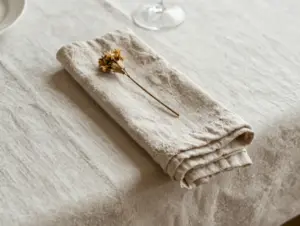
Props provide context and narrative. A bowl of pasta surrounded by a few loose basil leaves, a small block of parmesan, and a linen napkin tells the viewer this is a home-cooked Italian meal made with care. The same bowl on a bare white surface tells them almost nothing. Props do not need to be elaborate or expensive. Wooden cutting boards, linen napkins, small ceramic ramekins, vintage spoons, and raw ingredients from the recipe itself are all effective and widely available [6].
Backgrounds set the mood. Dark backgrounds (slate, dark wood, black linen) create a dramatic, moody atmosphere that works well for rich dishes like chocolate desserts, red wine, and hearty stews. Light backgrounds (white marble, light wood, cream linen) create an airy, fresh feel that suits salads, smoothie bowls, and brunch dishes. Match the background to the emotional tone of the food.
Light editing is the final step, and restraint is the key principle [4]. The goal of editing is to reveal what was already there, not to transform the image into something it was not. A few specific adjustments make the biggest difference:
- Brightness and exposure: Lift slightly if the image is underexposed; reduce if highlights are blown out
- Contrast: A small increase adds depth and makes colors pop
- Highlights: Reduce to recover detail in bright areas like sauces and glazes
- Shadows: Lift slightly to reveal detail in dark areas without flattening the image
- Sharpness: A modest increase brings out texture in bread, meat, and vegetables
- Saturation: Use sparingly, over-saturated food looks artificial and unappetizing
Apps like Lightroom Mobile, VSCO, and Snapseed all offer these controls for free and work directly on your phone. Edit in natural light if possible, and compare your edited image to the original before saving to make sure you have not drifted too far from reality [4].
Common Mistakes That Undermine a Great Food Shot
Even with the right techniques in mind, a few persistent habits can undermine the final result. Recognizing them is the first step to eliminating them.
Shooting too late. Food changes rapidly after plating. Ice cream melts, souffles deflate, salads wilt. Set up your shot before the food is ready so you can photograph it within the first two minutes of plating.
Ignoring the background. A beautiful dish in front of a cluttered kitchen counter or a pile of dirty dishes loses all its appeal. Spend thirty seconds clearing the background before you start.
Using the wrong white balance. Indoor lighting, especially warm incandescent bulbs, casts a strong yellow-orange color cast over food. If you cannot shoot in natural light, set your white balance manually or correct it in editing.
Over-styling. More props do not always mean a better image. Every element in the frame should earn its place. If a prop is not adding context, mood, or visual balance, remove it.
Conclusion
These 8 tips for capturing a delicious food image that stops the scroll every time are not a guarantee of viral success, but they are a proven framework for producing images that look intentional, appetizing, and professional regardless of your equipment.
Start with light. Every other decision flows from how well you control and position your light source. Then choose the right angle for the specific dish in front of you, apply the rule of thirds to your composition, and add texture, movement, or a human element to bring the image to life. Keep your lens and plate clean, manage moisture for freshness, build a story with props and backgrounds, and edit with a light hand.
Actionable next steps for this week:
- Move your next food photo to a window and shoot with natural light only
- Activate the grid overlay on your phone camera and practice the rule of thirds
- Try one movement shot, pour something, sprinkle something, or shoot a hand in action
- Download Lightroom Mobile and practice the five editing adjustments listed above
- Review your last five food photos and identify which single tip would have improved each one the most
The scroll is fast and the competition is fierce. But a food image built on these principles does not need to compete loudly, it simply stops people in their tracks because it looks genuinely, undeniably delicious.
References
[1] How To Take Food Photos With Phone – https://foodpicai.com/blog/how-to-take-food-photos-with-phone/?utm_source=openai
[2] Food Photography Tips – https://www.webstaurantstore.com/blog/2720/food-photography-tips.html?utm_source=openai
[3] Food Photography Texture And Movement – https://www.ice.edu/blog/food-photography-texture-and-movement?utm_source=openai
[4] Tipsforiphone – https://www.brittanykelleyphoto.com/articles/tipsforiphone?utm_source=openai
[5] Food Photography Tips – https://www.menucapture.com/food-photography-tips?utm_source=openai
[6] What Are Some Overlooked Tips For Making Food Look Delicious In Photos – https://www.replicasurfaces.com/blogs/q-as/what-are-some-overlooked-tips-for-making-food-look-delicious-in-photos?utm_source=openai