9 Expert Tips for a Foolproof Canning Dill Pickles Recipe That Lasts All Year
Every summer, millions of home canners lose entire batches of pickles to soft texture, cloudy brine, or worse, spoilage that makes the jars unsafe to eat. The difference between a jar that sits proudly on your pantry shelf for twelve months and one that gets tossed in October often comes down to a handful of decisions made before the first cucumber ever hits the brine. This guide on the 9 Expert Tips for a Foolproof Canning Dill Pickles Recipe That Lasts All Year walks you through each of those decisions with precision, so you stop guessing and start preserving with confidence.
Disclosure: This post contains affiliate links. As an Amazon Associate, we earn from qualifying purchases, and at no extra cost to you.
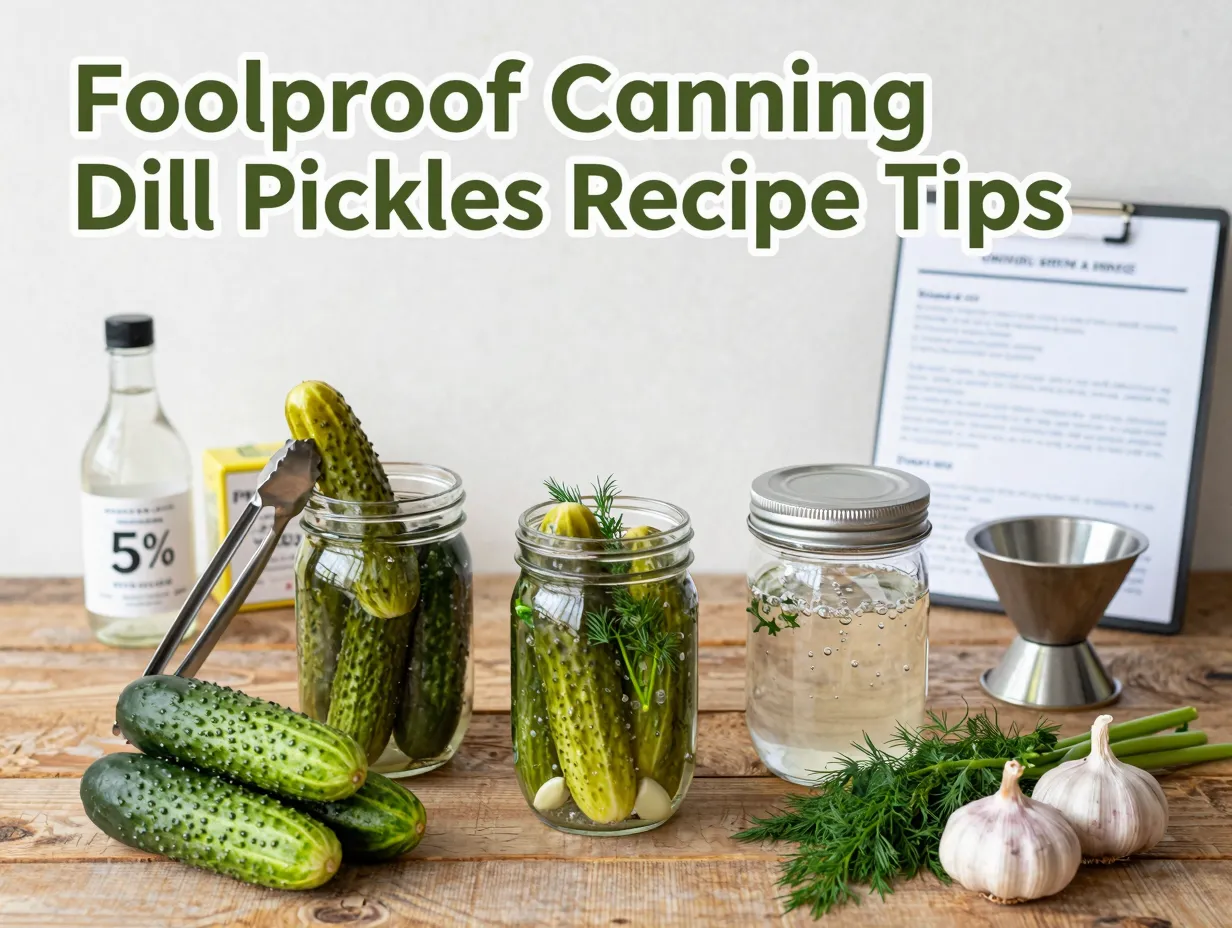
I still remember my grandmother pulling a jar of her dill pickles from the cellar in February. The brine was crystal clear, the spears snapped when she bit into them, and the garlic flavor had deepened into something extraordinary. She never measured anything by eye. She followed a method. That method is what I want to share with you here.
Key Takeaways
- Always use firm, fresh pickling cucumbers and trim the blossom end to prevent enzyme-driven softening.
- Follow a tested recipe from the USDA or a university extension service, never improvise acid ratios.
- Use vinegar with at least 5% acidity and non-iodized pickling salt for safe, clear brine.
- Process every jar in a boiling-water canner; open-kettle canning is no longer considered safe.
- Adjust processing times for altitude to guarantee a proper seal and shelf-stable product.
Why Getting the Basics Right Matters More Than Any Secret Ingredient
Before diving into the numbered tips, it helps to understand what you are actually trying to accomplish when you can dill pickles. You are creating an acidic environment hostile to harmful bacteria, sealing that environment inside a vacuum-sealed jar, and preserving both flavor and texture for up to a year or longer.
The science is straightforward. Acidity below pH 4.6 prevents the growth of Clostridium botulinum, the organism responsible for botulism [2]. Heat processing drives out air, creates a vacuum seal, and destroys surface microorganisms. Crispness depends on enzyme control and calcium content in the cucumber flesh. Every tip below connects directly to one or more of these goals.
9 Expert Tips for a Foolproof Canning Dill Pickles Recipe That Lasts All Year
1. Start With the Right Cucumber Variety
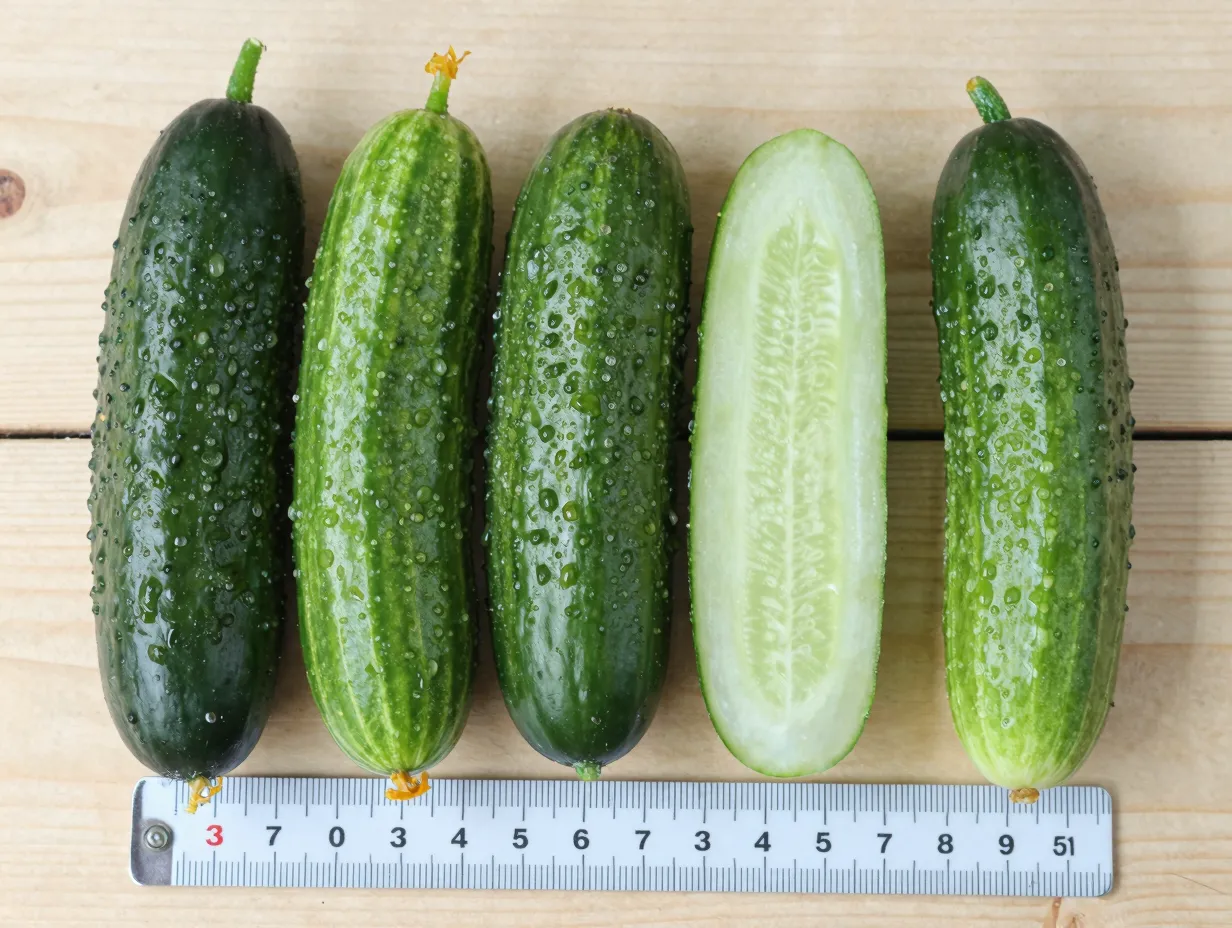
Not every cucumber belongs in a canning jar. Slicing cucumbers, the long, smooth ones you find in most grocery stores, have thinner skins, higher water content, and softer flesh. They turn mushy during heat processing. Pickling cucumbers, such as Kirby, National Pickling, or Boston Pickling varieties, have thicker skins, drier flesh, and smaller seed cavities that hold up under heat [5].
What to look for at the market or in your garden:
- Length of 3 to 5 inches for spears, or 1.5 to 2 inches for whole pickles
- Firm flesh with no soft spots, yellowing, or blemishes
- Harvested within 24 hours of canning for best results [3]
If you grow your own, pick cucumbers in the morning before the heat of the day softens them. If you buy from a farmers market, ask when they were harvested. Freshness is not a preference, it is a safety and quality variable.
2. Always Trim the Blossom End
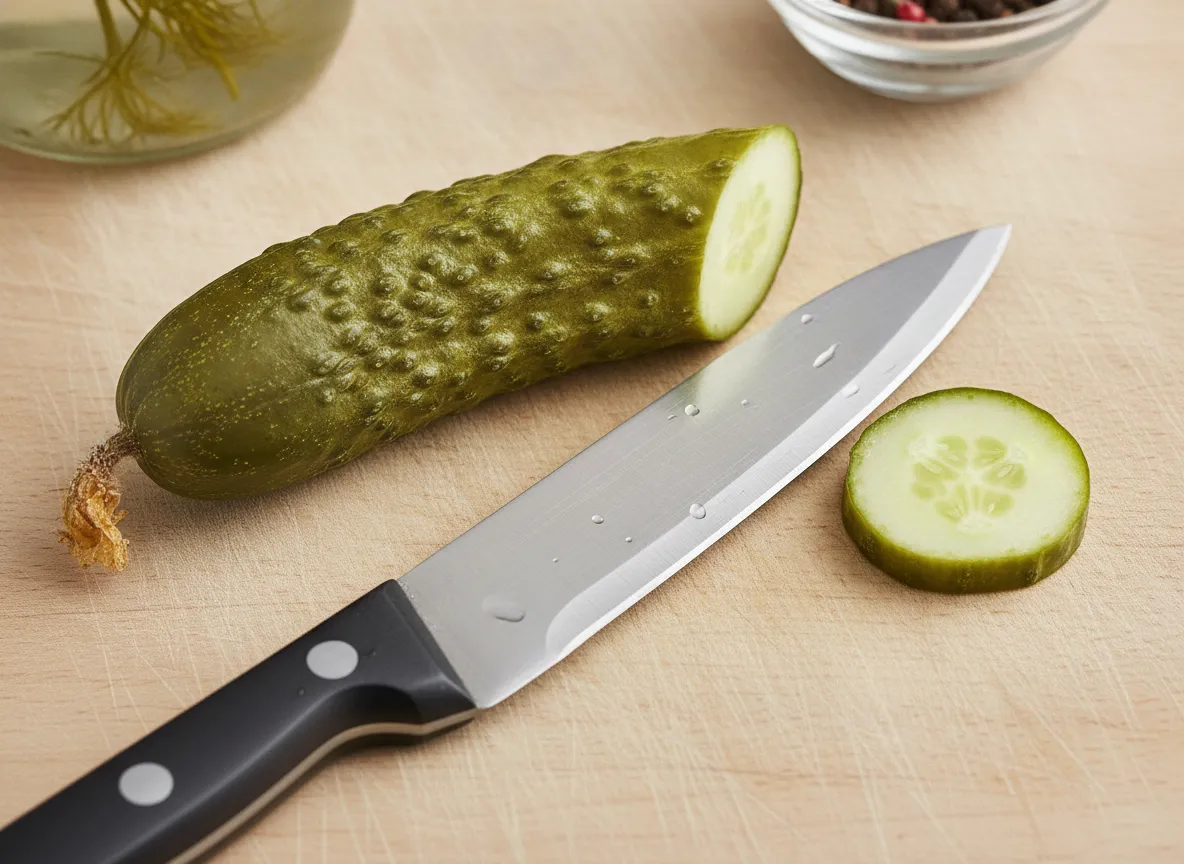
This single step is one of the most overlooked in home canning, and skipping it costs more batches than almost any other mistake. The blossom end of a cucumber, the end opposite the stem, contains naturally occurring enzymes that accelerate softening [5]. Even after heat processing, residual enzyme activity can slowly break down the pectin in the cucumber cell walls, leaving you with a limp, hollow pickle by December.
Trim a thin slice, about 1/16 of an inch, from the blossom end of every cucumber before packing. The stem end can stay. This small cut removes the enzyme concentration point and dramatically improves the final texture [6].
“Trimming the blossom end is the single most effective step for maintaining crispness in home-canned dill pickles.”, University of Saskatchewan Extension [5]
3. Use a Tested Recipe From an Authoritative Source
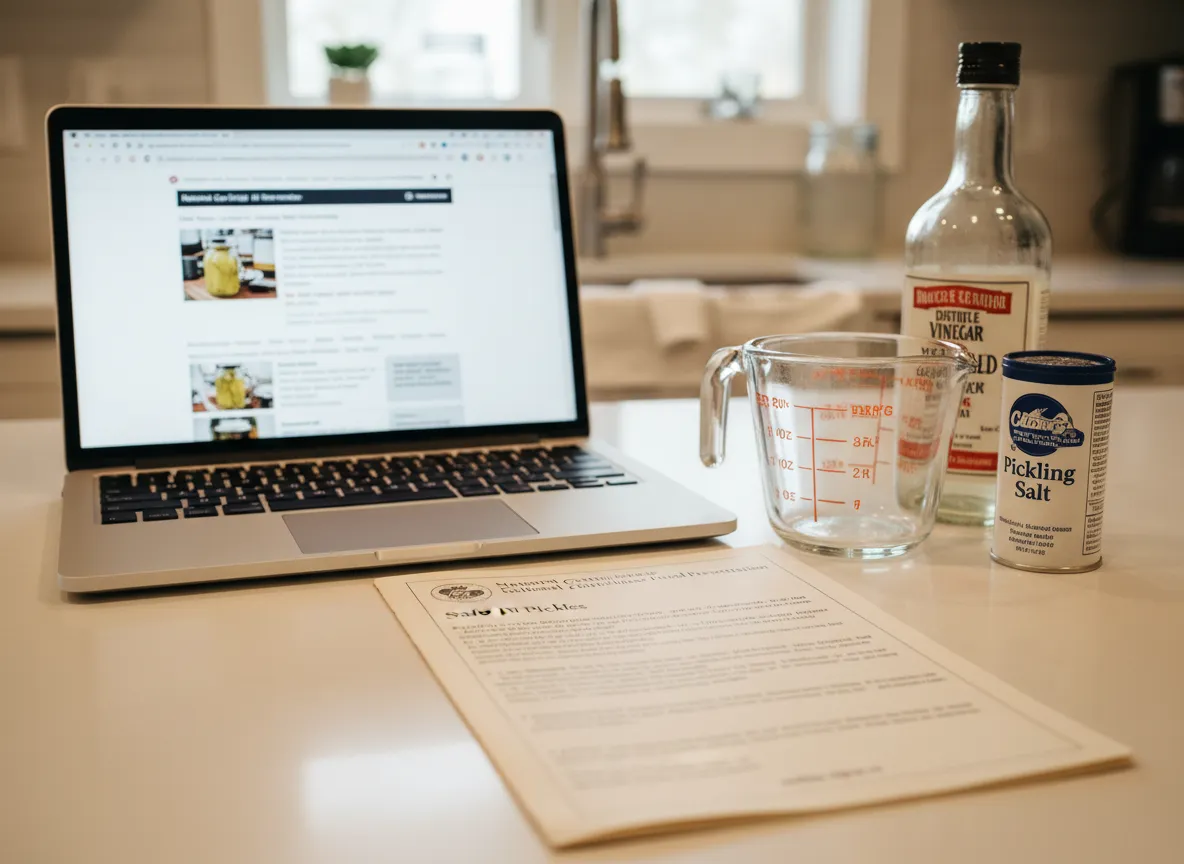
This is where many home canners make their most dangerous mistake. Canning is not like cooking. In cooking, improvising a sauce or adjusting spices carries little risk. In canning, changing the ratio of vinegar to water, reducing salt, or adding low-acid ingredients like onions in large quantities can push the final pH above the safe threshold of 4.6.
The USDA and the National Center for Home Food Preservation (NCHFP) publish recipes that have been laboratory-tested for final acidity [2]. University extension services, such as those at South Dakota State University and the University of California, publish regionally adapted versions of these same tested formulas [8][9].
Authoritative sources to bookmark:
- National Center for Home Food Preservation (nchfp.uga.edu)
- USDA Complete Guide to Home Canning
- Your state’s cooperative extension service
You can adjust the spices, add more dill, use different peppercorns, swap fresh garlic for dried, without affecting safety. What you cannot safely change is the vinegar-to-water ratio or the salt concentration without re-testing [7].
4. Choose Vinegar With at Least 5% Acidity
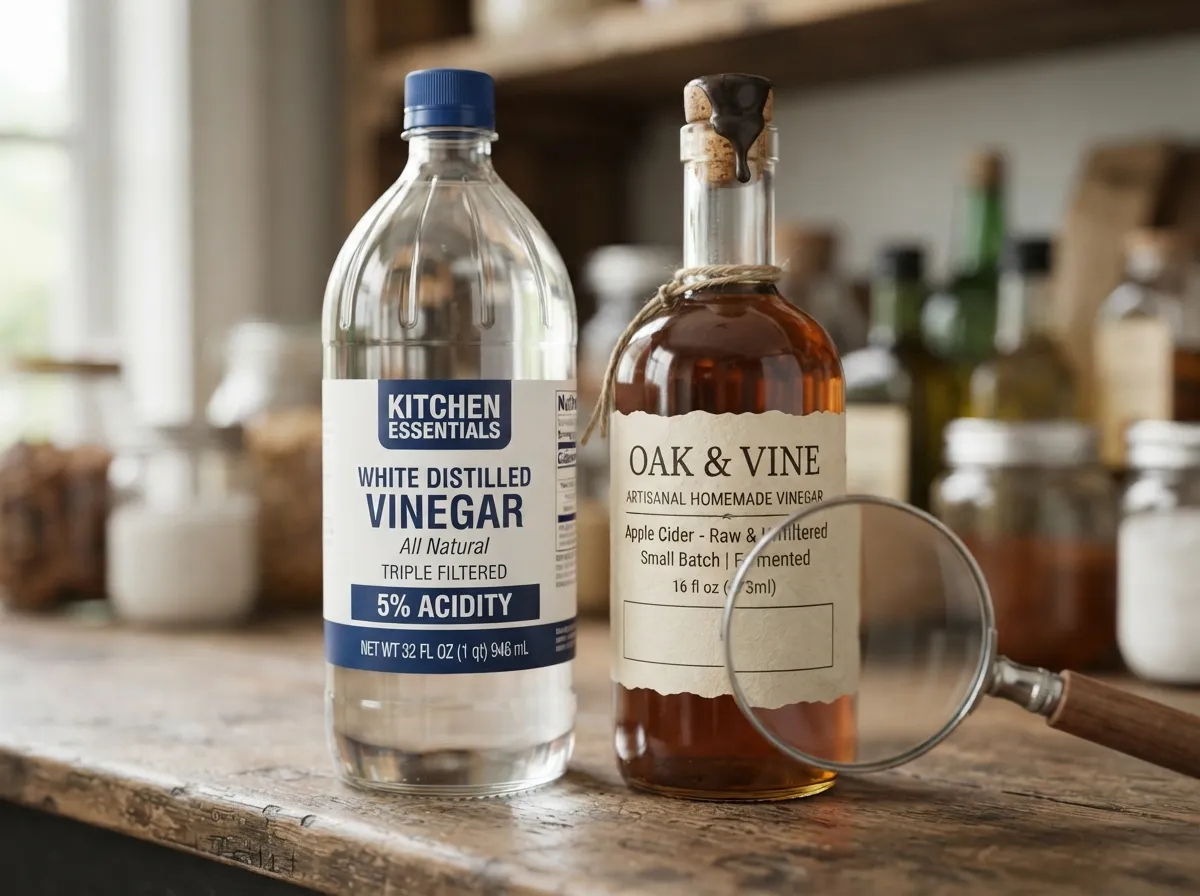
The acid in your brine is your primary safety barrier. White distilled vinegar and cider vinegar both work well for canning dill pickles, but only if they contain at least 5% acetic acid [2]. Most commercial vinegars in the United States are labeled at exactly 5%, but some specialty vinegars, particularly homemade or artisan varieties, may fall below that threshold.
Vinegar comparison for canning:
| Vinegar Type | Typical Acidity | Effect on Color | Safe for Canning? |
|---|---|---|---|
| White distilled | 5% | Clear brine | Yes |
| Apple cider | 5% | Slightly amber | Yes |
| Homemade/artisan | Variable (often below 5%) | Variable | Not recommended |
| Wine vinegar | Often 5-7% | Tinted brine | Check label carefully |
Always check the label before purchasing. If the acidity is not printed on the bottle, do not use that vinegar for canning [4].
5. Use Pickling Salt, Not Table Salt
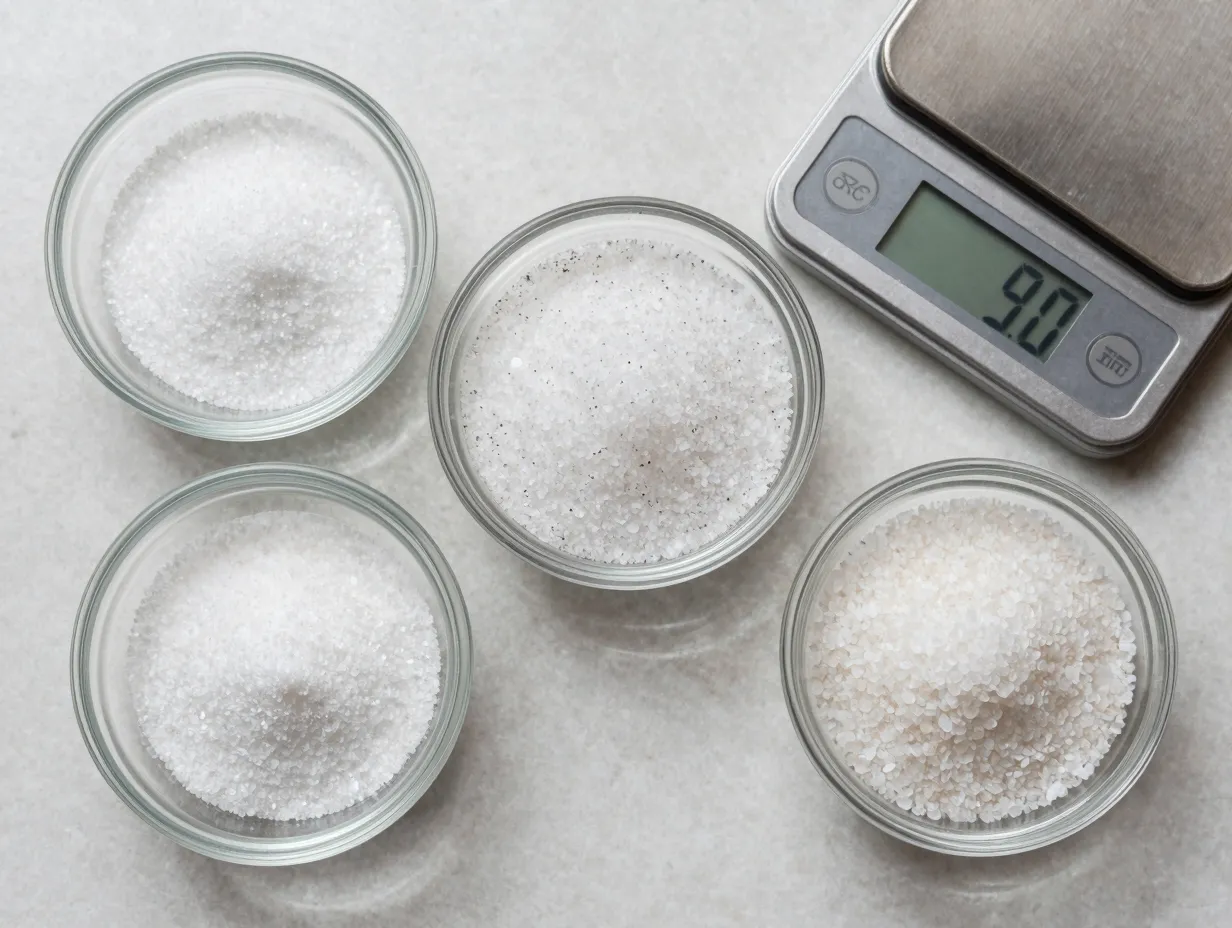
Salt in a pickle brine does more than add flavor. It draws water out of the cucumber by osmosis, firms the flesh, and contributes to the overall preservation environment. The type of salt you use matters significantly.
Table salt contains iodine and anti-caking agents. Iodine can inhibit fermentation and cause the brine to turn dark and cloudy. Anti-caking agents create a milky sediment at the bottom of the jar [6]. Neither change makes the pickles unsafe, but both make them look unappetizing and can affect flavor.
Pickling salt (also called canning salt) is pure sodium chloride with no additives. It dissolves cleanly, keeps the brine clear, and does not interfere with the cucumbers’ color or texture [3].
Kosher salt can work as a substitute, but because the crystal size varies by brand, volume measurements are unreliable. If you use kosher salt, weigh it rather than measuring by cup [1].
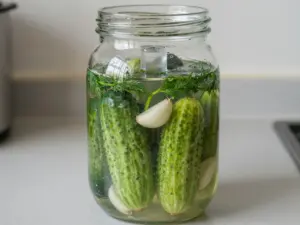
6. Pack Jars Correctly for Uniform Brine Penetration
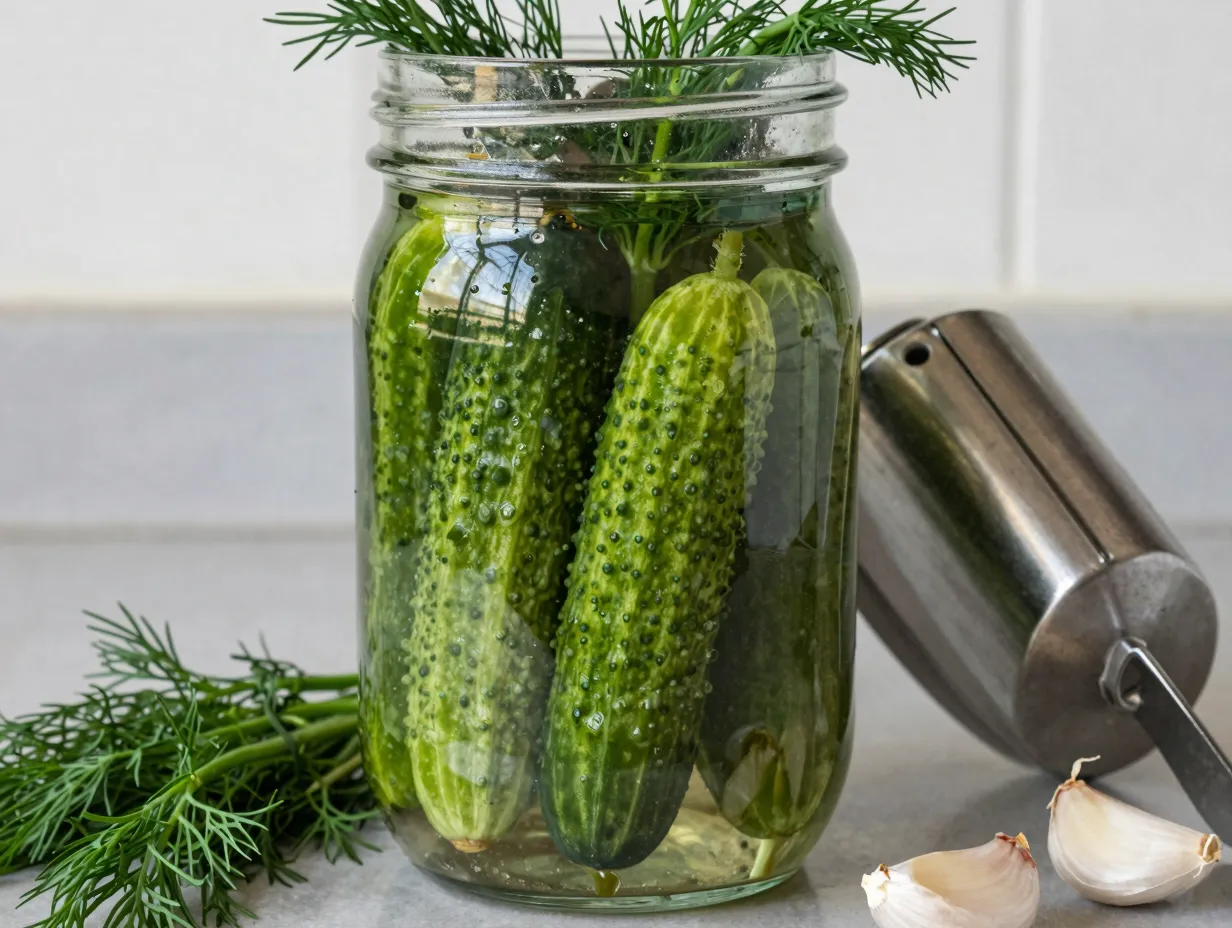
How you pack your jars directly affects how evenly the brine penetrates the cucumber flesh. Loosely packed jars leave too much headspace and allow cucumbers to float, which can result in uneven acidity. Overpacked jars prevent brine from circulating freely.
Best practices for jar packing:
- Stand spears vertically with the cut end facing down for the first layer, then reverse for the second layer to maximize density without over-compression [3].
- Leave exactly 1/2 inch of headspace between the top of the brine and the rim of the jar. Too little headspace prevents a proper seal; too much leaves excess air that can affect quality [9].
- Add garlic cloves, dill heads, and spices to the bottom of the jar before adding cucumbers, and again on top of the final layer.
- Use a canning funnel to pour hot brine without splashing, and run a thin spatula or bubble remover along the inside edge of the jar to release trapped air bubbles [4].
Wipe the jar rim with a clean, damp cloth before placing the lid. Any residue of brine or cucumber juice on the rim can prevent a proper seal.
7. Process in a Boiling-Water Canner, No Shortcuts
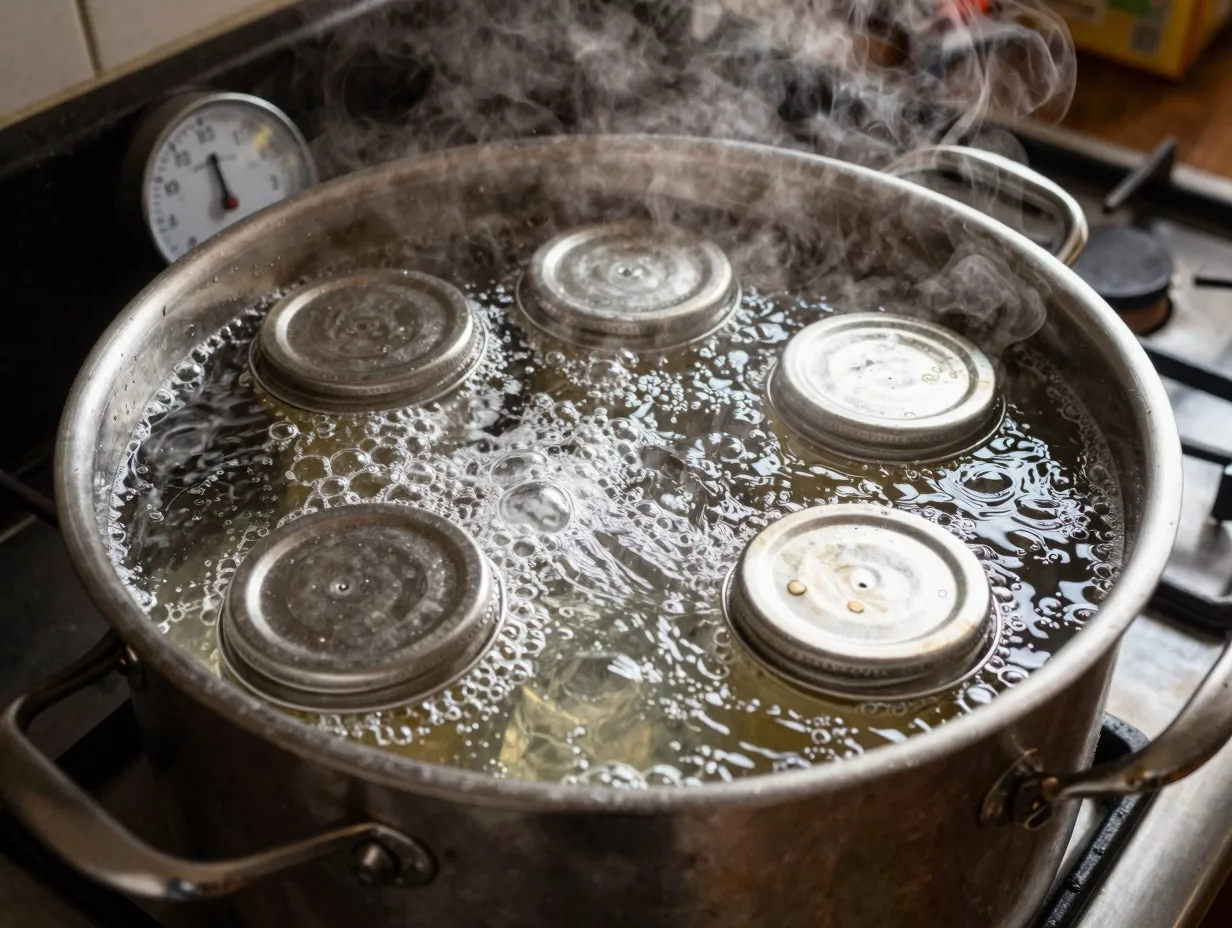
“Open-kettle” canning, filling jars with hot brine, putting on the lids, and relying on the heat of the contents to seal the jar, was a common practice decades ago. It is no longer considered safe by any major food safety authority [2]. The heat of the brine alone is not sufficient to destroy all microorganisms on the jar surfaces or inside the cucumber flesh, and the seal created is often incomplete.
Every jar of canned dill pickles must be fully submerged in boiling water during processing. Here is what proper boiling-water canning looks like:
- Fill the canner with enough water to cover jar tops by at least 1 inch.
- Preheat the water to 180 degrees Fahrenheit before loading jars.
- Lower filled, lidded jars into the canner using a jar lifter.
- Bring water to a full rolling boil before starting the timer.
- Process pint jars for 10 minutes and quart jars for 15 minutes at sea level [2].
- Remove jars and set them on a towel-lined surface, spaced at least 1 inch apart, without tilting.
- Allow jars to cool undisturbed for 12 to 24 hours.
Do not press down on lids while they are cooling. The “ping” you hear as each lid seals is one of the most satisfying sounds in home canning, but pressing the lid can create a false seal that fails later.
8. Adjust Processing Time for Your Altitude
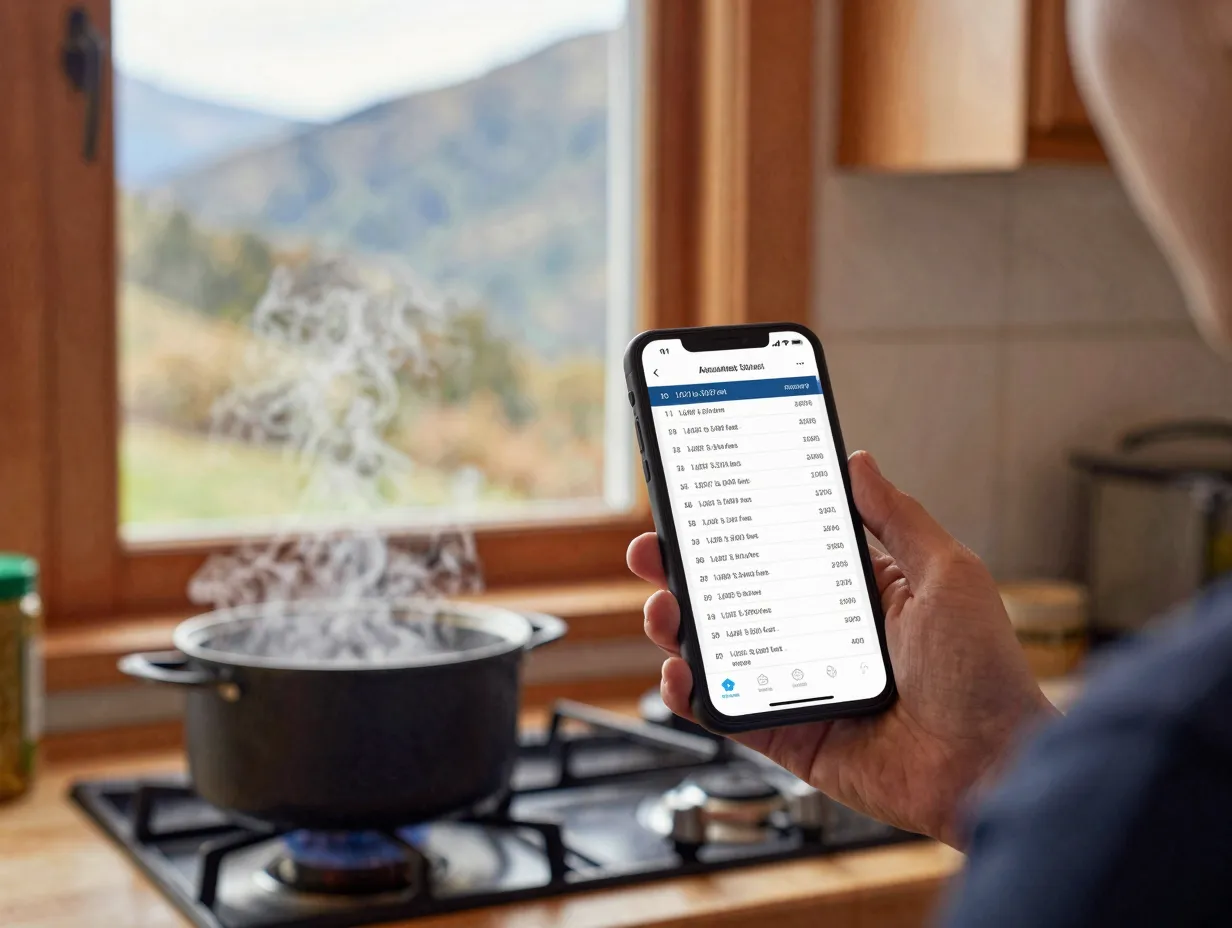
Water boils at a lower temperature as altitude increases. At sea level, water boils at 212 degrees Fahrenheit. At 5,000 feet, it boils at approximately 202 degrees Fahrenheit. That 10-degree difference is enough to compromise the safety of your processing if you do not compensate [8].
Altitude adjustment chart for boiling-water canning:
| Altitude (feet) | Additional Processing Time |
|---|---|
| 0 to 1,000 | No adjustment needed |
| 1,001 to 3,000 | Add 5 minutes |
| 3,001 to 6,000 | Add 10 minutes |
| 6,001 to 8,000 | Add 15 minutes |
| 8,001 to 10,000 | Add 20 minutes |
If you live in Denver, Colorado, Salt Lake City, Utah, or any other high-elevation city, this adjustment is not optional, it is a food safety requirement [8][9]. Check your local cooperative extension service for altitude-specific guidance if you are unsure of your elevation.
9. Store, Label, and Inspect Before Every Use
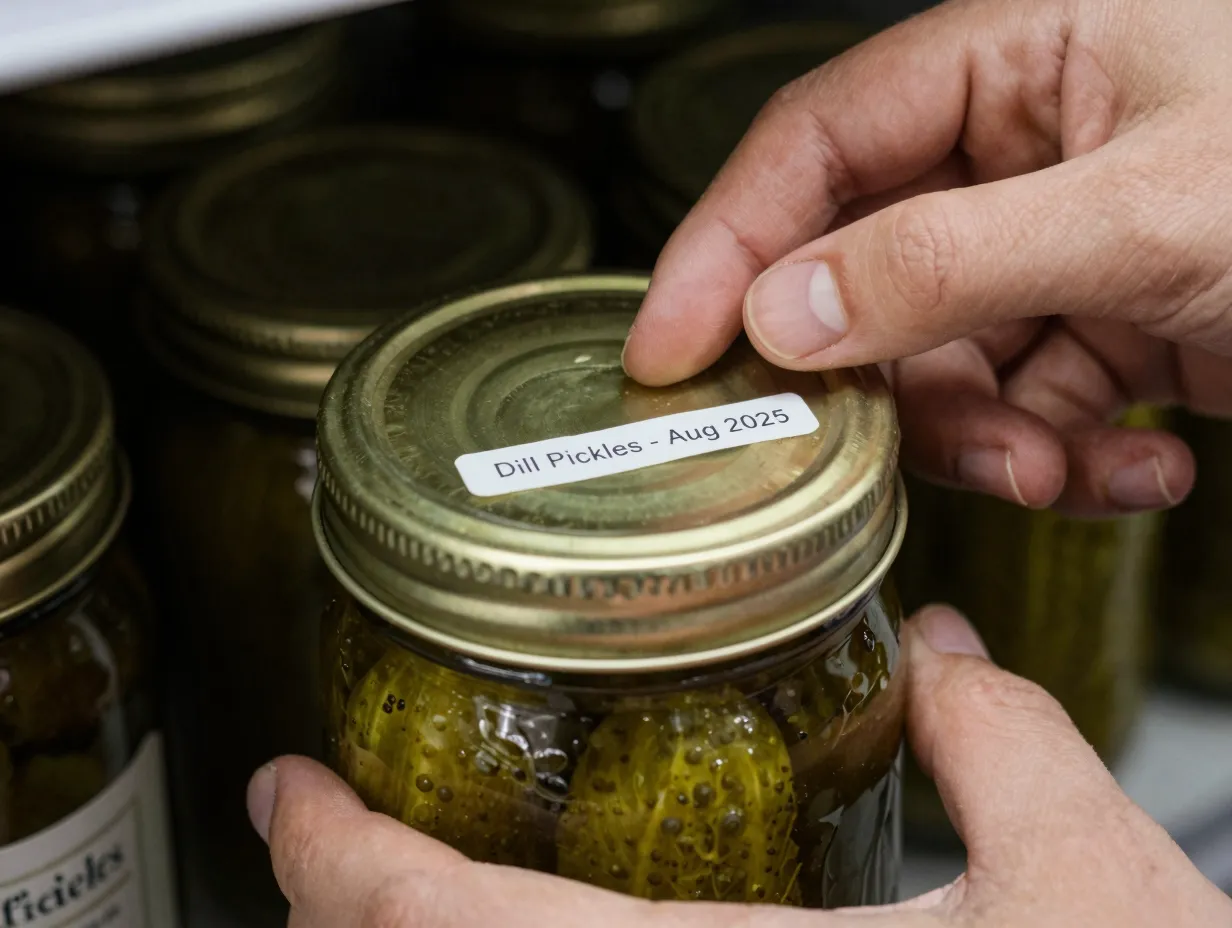
The work does not end when the jars cool. Proper storage and inspection habits protect you and your family throughout the year.
Storage guidelines:
- Store sealed jars in a cool, dark location between 50 and 70 degrees Fahrenheit. Heat and light degrade color, texture, and flavor over time [6].
- Label every jar with the contents and the date processed. Canned dill pickles are best consumed within 12 to 18 months, though properly processed jars remain safe beyond that window [4].
- Do not stack jars more than two layers high. The weight can stress the seals on the bottom jars.
Before opening any jar, inspect it carefully:
- The lid should be concave (curved inward) and should not flex when pressed. A lid that moves up and down has lost its seal.
- The brine should be clear or slightly cloudy from spices. Thick, murky brine or visible mold is a sign of spoilage.
- When you open the jar, there should be a slight vacuum release. A jar that opens without resistance may not have sealed properly.
- If you notice off odors, unusual colors, or any sign of fermentation in a jar that was not intended to be fermented, discard the entire jar without tasting [2].
When in doubt, throw it out. No batch of pickles is worth a food safety risk.
Bonus Techniques for Extra Crispness
While the nine tips above cover everything essential for a safe, long-lasting product, a few additional techniques can push your pickles from good to exceptional.
Grape leaves or oak leaves: Tannins in grape leaves, oak leaves, and horseradish leaves inhibit the same enzymes that cause softening. Adding one leaf per jar is a traditional method that genuinely works [5][6].
Calcium chloride (Pickle Crisp): This food-grade additive, sold under the brand name Pickle Crisp, strengthens cell walls and maintains firmness through heat processing. Use it according to package directions, typically 1/4 teaspoon per quart jar [7].
Ice water soak: Soaking cucumbers in ice water for 2 to 4 hours before packing firms the flesh by allowing cells to rehydrate fully. This is especially useful for cucumbers that were harvested more than a few hours before canning [1].
Avoid soft water: Water that is very soft (low in minerals) can produce softer pickles. If your tap water is heavily softened, consider using filtered water or adding a small amount of calcium chloride to compensate [5].
Common Mistakes and How to Avoid Them
Even experienced canners run into problems. Here is a quick reference for the most frequent issues:
Soft or hollow pickles: Usually caused by using overripe cucumbers, not trimming the blossom end, or waiting too long between harvest and canning. Use fresh, firm cucumbers and process within 24 hours of picking [3][5].
Cloudy brine: Most often caused by using table salt with anti-caking agents, hard water minerals, or natural starch from the cucumbers. If cloudiness appears immediately after processing, it is usually cosmetic. If it develops weeks later alongside a broken seal, treat it as spoilage [6].
Shriveled pickles: Caused by brine that is too salty or too acidic, or by over-processing. Follow tested recipes precisely to avoid this outcome [9].
Lids that do not seal: Usually caused by a nick on the jar rim, residue left on the rim before lidding, or lids that were not properly pre-warmed. Inspect jars before filling and always wipe rims clean [4].
Dark or discolored pickles: Often caused by iodized salt, hard water, or using brass or copper cookware for the brine. Switch to pickling salt and stainless steel or enamel-coated pots [7].
Putting the 9 Expert Tips for a Foolproof Canning Dill Pickles Recipe That Lasts All Year Into Practice
Reading about technique is one thing. Walking through a complete batch helps everything click. Here is a condensed workflow that applies all nine tips in sequence:
Day before canning:
- Source firm, fresh pickling cucumbers harvested within 24 hours.
- Soak cucumbers in ice water overnight in the refrigerator.
Canning day morning:
- Sterilize jars in the dishwasher or by simmering in hot water.
- Prepare brine using a tested recipe: typically 3 cups white vinegar (5% acidity), 3 cups water, and 3 tablespoons pickling salt per 4 pints [2][9].
- Bring brine to a boil and keep hot.
Packing:
- Trim blossom ends from all cucumbers.
- Place dill heads, garlic, and peppercorns in each jar.
- Pack cucumbers tightly, standing spears vertically.
- Pour hot brine over cucumbers, leaving 1/2 inch headspace.
- Remove air bubbles, wipe rims, and apply lids.
Processing:
- Process pint jars for 10 minutes (plus altitude adjustment) in a boiling-water canner.
- Remove jars and cool undisturbed for 12 to 24 hours.
- Check seals, label with date, and store in a cool, dark place.
Conclusion
The 9 Expert Tips for a Foolproof Canning Dill Pickles Recipe That Lasts All Year are not arbitrary rules. Each one connects directly to either food safety, texture, flavor, or shelf life. When you choose the right cucumber variety, trim the blossom end, follow a tested recipe, use proper vinegar and salt, pack jars with care, process in a boiling-water canner, adjust for altitude, and inspect before every use, you are not just following a checklist, you are applying more than a century of food science in your own kitchen.
Your actionable next steps for 2026:
- Locate a tested dill pickle recipe from the NCHFP or your state extension service before buying any cucumbers.
- Gather your equipment, boiling-water canner, jar lifter, canning funnel, and a reliable thermometer, before the cucumber season peaks.
- Source pickling cucumbers from a local farm or grow your own so you control the harvest-to-jar timeline.
- Process one small batch of pints as a practice run, then scale up once you are comfortable with the process.
- Store your finished jars properly and set a calendar reminder to use them within 18 months.
The jar of pickles you open next February will taste exactly like the effort you put in this summer. Make that effort count.
References
[1] Easy Dill Pickles – https://www.kitchenfrau.com/easy-dill-pickles/
[2] Dill Pickles – https://nchfp.uga.edu/how/ferment/recipes/dill-pickles/
[3] Dill Pickles For Canning – https://gritsandgouda.com/dill-pickles-for-canning/
[4] Summertime Canning Guide For Perfect Dill Pickles – https://www.arlingtonplace.com/summertime-canning-guide-for-perfect-dill-pickles/
[5] Heres The Secret To Crisp, Tasty Dill Pickles – https://gardening.usask.ca/articles-and-lists/articles-recipes/heres-the-secret-to-crisp,-tasty-dill-pickles.php
[6] The Ultimate Guide To Canning Crisp Dill Pickles – https://soulyrested.com/the-ultimate-guide-to-canning-crisp-dill-pickles/
[7] Simple Canning Recipe For Dill Pickles – https://www.delishknowledge.com/simple-canning-recipe-for-dill-pickles/
[8] ucanr.edu – https://ucanr.edu/sites/default/files/2023-08/387346.pdf
[9] Quick Fresh Pack Dill Pickles – https://extension.sdstate.edu/quick-fresh-pack-dill-pickles