8 Ways to Make Homemade Ice Cream Without a Machine That Actually Work
The global ice cream market is worth over $97 billion, yet the majority of people who want to make ice cream at home give up the moment they realize they do not own a $200 machine. That assumption — that you need expensive equipment to produce creamy, scoopable, genuinely delicious ice cream — is simply wrong.
Disclosure: This post contains affiliate links. As an Amazon Associate, we earn from qualifying purchases, and at no extra cost to you.
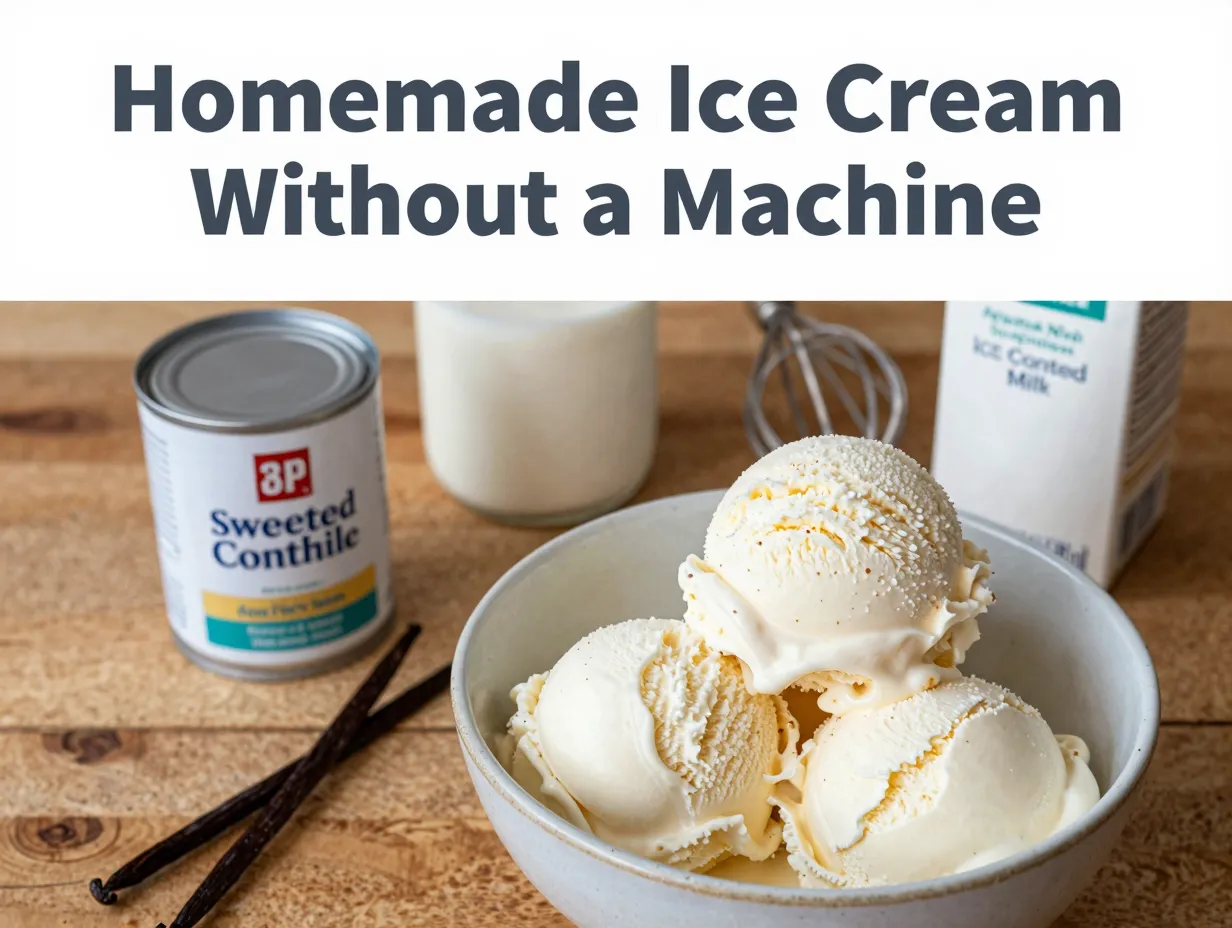
In 2026, home cooks have more tested, reliable techniques than ever before. These 8 ways to make homemade ice cream without a machine that actually work are not workarounds or compromises. Each method produces real results, and I have personally tested most of them in my own kitchen. Whether you want a rich vanilla bean scoop, a fruity sorbet, or a quick frozen treat for kids on a summer afternoon, at least one of these techniques will fit your tools, your time, and your skill level.
This guide walks you through every method in clear, practical detail so you can get started today — no machine required.
Key Takeaways
- You do not need an ice cream machine to make creamy, scoopable homemade ice cream.
- The no-churn whipped cream and condensed milk method is the easiest and most reliable for beginners.
- Controlling ice crystal size is the core science behind every successful no-machine method.
- Methods like the bag shake and freeze-and-stir are excellent for kids and hands-on learners.
- Fruit-based blender ice cream can be made in under five minutes with just frozen fruit.
Why Making Ice Cream Without a Machine Works
Before diving into the specific methods, it helps to understand why these techniques actually produce good ice cream. The secret is controlling ice crystal formation.
When water freezes slowly and undisturbed, it forms large ice crystals that make ice cream grainy and icy. Commercial ice cream machines solve this by churning the mixture continuously, breaking up crystals as they form. Every no-machine method in this guide mimics that process in a different way — through agitation, fat content, sugar concentration, or the physical properties of the ingredients themselves.
Fat is your friend. Heavy cream contains enough fat to create a smooth, creamy texture even without constant churning. Sweetened condensed milk adds sugar, which lowers the freezing point and further reduces ice crystal size. Together, they form the backbone of the most popular no-machine methods.
Understanding this science means you can troubleshoot problems and adapt recipes confidently. If your ice cream turns out icy, you likely need more fat, more sugar, or more frequent stirring. If it is too soft, it needs longer in the freezer or a slightly adjusted ratio.
8 Ways to Make Homemade Ice Cream Without a Machine That Actually Work
Here are eight proven, tested methods ranked roughly from simplest to most hands-on.
1. No-Churn Whipped Cream and Condensed Milk
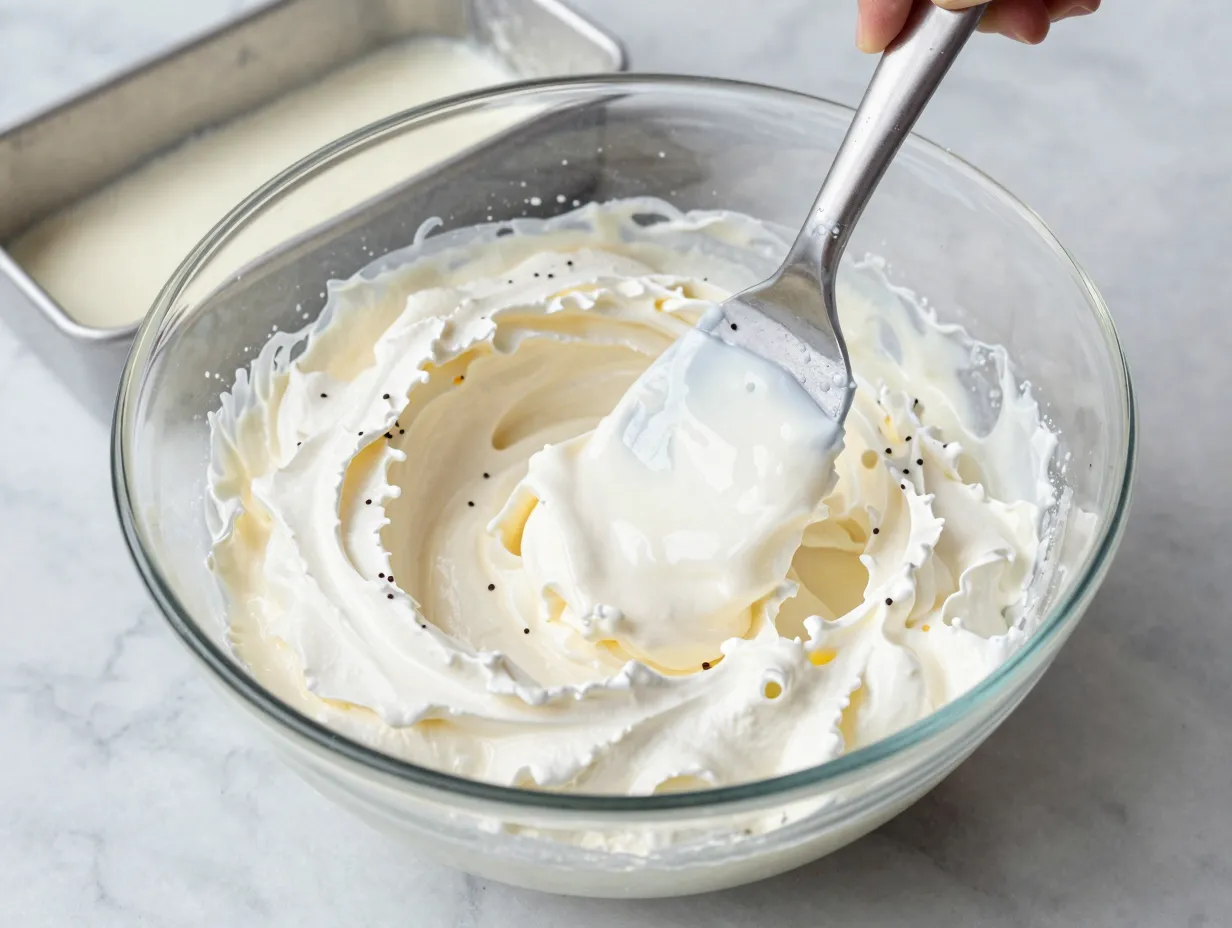
This is the method I recommend to anyone who has never made ice cream before. It requires no special equipment, no timing, and no experience. The results are genuinely impressive — rich, creamy, and scoopable straight from the freezer.
How it works:
Whip one to two cups of heavy cream to stiff peaks using a hand mixer or stand mixer. In a separate bowl, combine one can of sweetened condensed milk with your chosen flavorings — vanilla extract, cocoa powder, fruit puree, or crushed cookies. Gently fold the whipped cream into the condensed milk mixture using a spatula, taking care not to deflate the cream. Pour into a freezer-safe loaf pan, cover tightly with plastic wrap, and freeze for at least six hours or overnight. [1]
The whipped cream introduces air into the mixture, which keeps the texture light. The fat in the cream and the sugar in the condensed milk work together to suppress large ice crystal formation. The result is ice cream that scoops cleanly and tastes genuinely indulgent.
Tips for success:
- Use full-fat heavy whipping cream, not light cream.
- Chill your mixing bowl in the freezer for 10 minutes before whipping.
- Press plastic wrap directly onto the surface of the ice cream before freezing to prevent freezer burn.
- Add mix-ins like chocolate chips or swirls of caramel after folding and before freezing.
2. Two-Ingredient No-Churn Ice Cream
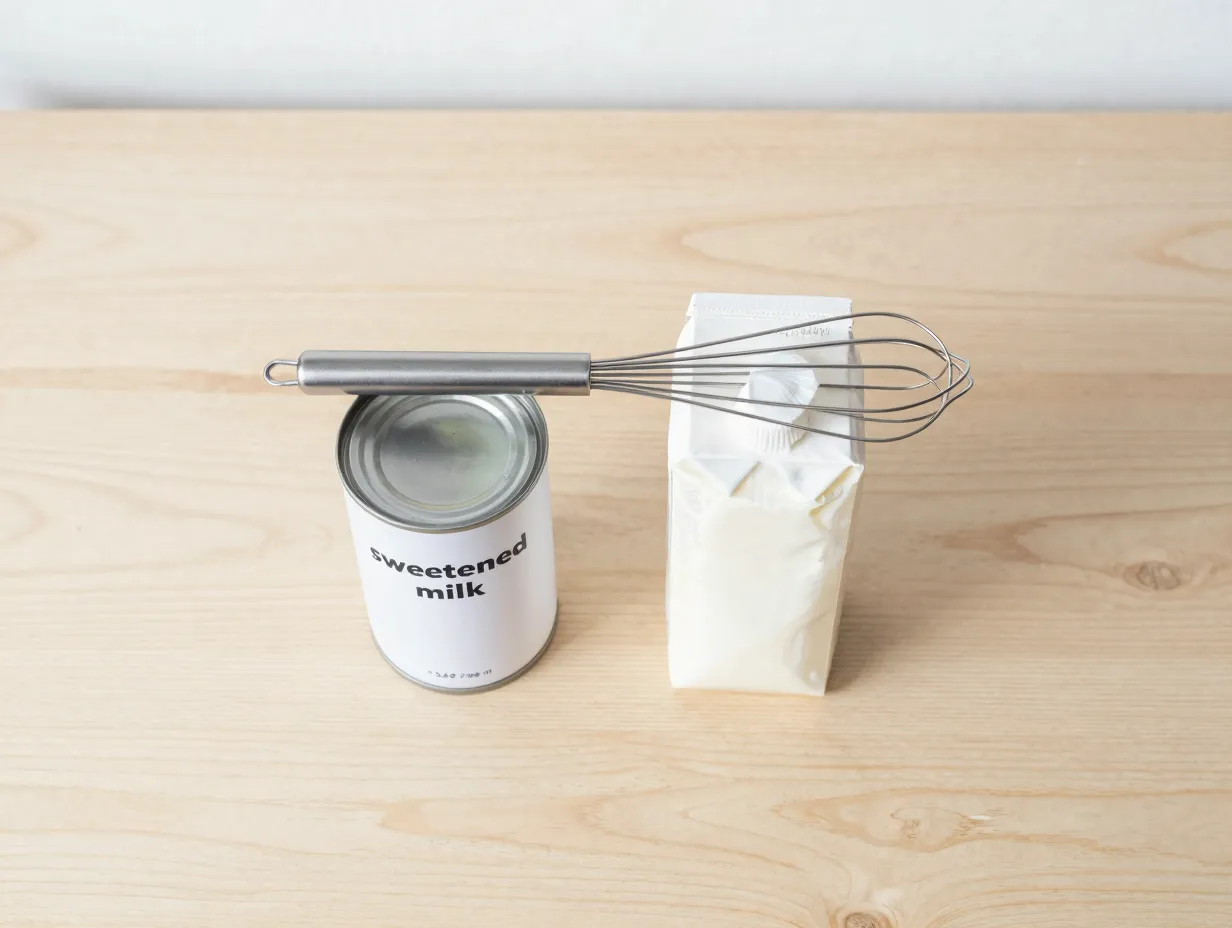
This is a stripped-down version of the whipped cream method, and it deserves its own entry because the simplicity is remarkable. You need exactly two ingredients: sweetened condensed milk and heavy cream. [5]
The ratio is straightforward: one 14-ounce can of sweetened condensed milk to two cups of heavy whipping cream. Whip the cream to stiff peaks, fold in the condensed milk, and freeze. That is the entire recipe.
What makes this method stand out is its versatility. Once you have the base formula, you can add almost anything. A tablespoon of instant espresso powder turns it into coffee ice cream. A half cup of peanut butter swirled in creates a peanut butter ripple. Fresh strawberries folded in produce a beautiful berry flavor.
“The two-ingredient method is proof that great ice cream does not require complexity — it requires understanding the role each ingredient plays.”
This method is also forgiving. Even if your folding technique is imperfect, the ice cream will still turn out well. It is an excellent starting point for children learning to cook.
3. Freeze and Stir Method
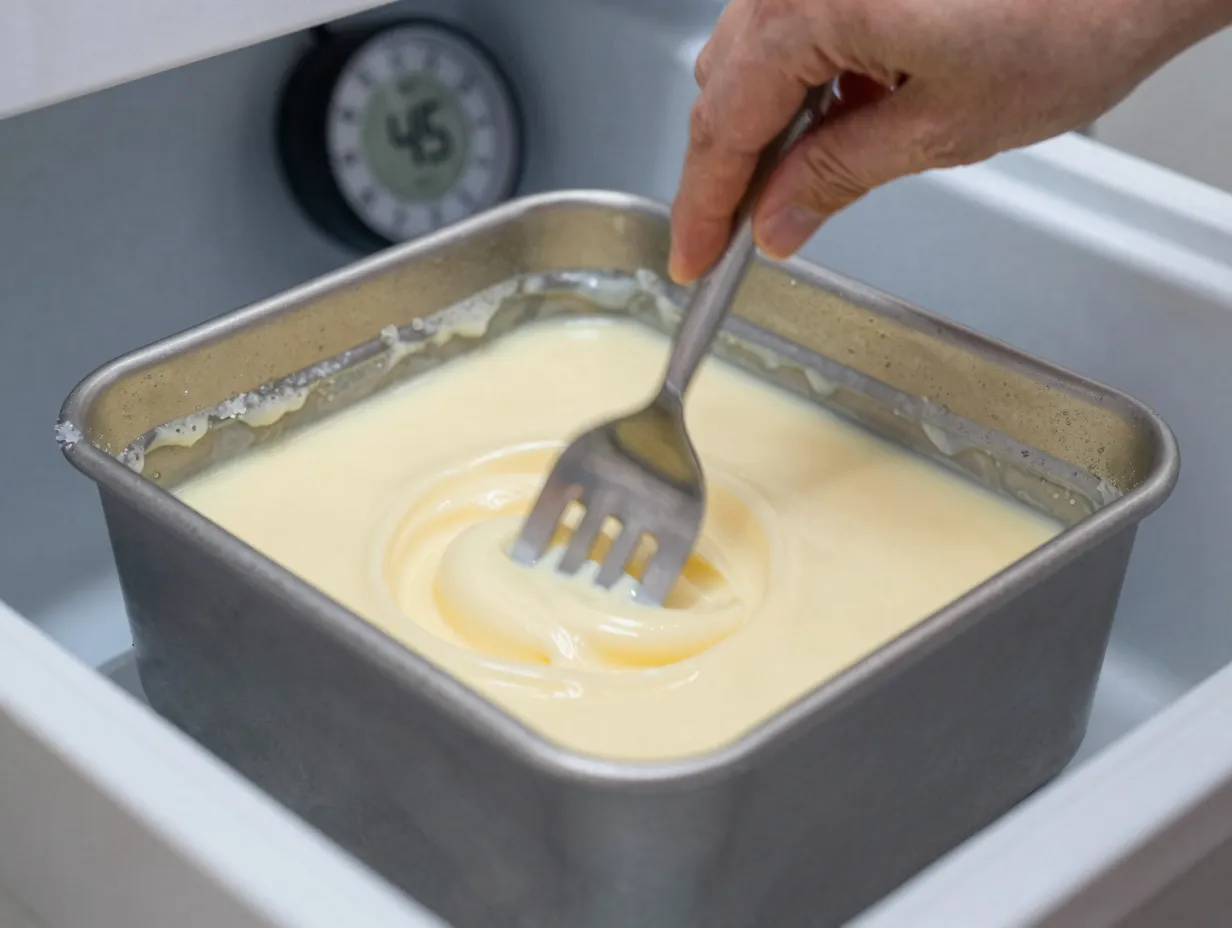
The freeze-and-stir method is the closest manual equivalent to using an actual ice cream machine. It requires more attention than the no-churn methods but produces a noticeably smoother texture. [2]
How it works:
Prepare your ice cream base — a standard custard base or a simple mixture of cream, milk, sugar, and flavorings. Pour it into a shallow, wide dish such as a 9×13 baking pan. Place the dish in the freezer. After 45 minutes, remove it and stir vigorously with a fork or whisk, breaking up any frozen edges and incorporating air. Return it to the freezer. Repeat this process every 30 to 45 minutes for three to four hours until the mixture reaches a creamy, scoopable consistency.
The frequent stirring breaks up ice crystals as they form, mimicking the churning action of a machine. The shallower the dish, the faster the mixture freezes and the more effective each stirring session becomes.
Comparison of stirring intervals:
| Stirring Frequency | Texture Result |
|---|---|
| Every 30 minutes | Very smooth, fine crystals |
| Every 45 minutes | Smooth with minor graininess |
| Every 60 minutes | Noticeable ice crystals |
| No stirring | Solid, icy block |
This method works best for custard-based ice creams with a higher fat content. Lower-fat mixtures tend to become icier regardless of stirring frequency.
4. Ice Cream in a Bag Technique
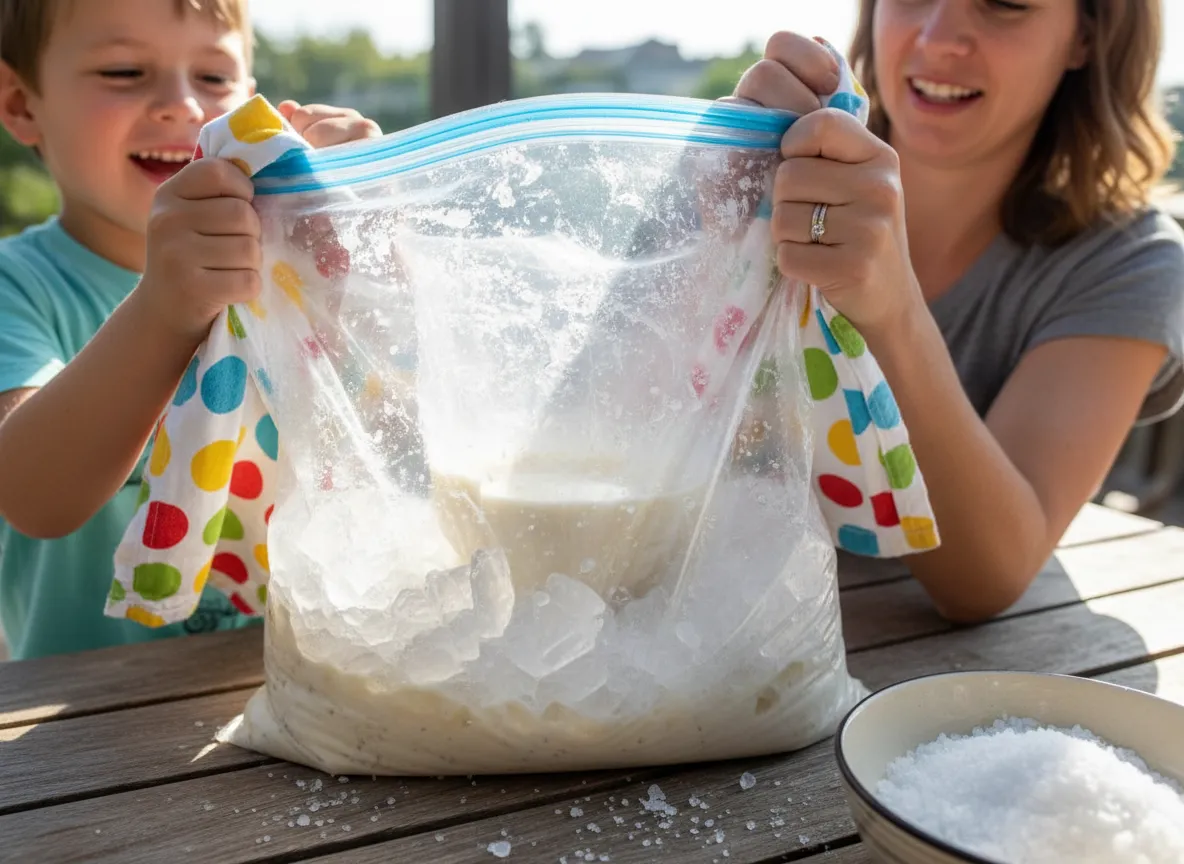
This is the method I first encountered as a child at a school science fair, and it remains one of the most entertaining ways to make ice cream. It is particularly well-suited for families with young children because the process itself is the activity. [1]
How it works:
Fill a small quart-size resealable plastic bag with your ice cream base: half a cup of heavy cream, one tablespoon of sugar, and half a teaspoon of vanilla extract. Seal the bag tightly, removing as much air as possible. Place this small bag inside a larger gallon-size bag. Fill the large bag with ice cubes and add four to six tablespoons of rock salt or table salt. Seal the large bag. Shake, squeeze, and tumble the bags vigorously for 10 to 15 minutes.
The salt lowers the freezing point of the ice, creating a brine that reaches temperatures well below 32 degrees Fahrenheit. This super-cold environment freezes the ice cream base rapidly while the shaking action prevents large ice crystals from forming.
The result is soft-serve consistency ice cream, ready to eat directly from the bag. It is not quite as smooth as machine-churned ice cream, but it is genuinely satisfying and ready in under 20 minutes.
Practical notes:
- Wear gloves or wrap the bag in a towel — the salt-ice mixture gets extremely cold.
- Use rock salt if available; it melts ice more aggressively than table salt.
- Double-bag the inner bag to prevent leaks from the salt brine.
5. Salt and Ice Rolling Method
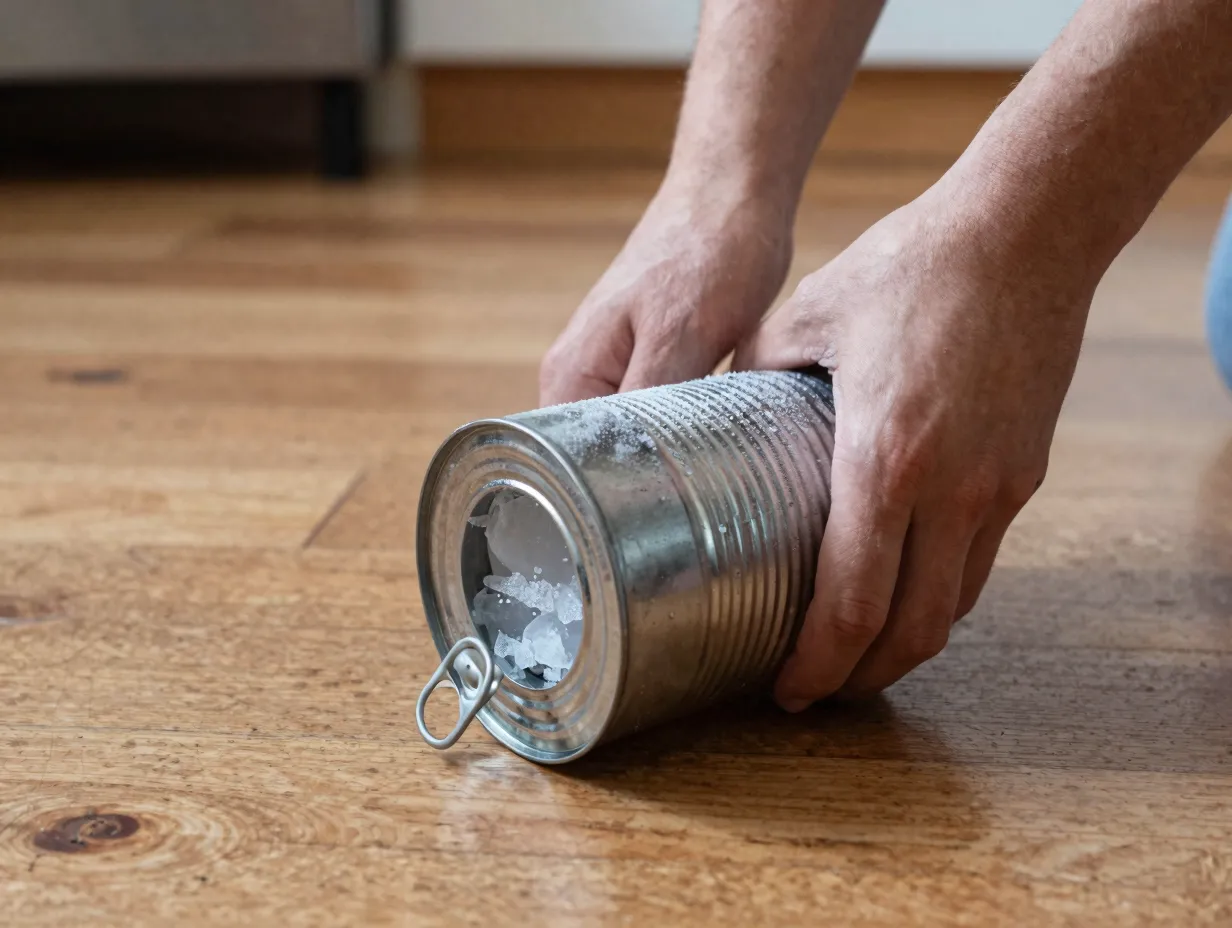
This method is a variation on the bag technique, but it uses a larger sealed container instead of a bag. Some people find it easier to handle than shaking bags, and it can produce a slightly larger batch. [1]
How it works:
Place your ice cream base in a small, tightly sealed metal or plastic container. Place that container inside a larger container — a coffee can works perfectly — and pack the space between the two containers with ice and rock salt. Seal the outer container and roll it back and forth across the floor or a table for about five to eight minutes.
The rolling action provides consistent agitation while the salt-ice mixture keeps the temperature low enough to freeze the base. This method produces soft-serve texture ice cream similar to the bag method.
It is worth noting that the rolling method is slightly less efficient than the bag shake because the agitation is less vigorous. You may need to roll for a few extra minutes to achieve the same result.
6. Food Processor Freezer Method
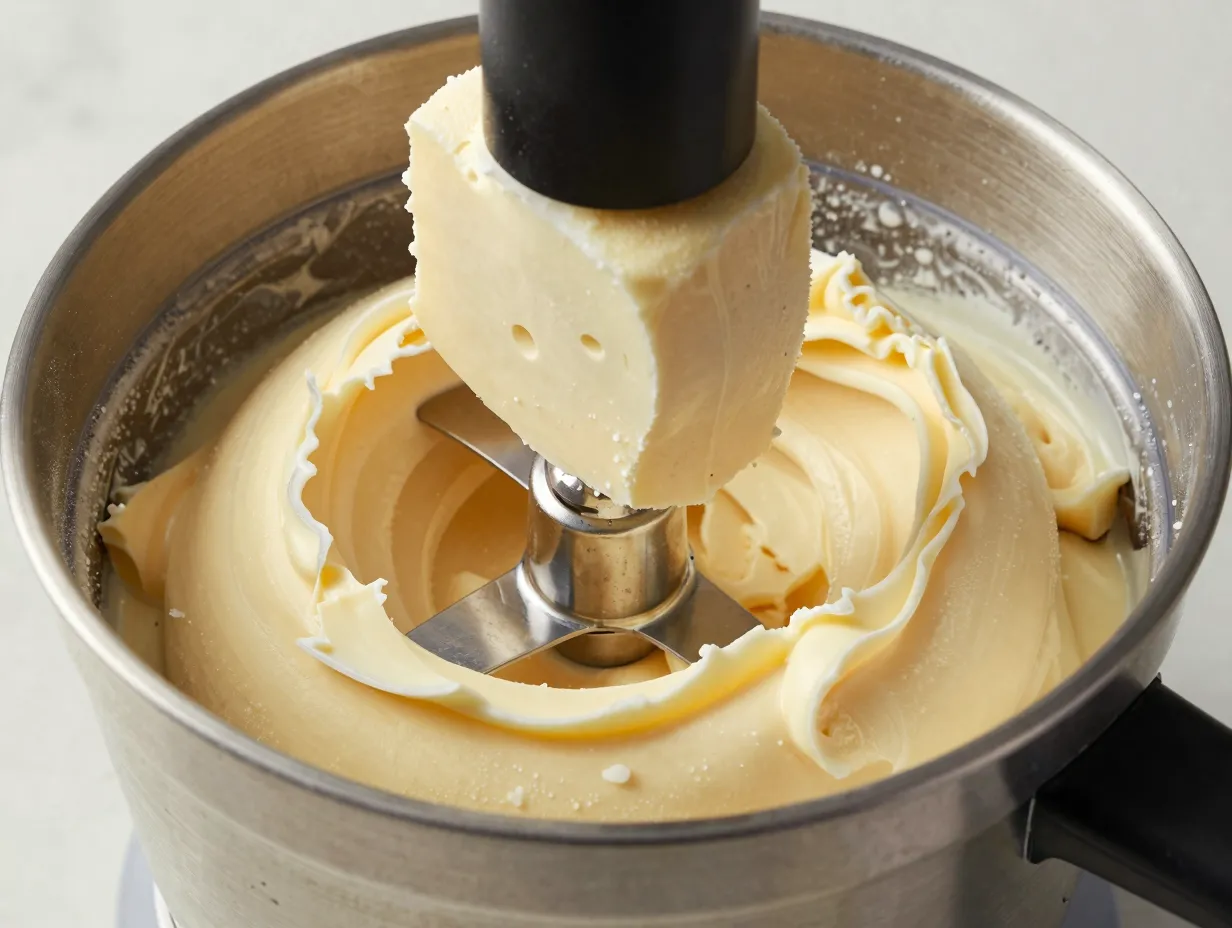
This method produces some of the creamiest results of any no-machine technique, and it is my personal favorite for custard-based recipes. [1]
How it works:
Prepare your ice cream base and pour it into a shallow freezer-safe container. Freeze it solid — this typically takes four to six hours or overnight. Once fully frozen, remove the base and break it into rough chunks. Transfer the chunks to a food processor and process until completely smooth, scraping down the sides as needed. The processing will take two to three minutes and will transform the solid frozen block into a smooth, creamy mass.
At this point, you can either eat it immediately as soft-serve or return it to the freezer for one to two hours to firm up to a scoopable consistency.
The food processor works by mechanically breaking down ice crystals into extremely small particles, creating a texture that rivals machine-churned ice cream. The key is to process long enough — stopping too early leaves a grainy texture.
Best flavors for this method:
- Vanilla custard
- Chocolate
- Salted caramel
- Coffee
- Mint chip (add chips after processing)
7. Blender Method with Frozen Fruit
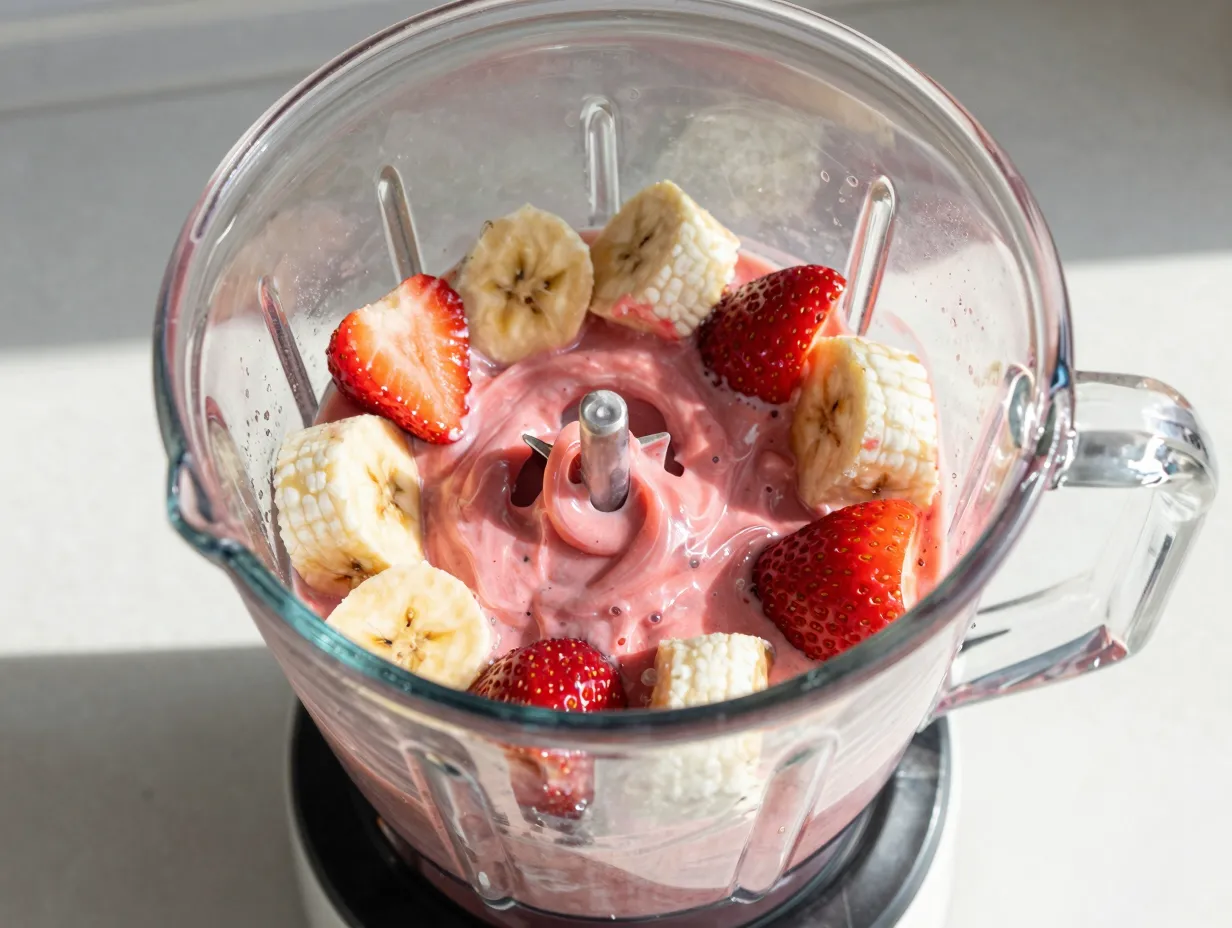
This is the fastest method on this list, and it doubles as a genuinely healthy dessert option. [3]
How it works:
Freeze ripe bananas, mangoes, strawberries, or any combination of fruits until completely solid. Transfer the frozen fruit directly to a high-powered blender or food processor. Blend until completely smooth, stopping to scrape down the sides as needed. The result is a thick, creamy, ice cream-like dessert that is ready in under five minutes.
Frozen bananas are particularly effective because their natural starch and sugar content creates an exceptionally creamy texture when blended. This technique — sometimes called “nice cream” — requires no added sugar, no dairy, and no freezing time after blending.
You can customize the flavor endlessly:
- Frozen mango with a squeeze of lime juice
- Frozen banana with two tablespoons of peanut butter
- Frozen strawberry with a splash of coconut cream
- Frozen mixed berries with a teaspoon of honey
The texture is best immediately after blending. If you freeze it for later, it will harden significantly and may need a few minutes at room temperature before serving.
8. DIY Ice Cream Maker Setup
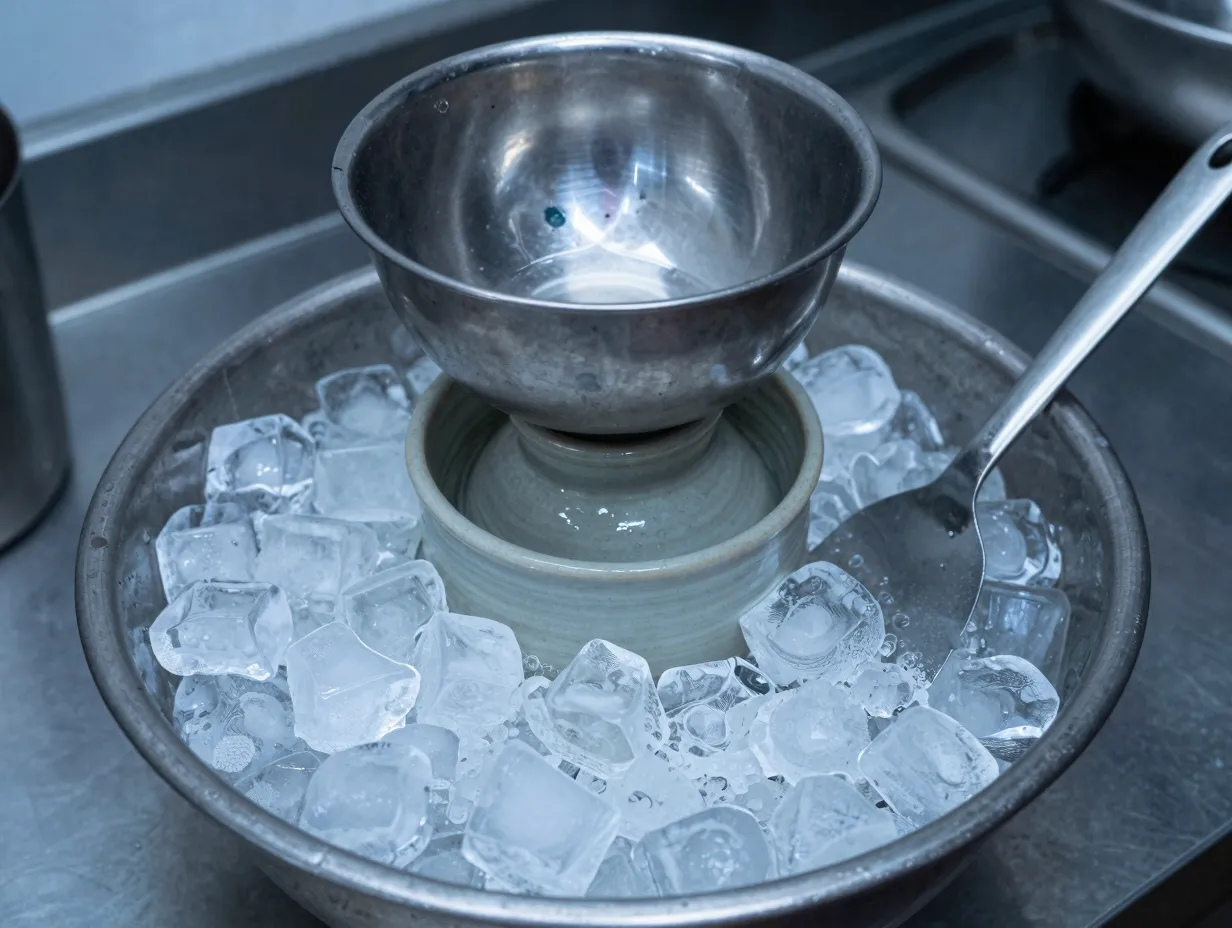
This method requires a bit more setup than the others, but it produces results that come closest to a real ice cream machine. It is worth the effort if you want a larger batch or a particularly smooth texture. [4]
How it works:
Place a small riser or inverted bowl inside a large mixing bowl. Set a food processor bowl or a smaller metal bowl on top of the riser. Fill the space in the large bowl around the riser with water and freeze the entire setup overnight. The result is a large bowl of ice surrounding your inner bowl.
The next day, add your ice cream base to the inner bowl and process or stir it in place. The surrounding ice keeps the mixture cold while you work, slowing crystal formation and giving you more time to achieve a smooth texture through stirring or blending.
This setup essentially replicates the function of an ice cream machine’s freezer bowl. It is not as efficient, but it is a clever use of what you already have in your kitchen.
Comparing All 8 Methods at a Glance
| Method | Difficulty | Time Required | Equipment Needed | Texture Result |
|---|---|---|---|---|
| 1. Whipped Cream and Condensed Milk | Easy | 6+ hours freeze | Hand mixer, loaf pan | Very creamy |
| 2. Two-Ingredient No-Churn | Very Easy | 6+ hours freeze | Hand mixer, loaf pan | Creamy |
| 3. Freeze and Stir | Moderate | 3-4 hours active | Shallow dish, fork | Smooth |
| 4. Ice Cream in a Bag | Easy | 15-20 minutes | Resealable bags, ice, salt | Soft-serve |
| 5. Salt and Ice Rolling | Easy | 10-15 minutes | Containers, ice, salt | Soft-serve |
| 6. Food Processor Method | Moderate | 6+ hours freeze + 5 min | Food processor | Very creamy |
| 7. Blender with Frozen Fruit | Very Easy | 5 minutes | Blender, frozen fruit | Soft-serve |
| 8. DIY Ice Cream Maker Setup | Advanced | Overnight + active | Large bowls, food processor | Very creamy |
Common Mistakes to Avoid
Even with the best method, a few common errors can undermine your results. Here is what to watch for:
Using low-fat cream. Heavy whipping cream is non-negotiable for most methods. Light cream or half-and-half does not contain enough fat to create a creamy texture without a machine.
Skipping the plastic wrap. When freezing ice cream in a container, always press plastic wrap directly onto the surface. This prevents ice crystals from forming on top and keeps the texture consistent throughout.
Opening the freezer too often. Temperature fluctuations cause ice crystals to grow. Once your ice cream is in the freezer, leave it alone until it is ready.
Not chilling your base before freezing. For custard-based recipes, always chill the base in the refrigerator before freezing. Starting with a cold base speeds up the freezing process and produces smaller ice crystals.
Impatience with the freeze-and-stir method. Skipping stirring sessions or stretching the intervals too long is the most common reason this method fails. Set a timer and stick to it.
Flavor Ideas to Try With Any Method
Once you have mastered the base technique, the flavor possibilities are wide open. Here are some combinations that work particularly well with no-machine methods:
- Classic vanilla bean: Scrape one vanilla pod into the base for a flavor that outperforms most store-bought versions.
- Dark chocolate fudge: Add three tablespoons of unsweetened cocoa powder and a handful of dark chocolate chips.
- Salted honey: Stir in two tablespoons of honey and a generous pinch of flaky sea salt.
- Strawberry basil: Fold in fresh strawberry puree and two finely chopped basil leaves.
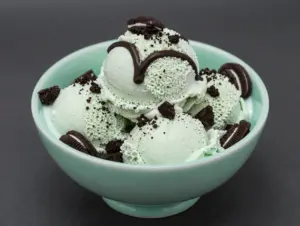
- Cookies and cream: Crush eight Oreo cookies and fold them into the whipped cream base before freezing.
- Mango coconut: Replace half the heavy cream with full-fat coconut cream and add half a cup of fresh mango puree.
Conclusion
The idea that great homemade ice cream requires a machine is one of the most persistent myths in home cooking. These 8 ways to make homemade ice cream without a machine that actually work prove otherwise — and they do so with tools and ingredients that most people already have.
Here are your actionable next steps:
- Start with Method 1 or Method 2 if you are a beginner. Mix the base tonight and freeze it overnight. You will have real ice cream by tomorrow.
- Try Method 7 this week using frozen bananas for a five-minute, no-planning-required dessert.
- Attempt the freeze-and-stir method on a weekend when you are home and can commit to the stirring schedule.
- Once you are comfortable with the basics, experiment with custom flavors using the suggestions above.
Making ice cream at home is not just a cost-saving exercise. It gives you complete control over ingredients, allows you to avoid artificial additives, and produces flavors you simply cannot buy in a store. In 2026, with the variety of techniques available, there is no reason to wait for a machine you may never buy. Pick a method, gather your ingredients, and start freezing.
References
[1] Homemade Ice Cream Without Machine Guide – https://www.provenpantry.com/blog/homemade-ice-cream-without-machine-guide?utm_source=openai
[2] How To Make Ice Cream At Home Without An Ice Cream Machine 11296689 – https://food.ndtv.com/food-drinks/how-to-make-ice-cream-at-home-without-an-ice-cream-machine-11296689?utm_source=openai
[3] Make Ice Cream Without Machine – https://dontwastethecrumbs.com/make-ice-cream-without-machine/?utm_source=openai
[4] Watch – https://www.youtube.com/watch?v=XC9srkFe6xo&utm_source=openai
[5] How To Make Ice Cream Without A Machine – https://www.timesrecipes.com/how-to-make-ice-cream-without-a-machine/?utm_source=openai