9 Vanilla Ice Cream Cone Recipes That Are Perfectly Classic and Delicious
Americans consume more than 1.5 billion gallons of ice cream every single year, and vanilla remains the undisputed top flavor, accounting for roughly 28% of all ice cream sales. Yet most people never consider making their own cones at home, settling instead for the cardboard-tasting store-bought variety. That is a missed opportunity of the highest order.
Disclosure: This post contains affiliate links. As an Amazon Associate, we earn from qualifying purchases, and at no extra cost to you.
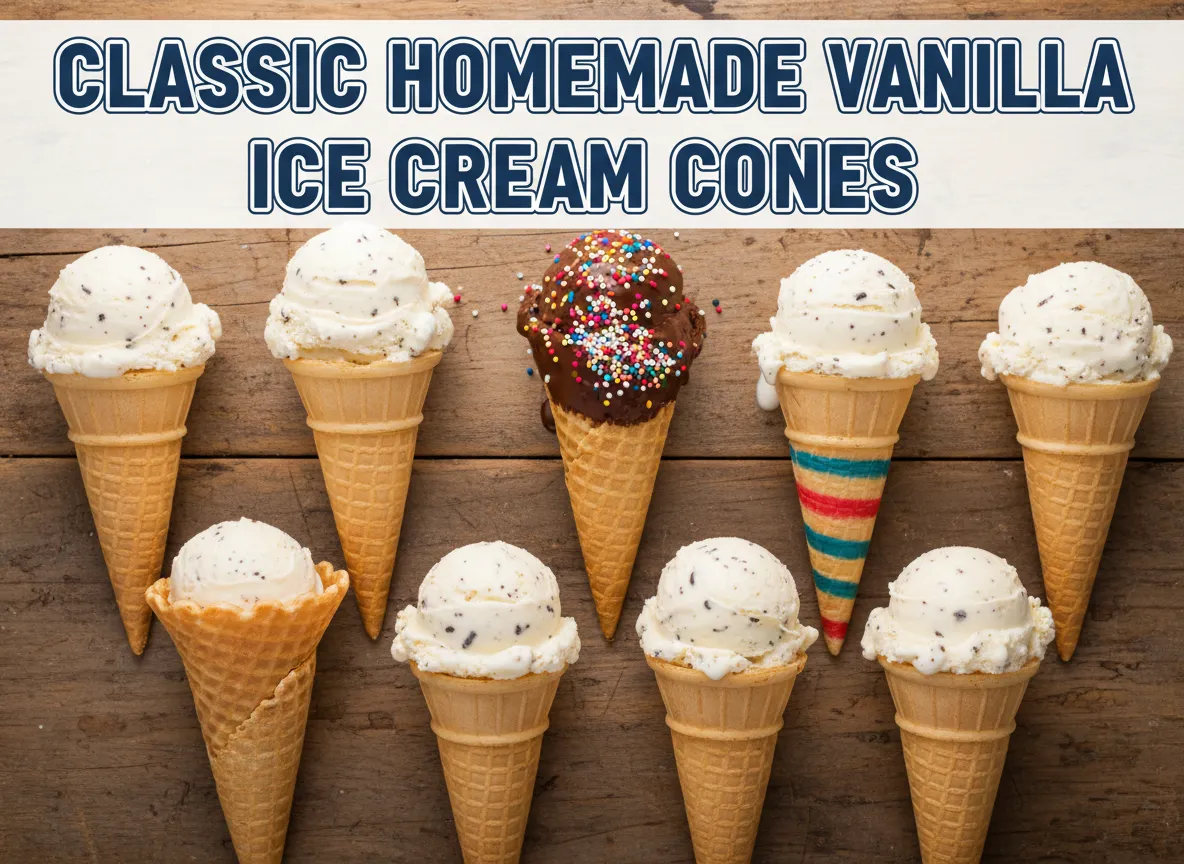
This guide covers 9 Vanilla Ice Cream Cone Recipes That Are Perfectly Classic and Delicious, walking you through everything from a no-egg Philadelphia-style base to a custard-rich vanilla bean masterpiece, paired with cones you can shape in your own kitchen. Whether you are a first-time home cook or an experienced baker looking to refine your technique, these recipes deliver the kind of results that make people ask, “Where did you get this?”
Key Takeaways
- Vanilla ice cream falls into two main styles: Philadelphia-style (no eggs, lighter texture) and custard-style (egg-based, richer flavor).
- Homemade cones require only a few pantry staples and can be made with a skillet, a pizzelle iron, or a dedicated waffle cone maker.
- Chocolate dipping, flavored sugars, and toasted toppings can transform a simple vanilla cone into a gourmet dessert.
- Baking cones at 350°F for 6 to 8 minutes and shaping them immediately while warm is the key technique for perfect cone structure.
- All nine recipes in this collection are scalable, freezer-friendly, and suitable for home entertaining.
Why Vanilla Ice Cream Cones Deserve More Attention
Vanilla gets dismissed as the “plain” choice, but that reputation is completely undeserved. A well-made vanilla ice cream, served in a freshly baked cone, is one of the most technically demanding and rewarding desserts a home cook can produce. The flavor of real vanilla bean is complex, floral, and layered in ways that synthetic extracts cannot replicate.
I remember the first time I made a homemade waffle cone. The batter came together in under five minutes, the kitchen filled with a caramel-toasted scent, and the cone snapped with a satisfying crunch when I bit into it. That moment changed how I thought about “simple” desserts entirely.
The 9 Vanilla Ice Cream Cone Recipes That Are Perfectly Classic and Delicious featured here are organized from the most approachable beginner recipe to the most technique-driven. Each one includes the cone style, the ice cream base, and specific tips for getting the best result.
The 9 Vanilla Ice Cream Cone Recipes That Are Perfectly Classic and Delicious
1. Classic Philadelphia-Style Vanilla Ice Cream in a Store-Bought Sugar Cone
Best for: Beginners, quick weeknight desserts
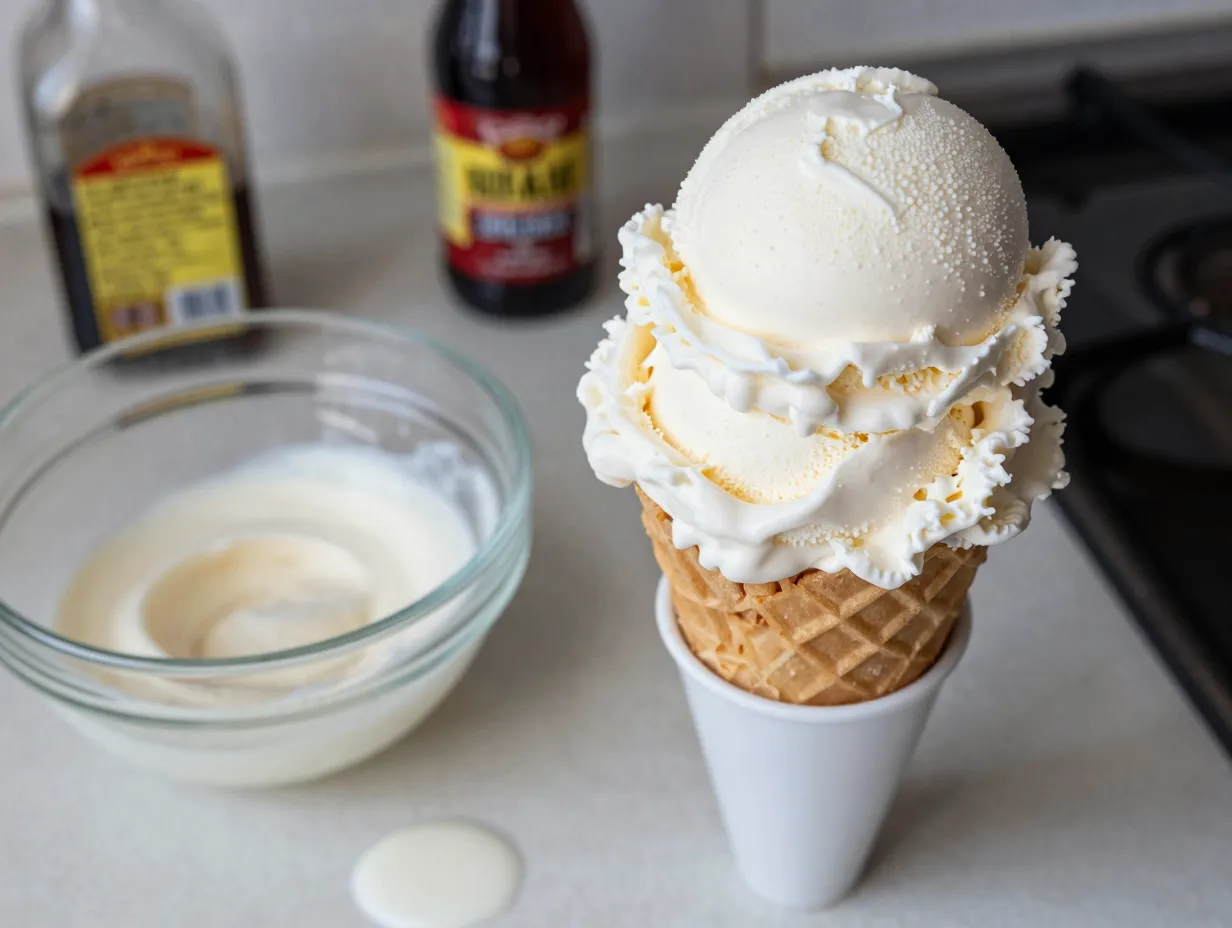
This is the entry point for anyone new to homemade ice cream. Philadelphia-style ice cream skips the egg custard entirely, which means no tempering, no risk of scrambled eggs, and no lengthy cooking process.
The method involves warming 1 cup of heavy cream with sugar and a pinch of salt until the sugar fully dissolves, then stirring in additional cream, whole milk, and pure vanilla extract. The mixture is chilled completely before being churned in an ice cream maker [11].
Key ingredients:
- 2 cups heavy cream (divided)
- 1 cup whole milk
- 3/4 cup granulated sugar
- 1/4 teaspoon fine salt
- 2 teaspoons pure vanilla extract
Pair this with a quality store-bought sugar cone for a fast, crowd-pleasing result. The lighter texture of Philadelphia-style ice cream means it melts slightly faster, so serve it immediately.
2. Vanilla Bean Custard Ice Cream in a Baked Tuille Cone
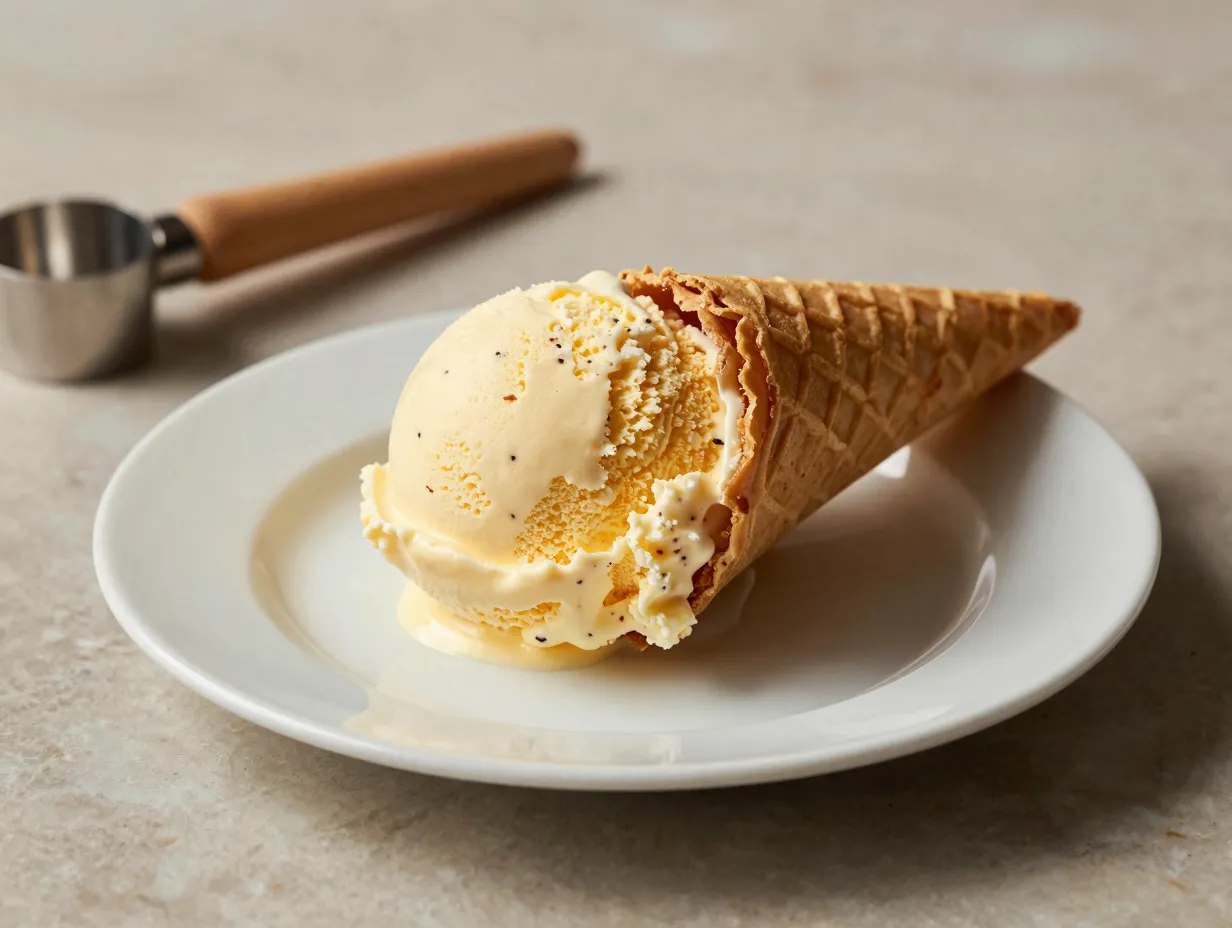
Best for: Special occasions, flavor enthusiasts
This recipe from Rodelle Kitchen represents the gold standard of vanilla ice cream. It uses a full egg-and-milk custard base, thickened over approximately 10 minutes on the stovetop, then cooled rapidly in an ice bath before churning [4].
The cone component is a baked tuille, made from a thin batter poured into 6-inch rounds and baked at 350°F for 6 to 8 minutes. The rounds must be shaped immediately while warm because they harden within seconds of leaving the oven [4].
Pro tip: Have your cone-rolling tools ready before the cones come out of the oven. A wooden dowel or a metal cone mold works perfectly.
The vanilla bean specks visible in every scoop signal real quality to anyone who knows ice cream. This recipe rewards patience with exceptional depth of flavor.
3. No-Churn Vanilla Ice Cream in a Homemade Waffle Cone
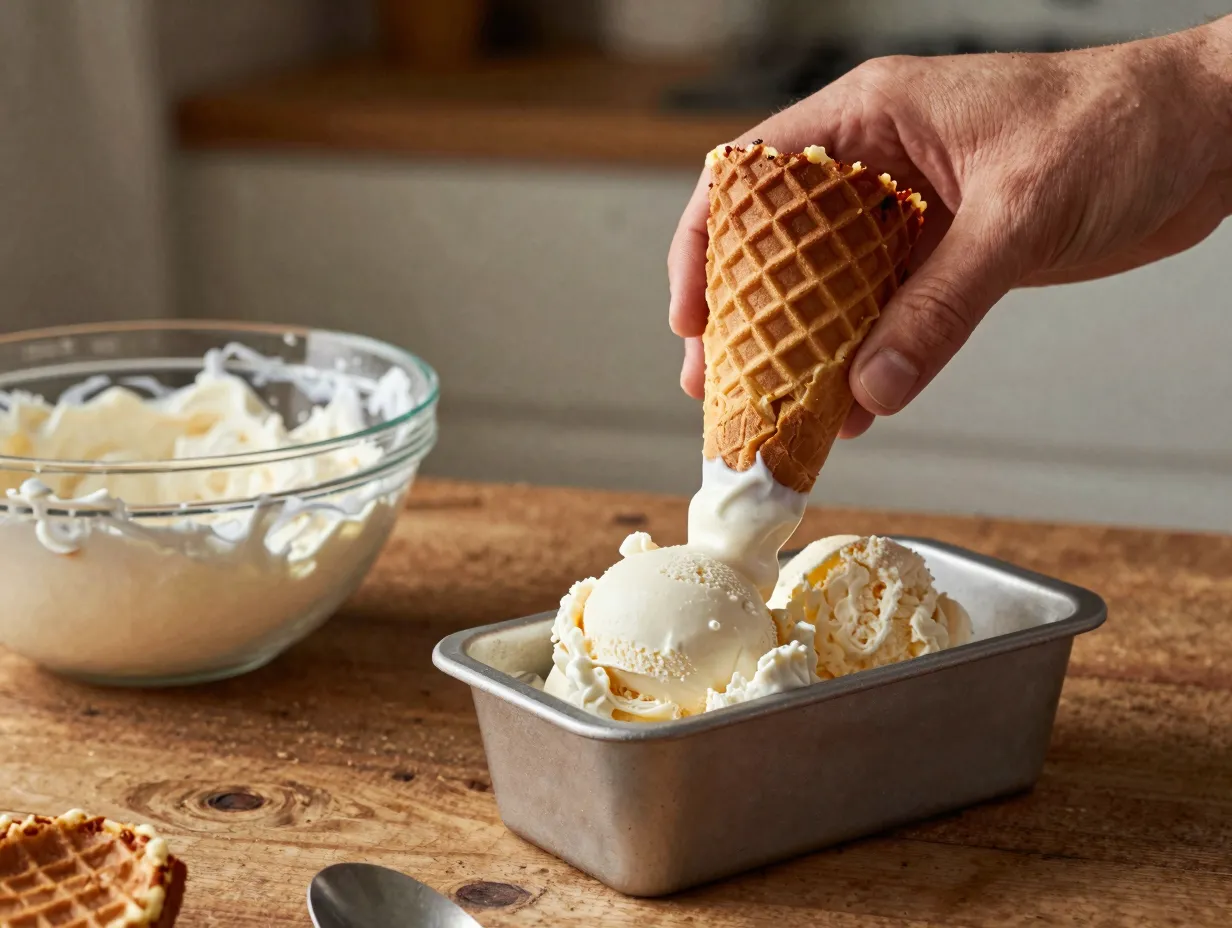
Best for: Households without an ice cream maker
No ice cream maker? No problem. No-churn vanilla ice cream uses whipped heavy cream folded into sweetened condensed milk and vanilla extract. The mixture is poured into a loaf pan, covered tightly, and frozen for at least 6 hours.
The homemade waffle cone pairs beautifully here. A basic waffle cone batter includes flour, sugar, butter, eggs, and vanilla, cooked on a waffle cone iron or a non-stick skillet [2]. The result is a cone with genuine crunch and a faint butterscotch note that complements the creamy vanilla filling.
Waffle cone batter basics:
- 2 large eggs
- 1/2 cup granulated sugar
- 4 tablespoons melted butter
- 1/2 cup all-purpose flour
- 1/2 teaspoon vanilla extract
- Pinch of salt
Cook each cone for roughly 90 seconds per side in a skillet over medium heat, then shape immediately [8].
4. Vanilla Ice Cream in a Chocolate-Dipped Waffle Cone
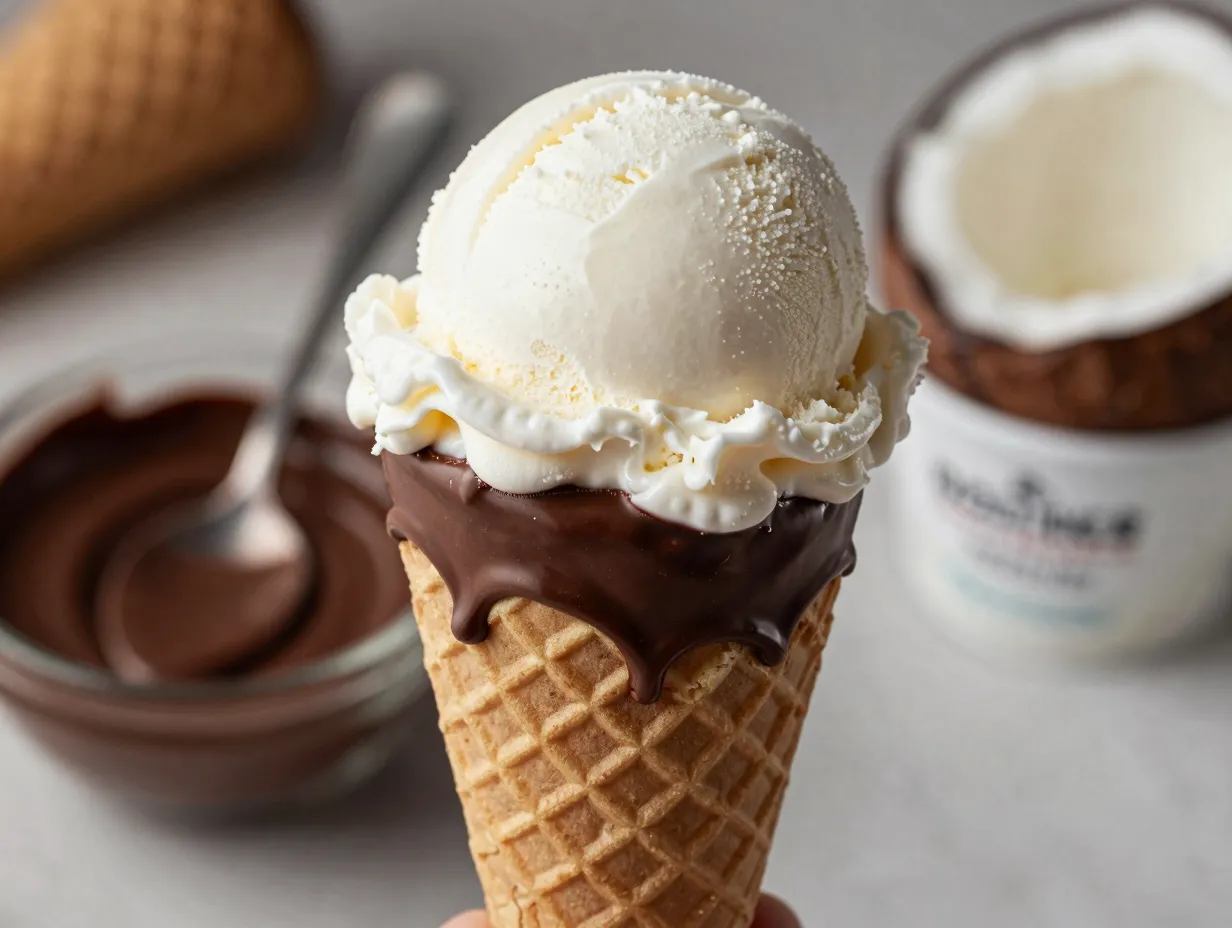
Best for: Entertaining, visual presentation
A chocolate-dipped cone elevates the entire experience. The chocolate shell adds a satisfying snap, seals the bottom of the cone to prevent drips, and creates a flavor contrast that makes plain vanilla taste even more vibrant [5].
To make the dip, melt good-quality dark or semi-sweet chocolate with a small amount of coconut oil (about 1 teaspoon per 4 ounces of chocolate). The coconut oil keeps the chocolate fluid and helps it set with a glossy finish [5].
Dip the top inch of each cone, let the excess drip off, and roll immediately in toppings if desired. Crushed nuts, rainbow sprinkles, or toasted coconut all work well.
Chocolate dip ratio: 4 oz chocolate + 1 tsp coconut oil = enough for 6 to 8 cones
Allow the chocolate to set fully (about 5 minutes at room temperature or 2 minutes in the refrigerator) before scooping ice cream.
5. Vanilla Bean Ice Cream in a Skillet-Made Cone
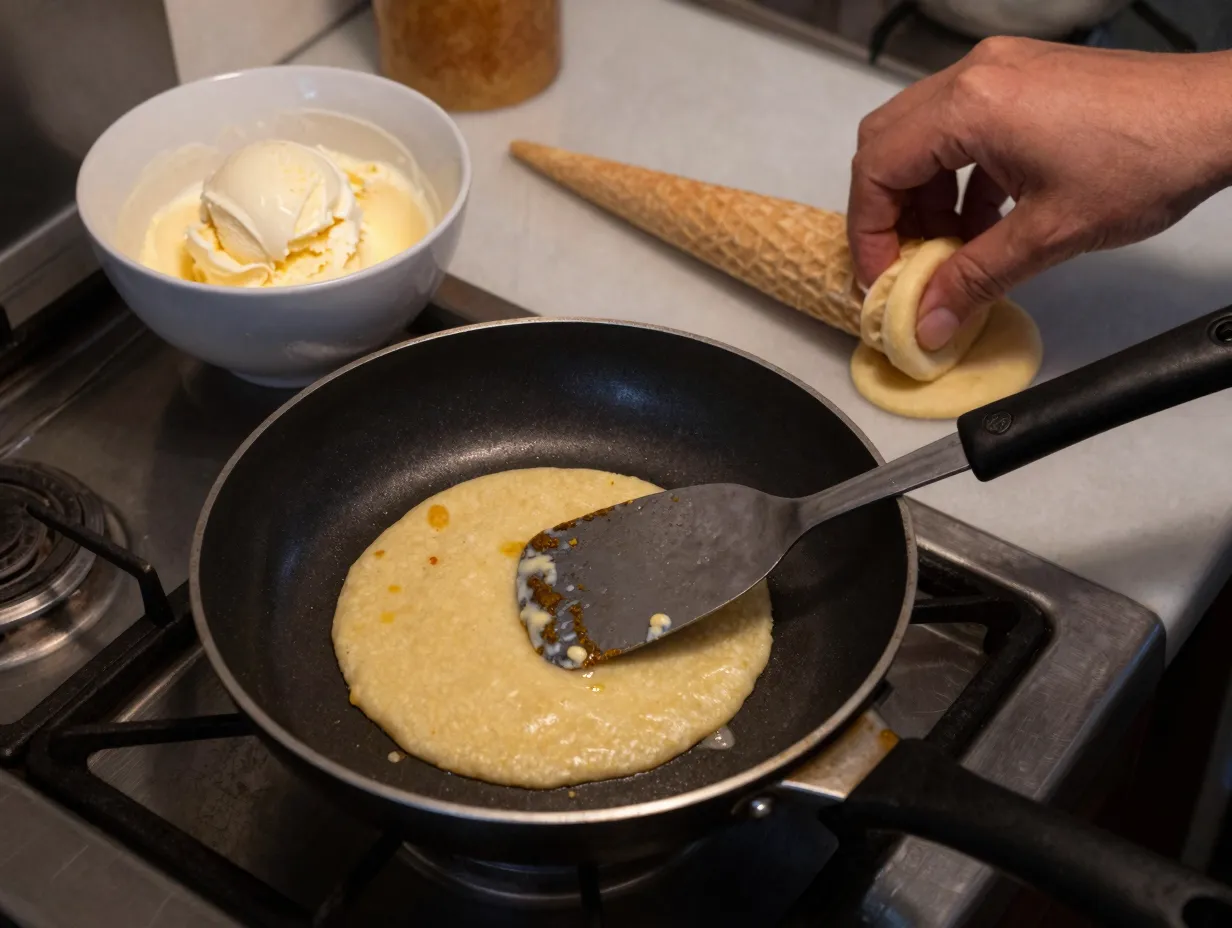
Best for: Cooks without specialty equipment
Not everyone owns a waffle cone iron, but a good non-stick skillet produces excellent flat rounds that roll into serviceable cones [8]. The batter is essentially the same as a standard waffle cone recipe, thinned slightly to spread easily in the pan.
Pour about 3 tablespoons of batter into a preheated, lightly buttered skillet over medium-low heat. Spread it into a thin circle roughly 7 inches in diameter. Cook until the edges turn golden and the surface looks dry (about 2 minutes), then flip carefully and cook for another 60 to 90 seconds [8].
Work quickly when shaping. The window between pliable and brittle is narrow, roughly 15 to 20 seconds. A cone-shaped mold or even a rolled piece of parchment paper works as a shaping tool.
Fill with a classic vanilla bean custard for the most satisfying result.
6. Vanilla Ice Cream in a Red, White, and Blue Festive Cone
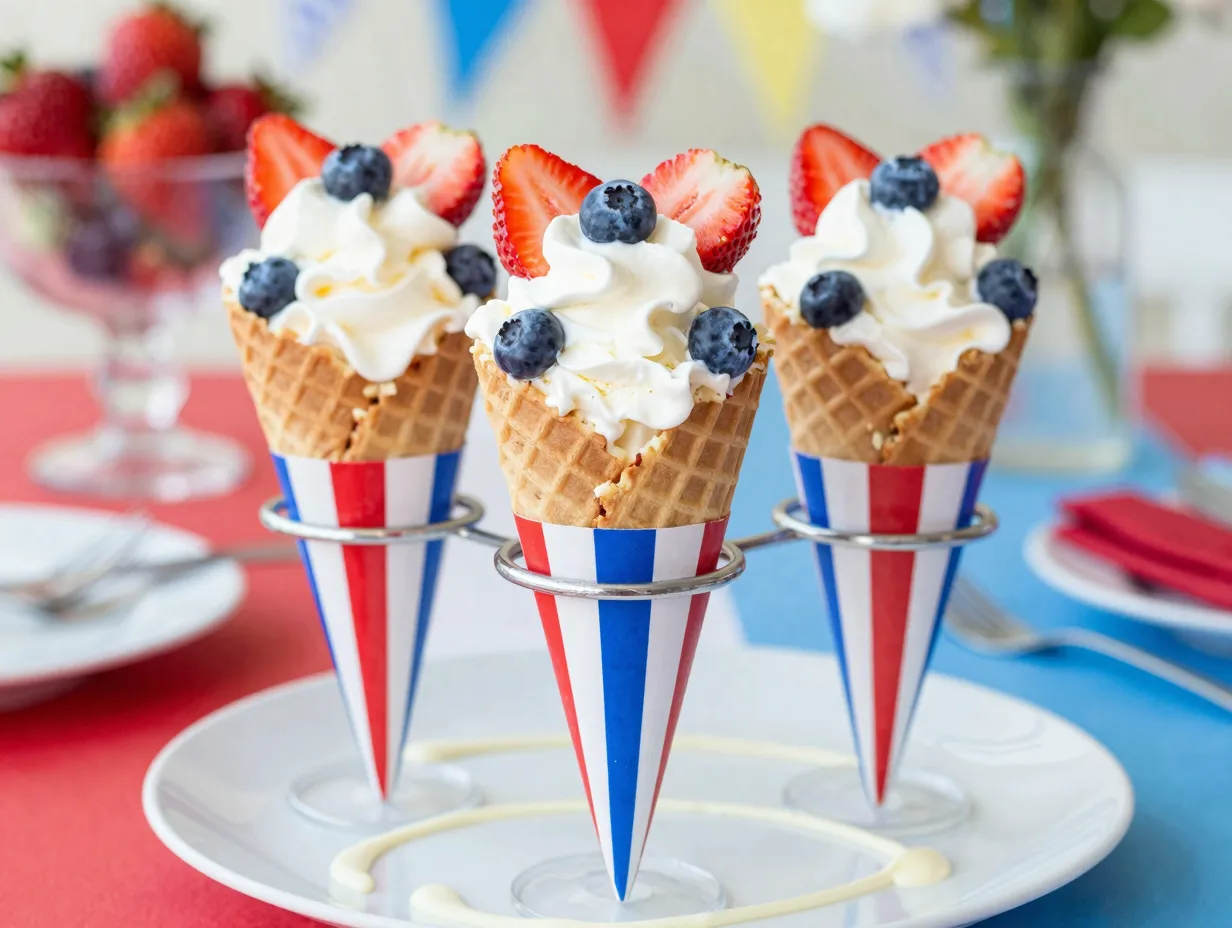
Best for: Summer holidays, patriotic gatherings
This recipe takes a creative approach to the cone itself. The cone batter is divided and tinted with natural food coloring, then layered in the waffle iron to create a striped effect [3]. The result is visually striking and requires no special skill beyond a steady hand.
The vanilla ice cream here works as a neutral, creamy canvas that lets the colorful cone take center stage [3]. A simple Philadelphia-style base or a store-bought premium vanilla both work equally well.
Decoration ideas:
- Fresh blueberries and strawberry slices on top
- White chocolate drizzle
- Edible silver or gold dust
This recipe is particularly popular for Fourth of July gatherings and summer parties where presentation matters as much as flavor.
7. French Vanilla Ice Cream in a Classic Sugar Cone
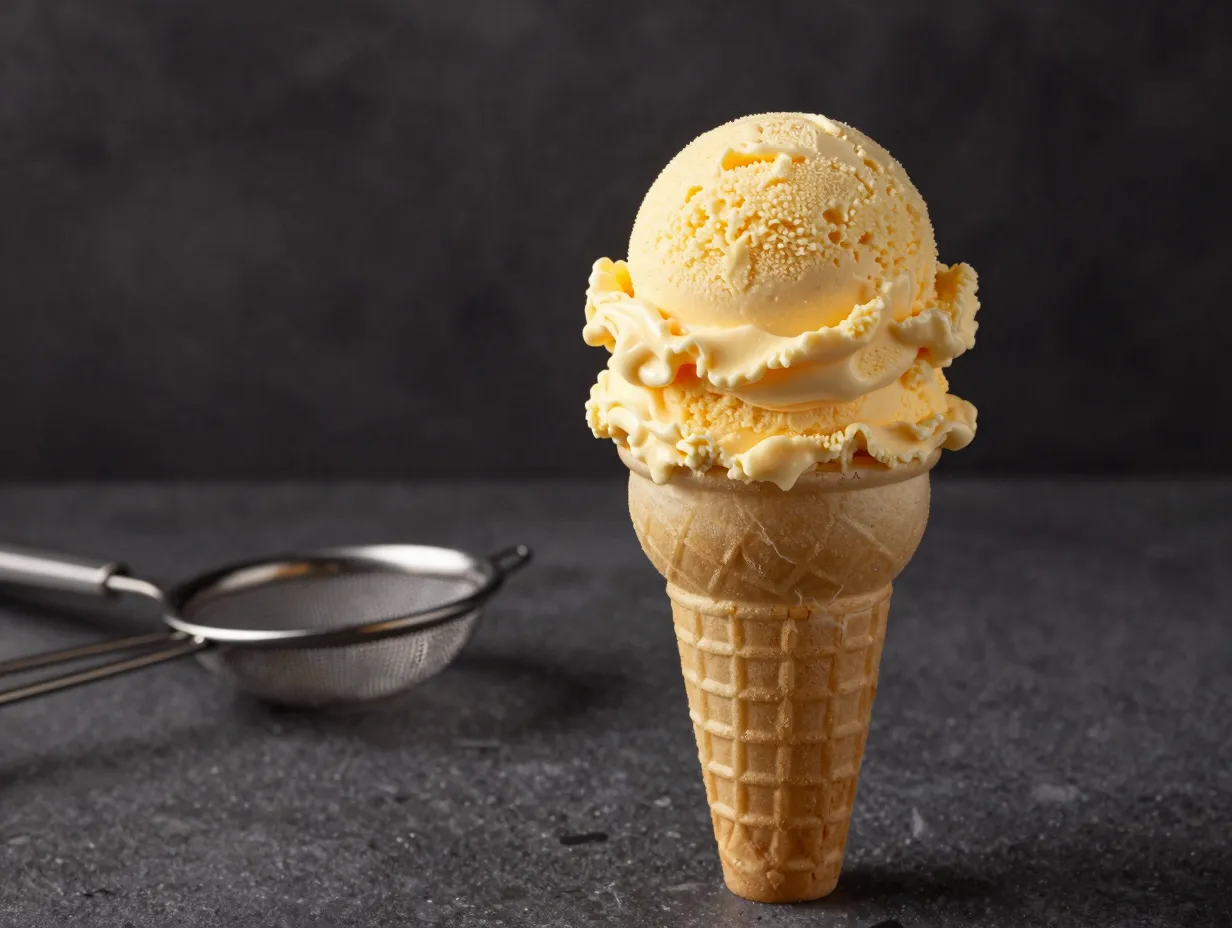
Best for: Rich flavor seekers, dinner party desserts
French vanilla differs from standard vanilla in one key way: it uses egg yolks in the base, producing a noticeably yellower, richer, and more custardy ice cream. The flavor is deeper and more buttery than Philadelphia-style.
The custard is made by whisking 4 to 6 egg yolks with sugar, then slowly streaming in hot cream while whisking constantly to prevent curdling. The mixture is returned to the heat and cooked until it coats the back of a spoon, then strained and chilled before churning.
A classic sugar cone, with its neutral sweetness and slight crunch, is the ideal vessel. It does not compete with the richness of French vanilla the way a heavily flavored waffle cone might.
Texture note: French vanilla ice cream is denser and slower to melt than Philadelphia-style, making it ideal for warm weather serving.
8. Vanilla Soft-Serve Style Ice Cream in a Homemade Cake Cone

Best for: Nostalgic experiences, kids and adults alike
Soft-serve texture comes from churning ice cream at a slightly warmer temperature and serving it immediately rather than hardening it in the freezer. At home, this means pulling the churned ice cream from the machine while it is still soft and piping it directly into the cone with a star-tip piping bag.
The cake cone is the lightest and most neutral of all cone styles. Making one at home involves a thin batter similar to a crepe, baked flat and folded into a cone shape, then allowed to harden at room temperature.
The combination of the airy, crunchy cake cone and the soft, pillowy vanilla ice cream is deeply nostalgic for anyone who grew up visiting soft-serve stands. I find this version particularly satisfying on a hot afternoon.
Serving tip: Pipe the soft-serve in a classic swirl motion, starting from the outside edge and working inward and upward in a spiral.
9. Vanilla Ice Cream Cone with Gourmet Toppings Bar
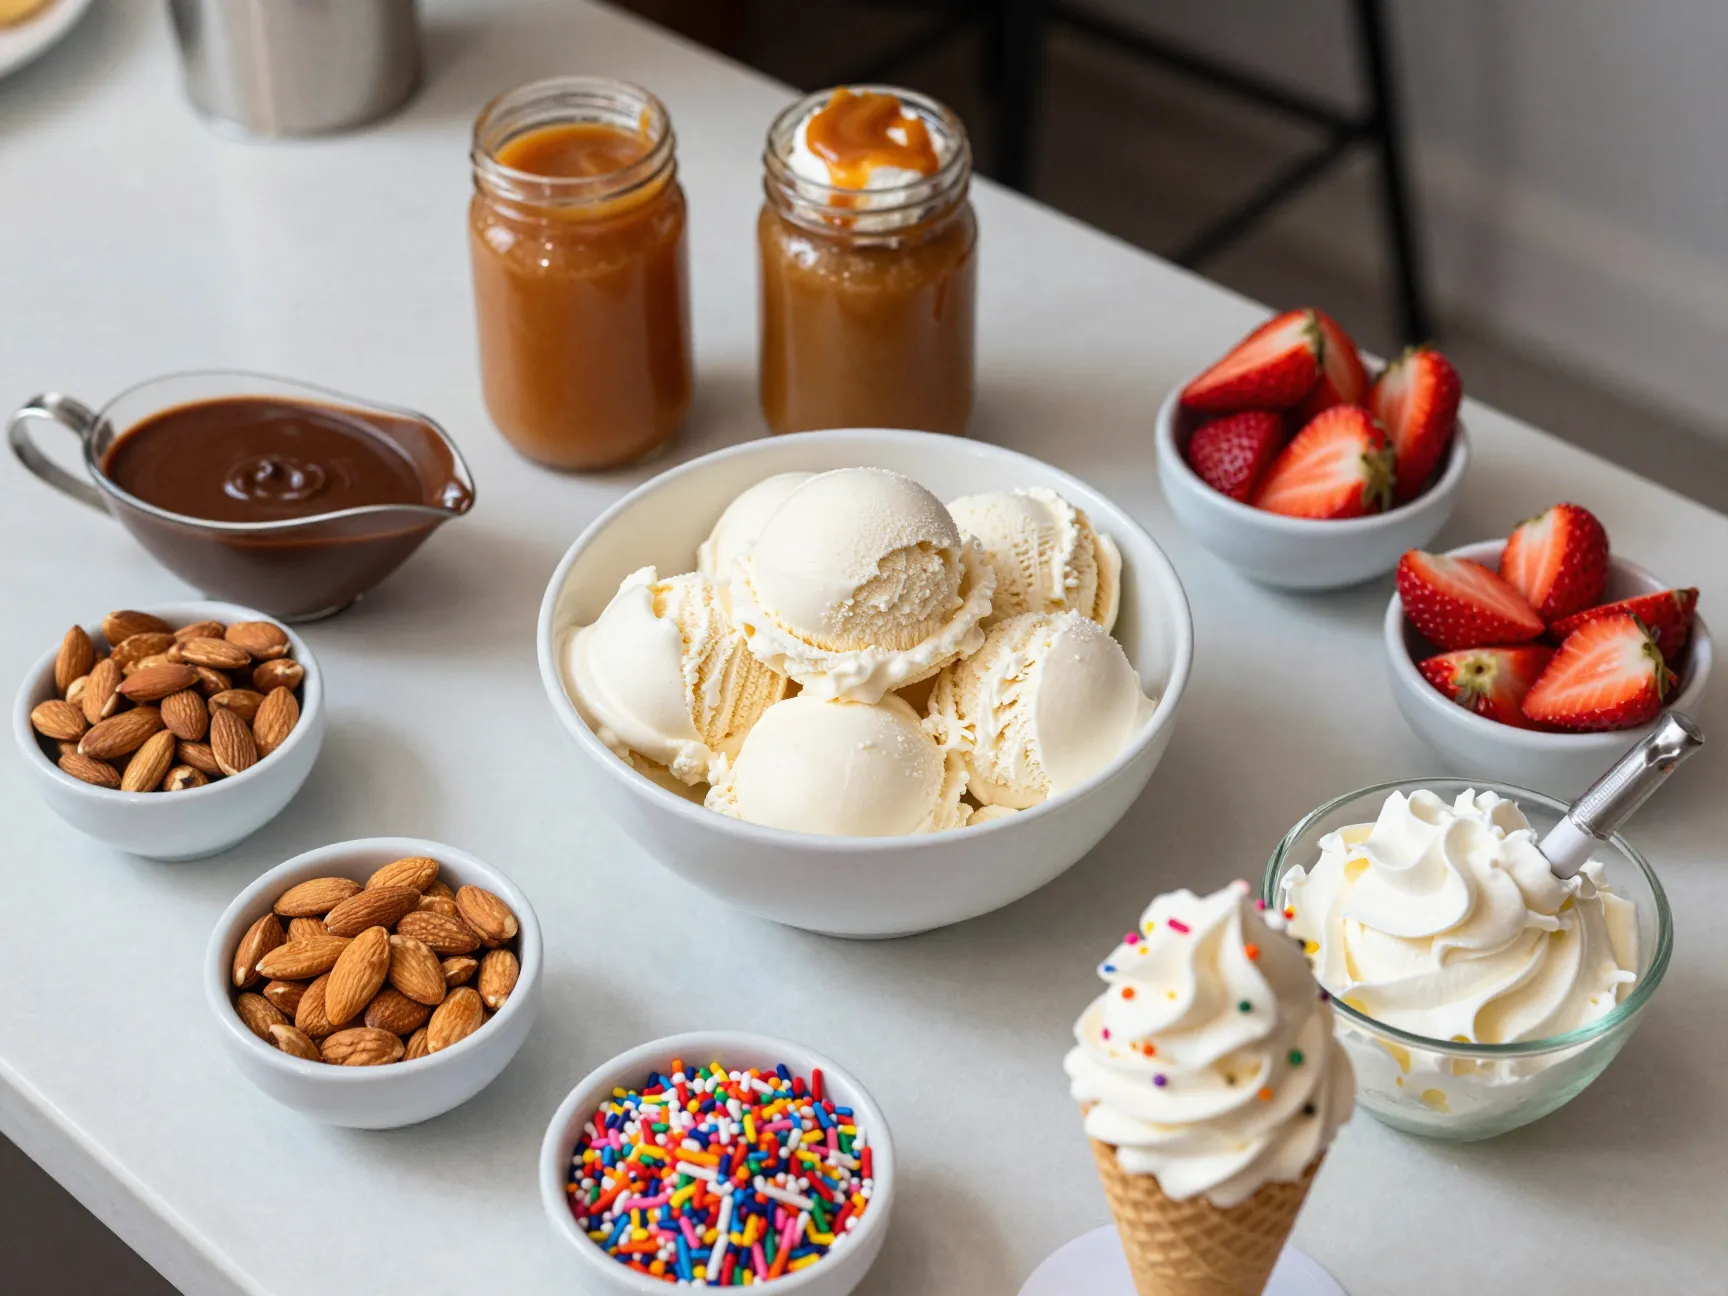
Best for: Parties, interactive dessert stations
The ninth recipe in this collection of 9 Vanilla Ice Cream Cone Recipes That Are Perfectly Classic and Delicious is less a single recipe and more a system. It combines any of the vanilla ice cream bases above with a curated toppings bar, turning a simple dessert into an interactive experience.
The concept works because vanilla is the most versatile flavor base. It pairs well with virtually every topping, from hot fudge and caramel sauce to fresh fruit, candied nuts, and flavored whipped creams.
Suggested toppings bar items:
| Category | Options |
|---|---|
| Sauces | Hot fudge, salted caramel, strawberry coulis |
| Crunch | Crushed waffle cone pieces, toasted almonds, sprinkles |
| Fresh | Sliced strawberries, blueberries, banana coins |
| Indulgent | Whipped cream, mini marshmallows, brownie bites |
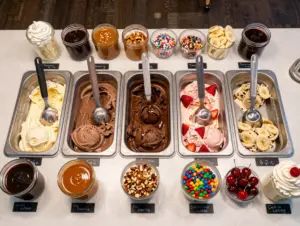
| Specialty | Fleur de sel, lavender sugar, espresso powder |
Set up the station before guests arrive, keep the ice cream in a well-chilled container, and let everyone build their own creation. This format is particularly effective for birthday parties and summer gatherings where a large ice cream cake would be impractical.
Essential Techniques for Perfect Vanilla Ice Cream Cones
Getting the Ice Cream Base Right
The single most important variable in any ice cream recipe is fat content. More fat means a creamier, smoother texture with fewer ice crystals. Using whole milk and heavy cream (rather than low-fat alternatives) is non-negotiable for quality results.
Chilling the base completely before churning is equally critical. A warm base churned immediately will produce icy, grainy ice cream regardless of the recipe. Aim for a base temperature of 40°F or below before it goes into the machine.
For custard-style recipes, straining the finished custard through a fine-mesh sieve removes any cooked egg bits and produces a silky-smooth texture [4].
Mastering Homemade Cone Shaping
The most common mistake when making homemade cones is waiting too long to shape them. Once a baked cone round cools below approximately 140°F, it becomes brittle and will crack rather than roll [2].
A large collection of cone recipes, including multiple approaches to waffle and sugar cone styles, confirms that speed and preparation are the two most important factors in successful cone shaping [1]. Have your rolling tool, a clean towel to protect your hands from heat, and a cup or glass to hold the shaped cone upright while it cools.
Cone shaping checklist:
- Rolling tool ready before cones exit the oven
- Work surface clear and accessible
- Timer set for 6 to 8 minutes per batch [4]
- Cooling cups or glasses lined up for shaped cones
Storing Homemade Ice Cream and Cones
Homemade ice cream stores well in an airtight container with plastic wrap pressed directly against the surface to prevent ice crystal formation. Most homemade vanilla ice cream maintains peak quality for up to 2 weeks in the freezer.
Homemade cones, by contrast, are best consumed within 24 to 48 hours. Store them in an airtight container at room temperature. Do not refrigerate cones, as moisture will soften them quickly.
Common Mistakes and How to Avoid Them
Using imitation vanilla extract: Real vanilla extract or vanilla bean paste produces a noticeably superior flavor. The difference is most apparent in custard-style recipes where vanilla is the primary flavor note.
Skipping the ice bath: For custard-style ice cream, cooling the base quickly in an ice bath stops the cooking process and prevents the eggs from continuing to set. Skipping this step can result in a slightly cooked, grainy texture.
Over-churning the ice cream: Ice cream that is churned too long becomes buttery and dense. Stop churning when the mixture reaches the consistency of soft-serve, then transfer to the freezer to harden.
Under-baking the cone rounds: Pale, under-baked cone rounds will not develop the structural rigidity needed to hold ice cream. Look for an even golden-brown color across the entire surface before removing from the oven [4].
Filling cones too far in advance: Even the crunchiest homemade cone will soften within 30 to 60 minutes of being filled with ice cream. For best results, scoop and serve immediately.
Conclusion
The 9 Vanilla Ice Cream Cone Recipes That Are Perfectly Classic and Delicious covered in this guide range from a five-minute no-churn base to a fully baked tuille cone with French vanilla custard. Each recipe is achievable at home with standard kitchen equipment, and each one produces results that are genuinely superior to anything found in a grocery store freezer aisle.
Actionable next steps:
- Start with Recipe 1 (Philadelphia-style) if you are new to homemade ice cream. It requires no special equipment and produces excellent results in under two hours including chilling time.
- Move to Recipe 2 (vanilla bean custard with tuille cone) once you are comfortable with the basics. This is the recipe to make when you want to impress guests or celebrate a special occasion.
- Build a toppings bar using Recipe 9 for your next gathering. It scales effortlessly for groups of any size and lets everyone personalize their dessert.
- Invest in a waffle cone iron if you plan to make homemade cones regularly. The results are more consistent than a skillet method and the equipment pays for itself quickly.
Vanilla ice cream in a freshly made cone is not a simple dessert. It is a craft. Treat it that way, and the results will speak for themselves.
References
[1] Ice Cream Cone Recipes – https://chefsbliss.com/ice-cream-cone-recipes/
[2] Homemade Ice Cream Cones – https://www.spoonforkbacon.com/homemade-ice-cream-cones/
[3] Red White Blue Ice Cream Homemade Waffle Cones – https://entertainingwithbeth.com/red-white-blue-ice-cream-homemade-waffle-cones/
[4] Vanilla Bean Ice Cream Recipe With Cone Recipe – https://www.rodellekitchen.com/recipes/vanilla-bean-ice-cream-recipe-with-cone-recipe/
[5] Homemade Chocolate Dipped Ice Cream Cones – https://www.thecomfortofcooking.com/homemade-chocolate-dipped-ice-cream-cones/
[8] Homemade Ice Cream Cones Using A Skillet 3153214 – https://www.recipelink.com/recipes/homemade-ice-cream-cones-using-a-skillet-3153214