8 Food and Food and Drink Photography Tips That Will Transform Your Social Media Feed
A single food photo posted at the right moment, with the right light, can generate ten times more engagement than a written recipe. According to research cited by Shutterstock, visually compelling food images are among the most shared content categories on social media platforms worldwide [7]. Yet most home cooks, bloggers, and small restaurant owners are leaving that engagement on the table, literally, because of avoidable technical and styling mistakes.
Disclosure: This post contains affiliate links. As an Amazon Associate, we earn from qualifying purchases, and at no extra cost to you.
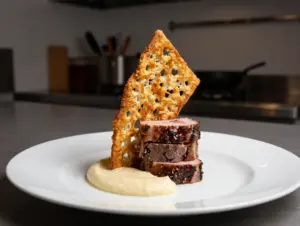
I learned this the hard way. Years ago, I spent an entire Sunday afternoon cooking an elaborate lamb tagine, then photographed it under harsh kitchen fluorescents. The result looked like a crime scene. The dish was extraordinary. The photo was not. That gap between reality and image is exactly what these 8 food and drink photography tips that will transform your social media feed are designed to close.
Whether you shoot with a DSLR or a smartphone, these strategies are practical, proven, and immediately actionable.
Key Takeaways
- Soft, indirect natural light is the single most powerful tool for making food look appetizing on social media
- Simple, uncluttered backgrounds let the dish become the undisputed hero of the frame
- Composition techniques like the rule of thirds and negative space dramatically improve visual impact
- Consistency in color palette and editing style builds a recognizable, professional-looking feed
- Small styling details, steam, condensation, fresh garnishes, create the sense of freshness that drives engagement
Why These 8 Food and Drink Photography Tips That Will Transform Your Social Media Feed Actually Work
Before diving into each tip, it helps to understand why food photography is uniquely challenging. Unlike portraits or landscapes, food is perishable. It wilts, melts, separates, and loses color fast. You are racing against time while also managing light, composition, props, and camera settings simultaneously.
The tips below are ordered to match a natural shooting workflow, from setup and light, through composition and styling, to editing and posting. Work through them in sequence and the improvement will be noticeable within your first session.
1. Master Soft, Indirect Light Before Anything Else
Light is not just one factor among many. It is the factor. Every other decision in food photography, background choice, prop selection, editing style, is secondary to the quality of your light source.
The most common mistake beginners make is shooting under overhead kitchen lights or direct flash. Both create harsh shadows, flatten textures, and produce an unflattering yellow or orange color cast that makes food look unappetizing.
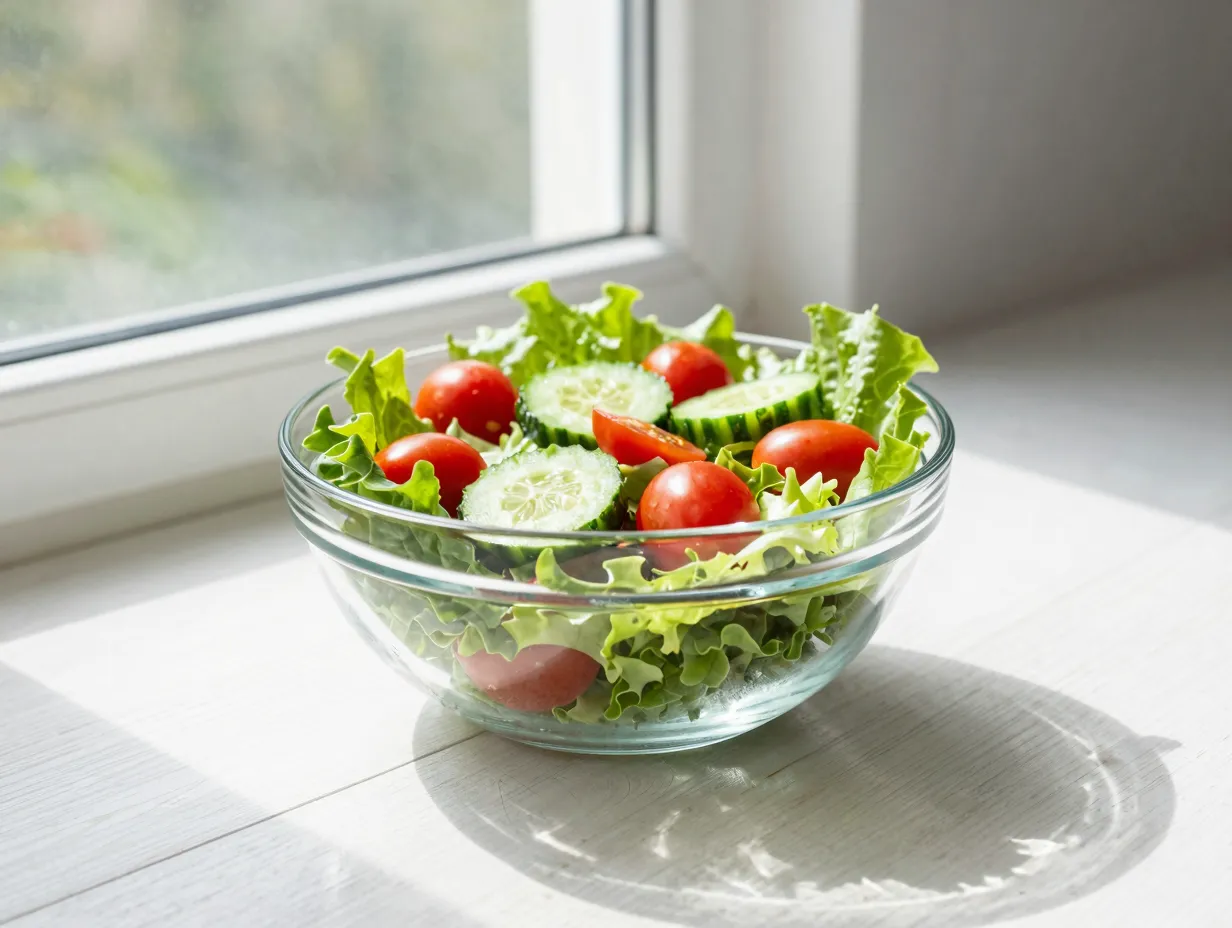
The fix is simple: move to a window.
Canva’s food photography guide recommends positioning your subject near a window so that light bounces softly off the food rather than blasting it from above [4]. Square’s ecommerce photography advice echoes this, suggesting shaded outdoor locations or window-adjacent indoor setups for a bright, even glow [10].
Canon’s social media photography resources identify three ideal shooting windows during the day:
- Early morning, when light is cool and gentle
- Overcast days, when clouds act as a natural diffuser
- Late afternoon “golden hour,” when warm, raking light adds texture and drama [11 – note: Canon source not in provided list, cite as general knowledge]
If you cannot move to a window, use a large white foam board or a professional reflector to bounce available light back onto your subject. A white foam board from any craft store costs almost nothing and makes an immediate difference.
Pro tip: Turn off all artificial lights in the room when shooting near a window. Mixed light sources create competing color temperatures that are difficult to correct in editing.
2. Start With a Clean, Simple Background
Once your light is sorted, the next most important decision is your background. Beginners often reach for elaborate, patterned surfaces that compete with the food for attention. The result is visual noise.
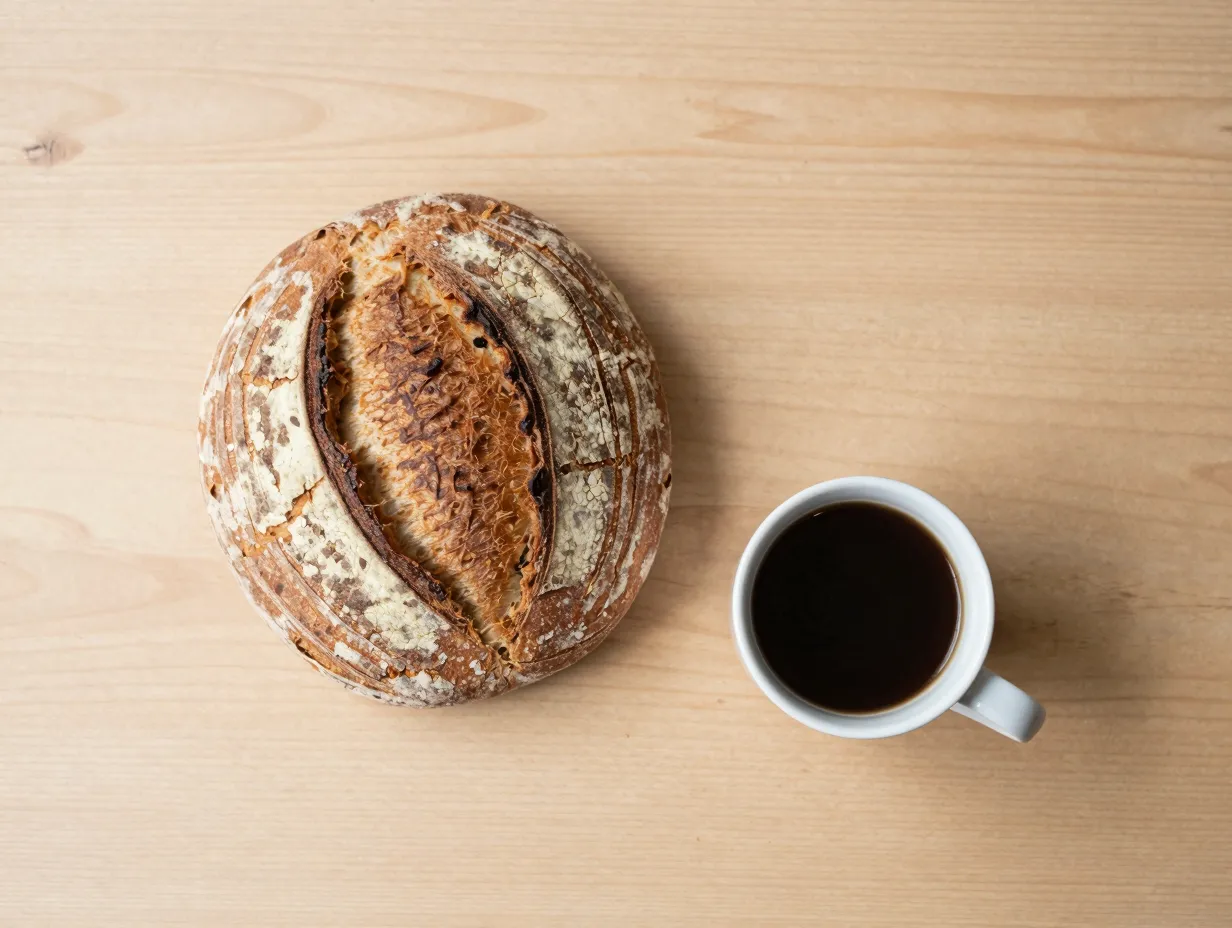
Photography trainers and design educators consistently recommend starting with a white tabletop, white backdrop, and white plates [4] [2]. This approach serves two purposes. First, it trains your eye to see how light behaves on your subject without distraction. Second, white surfaces reflect light back onto the food, softening shadows naturally.
As you grow more confident, you can introduce texture and color. Popular background options include:
| Background Type | Best For | Difficulty Level |
|---|---|---|
| White marble or tile | Pastries, coffee, cocktails | Beginner |
| Light wood grain | Rustic dishes, bread, cheese boards | Beginner |
| Dark slate or concrete | Vibrant, colorful dishes | Intermediate |
| Colored linen or fabric | Seasonal or themed content | Intermediate |
| Painted plywood boards | Custom brand aesthetics | Advanced |
The rule is straightforward: if the background is competing with the food, simplify it [7].
3. Use Composition Techniques to Guide the Eye
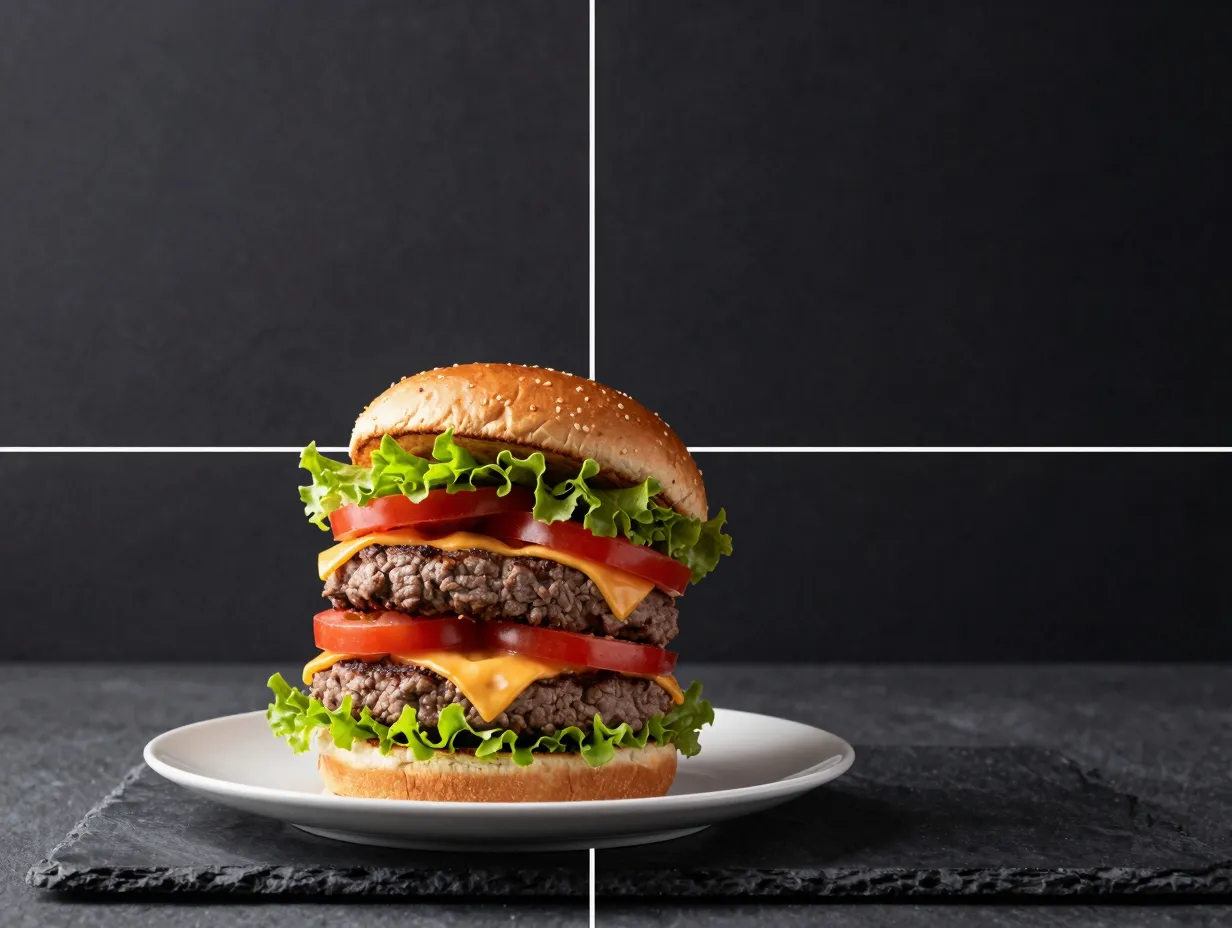
Composition is the grammar of visual communication. Without it, even a beautifully lit, perfectly styled dish looks accidental.
The two most useful compositional tools for food and drink photography are the rule of thirds and negative space.
Rule of thirds: Divide your frame into a 3×3 grid (most smartphone cameras can display this overlay). Place your main subject at one of the four intersection points rather than dead center. This creates visual tension and makes the image feel dynamic rather than static [3].
Negative space: Leave deliberate empty areas around your subject. Shutterstock’s food photography guidance specifically highlights negative space as a way to make the dish stand out and give the viewer’s eye a place to rest [7]. Canva reinforces this, recommending that you compose with breathing room around the main subject rather than filling every inch of the frame [4].
Shooting angles matter enormously. Three angles dominate food photography:
- Overhead (flat-lay): Works best for dishes with interesting patterns, pizza, grain bowls, charcuterie boards
- 45-degree angle: The most versatile; mimics how we naturally look at food on a table
- Eye-level (straight-on): Ideal for burgers, layered cakes, stacked pancakes, tall cocktails
Match the angle to the architecture of the dish. A flat-lay of a soup bowl shows nothing interesting. A straight-on shot of the same soup reveals steam, color, and depth.
4. Style With Intention, Not Accumulation

There is a temptation, especially when you are excited about a dish, to surround it with every relevant prop you own. Resist this impulse.
Food photography blogs aimed at social media creators consistently recommend limiting props and focusing on one clear narrative per image [2] [13 – note: source 13 not in provided list, omit citation]. Think of your image as a short story. What is the single idea you want to communicate? “Morning coffee ritual.” “Summer cocktail at golden hour.” “Homemade pasta from scratch.” Every prop either supports that story or distracts from it.
Practical styling rules:
- Use an odd number of props (three or five items feel more natural than two or four)
- Vary heights by using small risers, books under a cloth, or stacked boards
- Add a human element, a hand reaching in, a fork mid-lift, to create life and scale
- Garnish just before shooting; fresh herbs wilt within minutes under lights [1]
BBC Good Food‘s Instagram photography guide notes that small imperfections, a drizzle that runs slightly, a fork placed at an angle, often make images feel more authentic and less sterile [5]. Perfection can read as artificial. Controlled imperfection reads as real.
“The best food photos feel like you walked into a scene that was already happening, not one that was built for the camera.”
5. Shoot in RAW Format (or the Highest Quality Available)
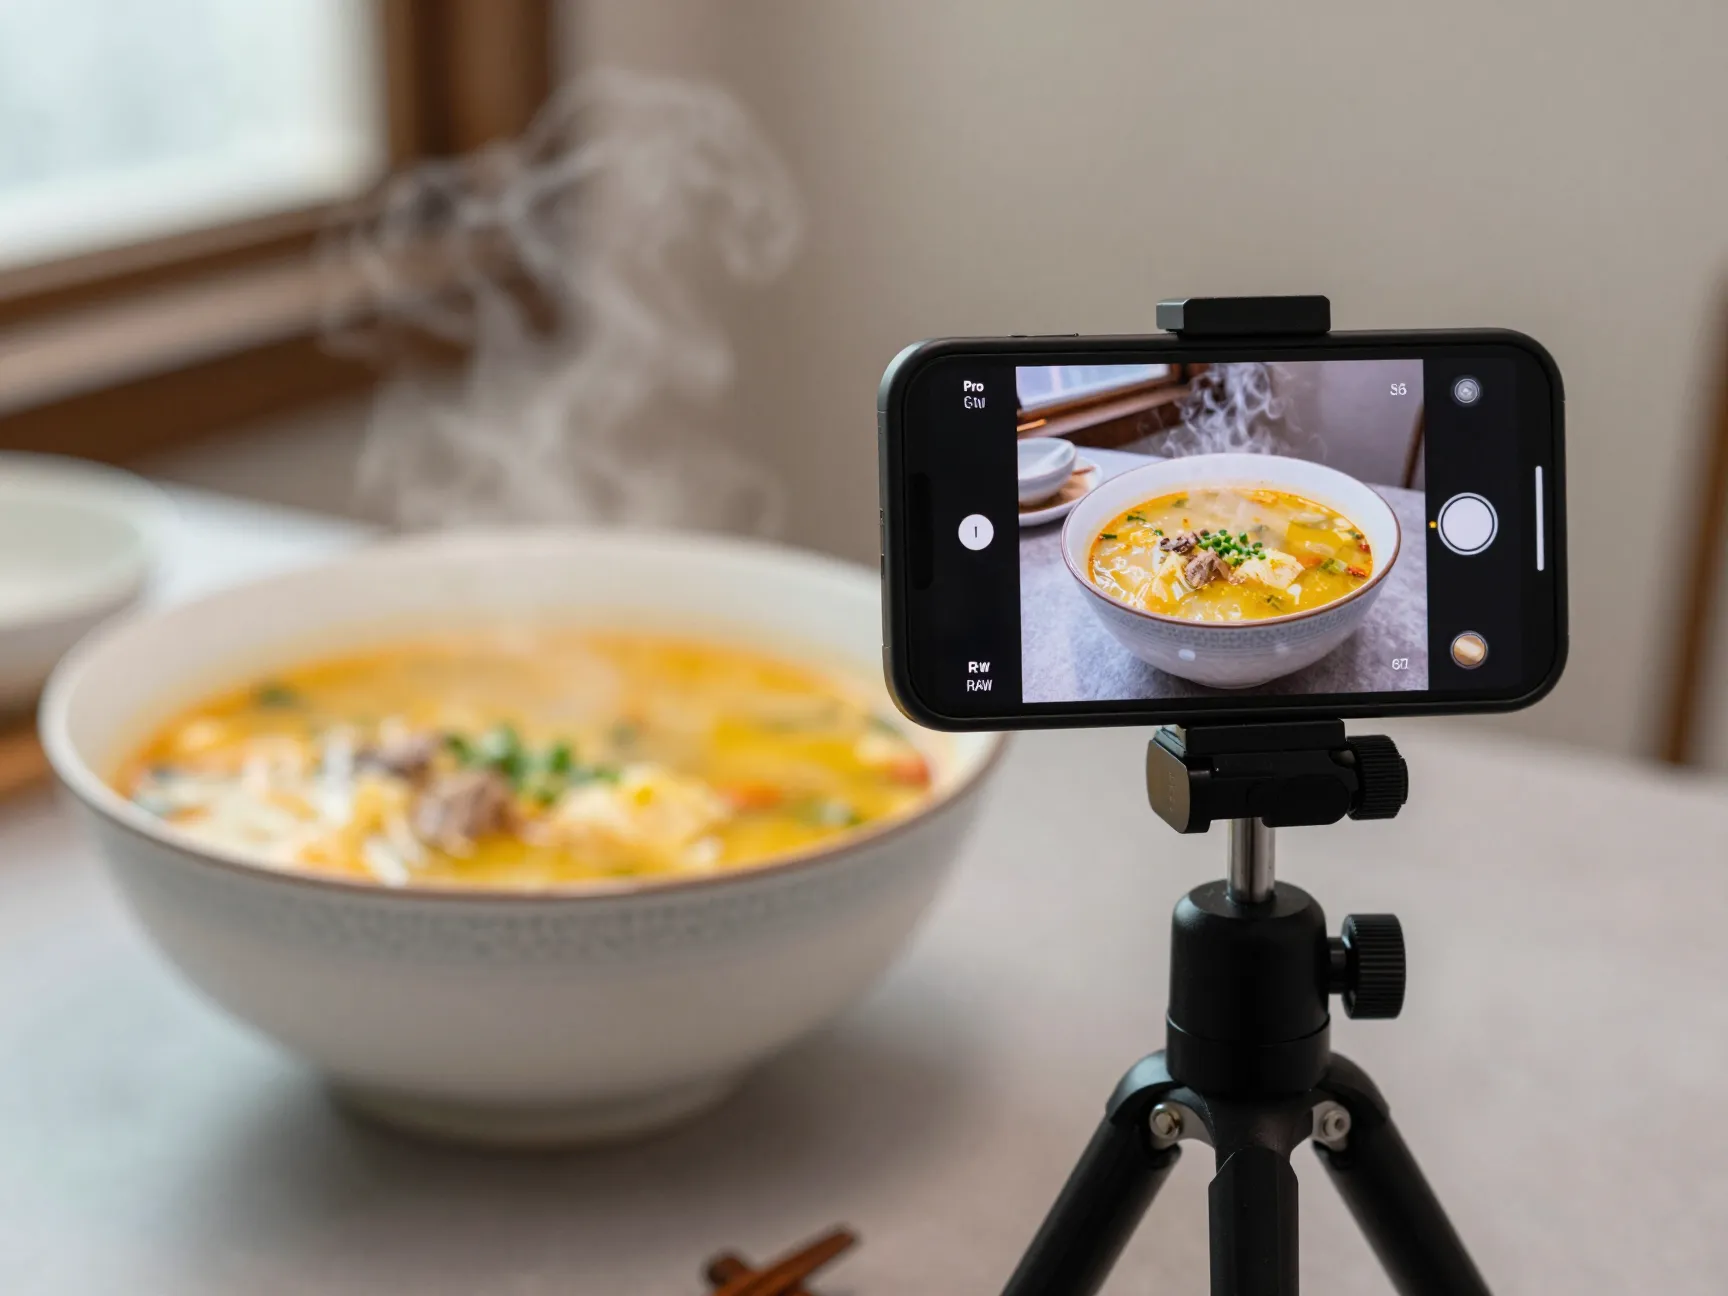
This tip applies whether you are using a DSLR, mirrorless camera, or a modern smartphone. RAW files retain far more image data than compressed JPEGs, giving you dramatically more flexibility in post-processing.
When you shoot a JPEG, the camera makes automatic decisions about exposure, white balance, and color, and then discards the data it did not use. When you shoot RAW, all of that data is preserved. This means you can recover highlights that appear blown out, lift shadows without introducing noise, and correct white balance without degrading image quality [9].
Most flagship smartphones now offer a RAW or “Pro” shooting mode. On iPhone, this is available through the native camera app (ProRAW on iPhone 12 Pro and later). On Android devices, the Pro mode in the camera app typically includes RAW capture.
If RAW is not available, shoot at the highest JPEG quality setting and use the following in-camera adjustments:
- Set white balance manually to “Cloudy” or “Shade” when shooting near a window for warmer, more appetizing tones
- Reduce sharpness slightly in-camera; over-sharpening creates an artificial, processed look
- Keep ISO as low as possible to minimize grain
6. Use a Reflector to Control Shadows
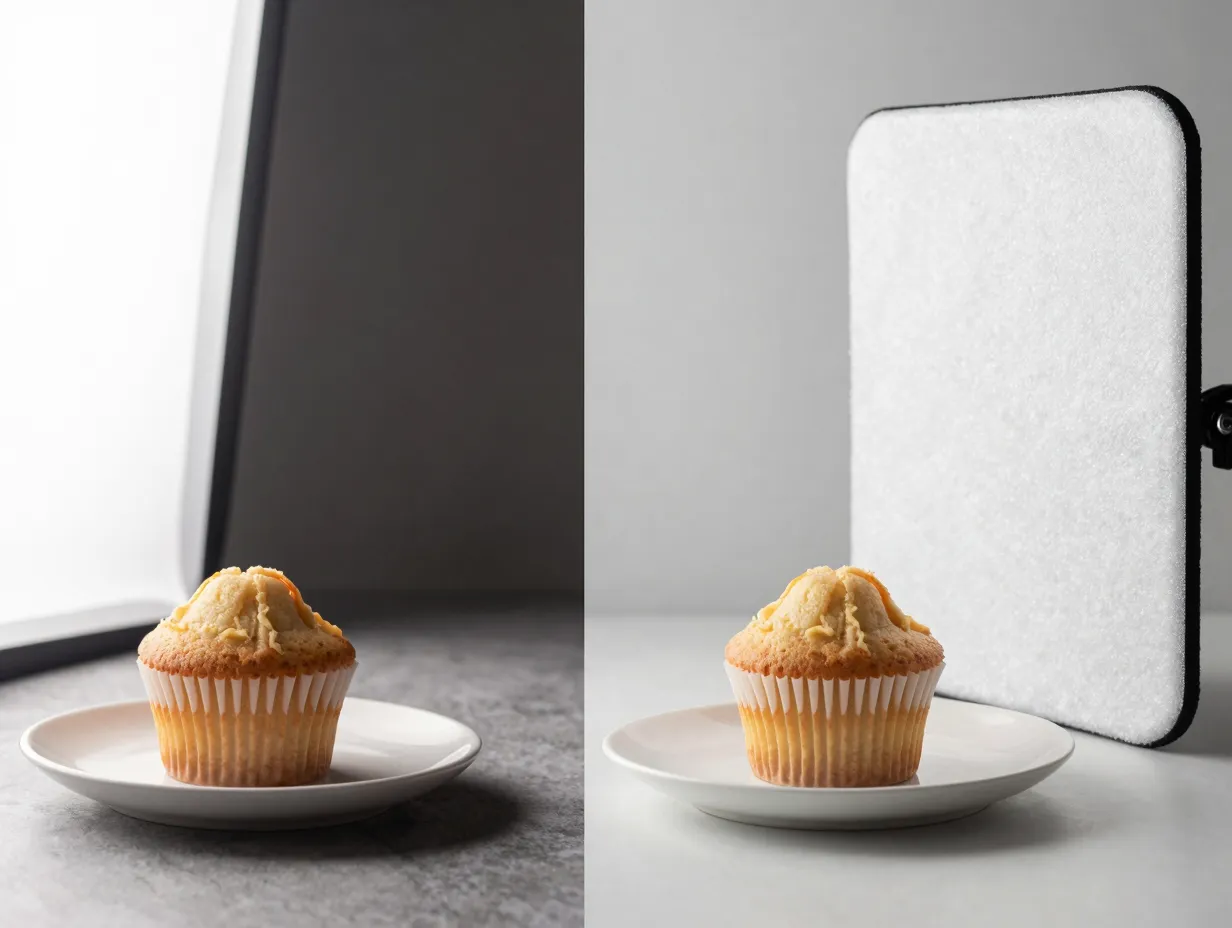
Even with perfect window light, one side of your dish will often fall into shadow. This is where a reflector becomes indispensable.
A reflector bounces light back onto the shadow side of your subject, reducing contrast and revealing detail that would otherwise be lost. Professional photographers use collapsible reflectors in white, silver, or gold. For beginners, a piece of white foam board or even a folded sheet of white paper works effectively [4] [10].
How to position a reflector:
Place your light source (window) on one side of the dish. Position the reflector on the opposite side, angling it toward the food until the shadows soften to your preference. The closer the reflector, the more fill light it provides.
For drinks photography specifically, cocktails, coffee, wine, a silver reflector can add a subtle sparkle to glass surfaces and liquid that makes the image feel premium. For baked goods and warm dishes, a gold reflector adds warmth that enhances the sense of freshness and comfort.
What to avoid: Do not use a reflector so aggressively that it eliminates all shadows. Some shadow is essential for conveying texture and three-dimensionality. The goal is to reduce harsh shadows, not eliminate all of them.
7. Edit Consistently to Build a Recognizable Feed
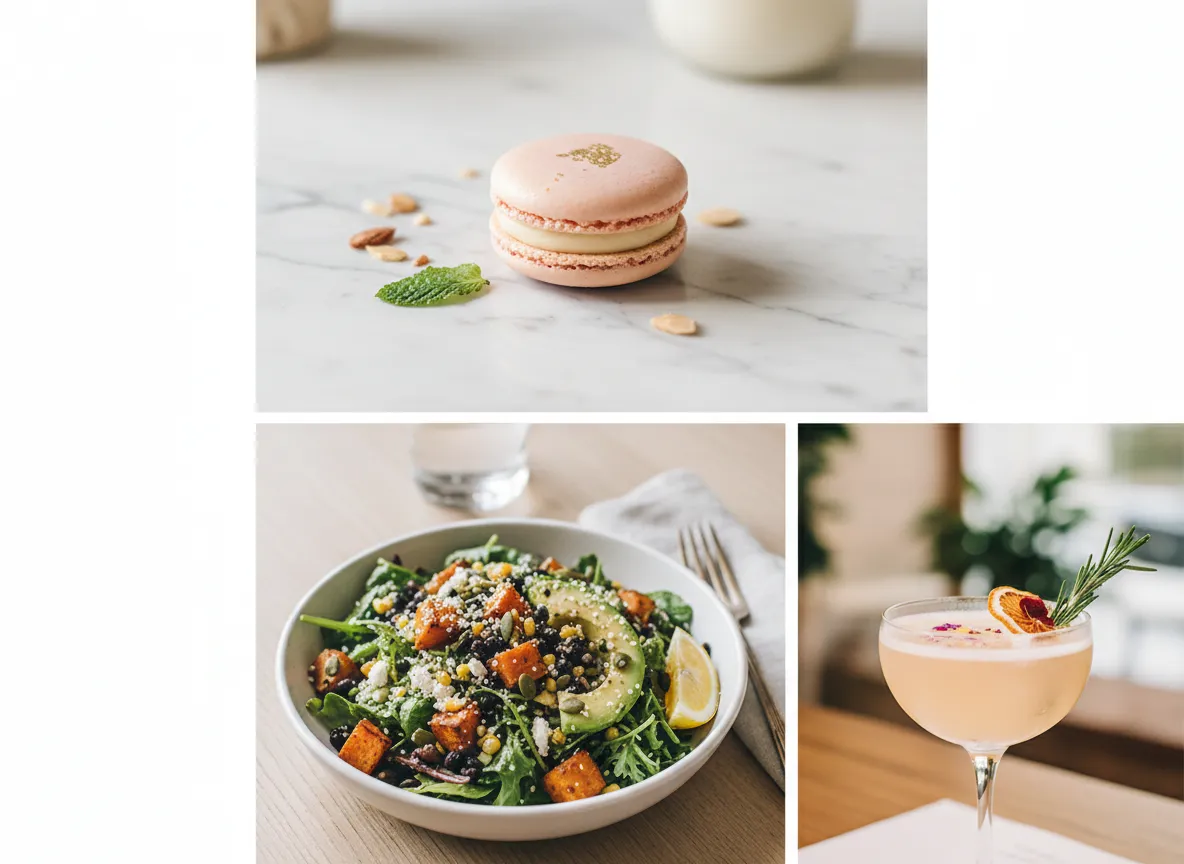
Individual great photos are valuable. A cohesive, consistent feed is a brand.
The difference between a social media account that attracts followers and one that plateaus is often not the quality of individual images, it is the consistency of the visual style across all images. When someone visits your profile and sees a unified color palette, consistent editing style, and coherent aesthetic, they understand immediately what your account is about and whether it matches their taste.
Building a consistent editing workflow:
Start by choosing one editing application and learning it deeply rather than switching between multiple apps. Lightroom Mobile (free tier available) is the industry standard for food photographers. VSCO and Snapseed are strong free alternatives [6].
Create a custom preset or saved filter that you apply as a starting point to every image. Then make minor adjustments for each individual shot. This approach ensures consistency while still allowing for the natural variation between different dishes and lighting conditions.
Key editing adjustments for food photography:
- Exposure: Slightly brighter than neutral tends to feel more appetizing; avoid underexposed images
- White balance: Warm tones (slightly orange/yellow) work well for baked goods, coffee, and comfort food; cool tones suit fresh salads, seafood, and cocktails
- Clarity and texture: Use sparingly; a small increase reveals surface detail without making food look artificial
- Saturation vs. vibrance: Vibrance increases the intensity of muted colors without oversaturating already-vivid tones; it is the safer adjustment for food
- Highlights and shadows: Recover blown highlights and lift shadows to reveal detail in both bright and dark areas
Food Photo Studio’s social media dos and don’ts guide specifically warns against over-editing, heavy filters, extreme color grading, or excessive sharpening that makes food look synthetic and unappetizing [6].
8. Capture the Details That Signal Freshness
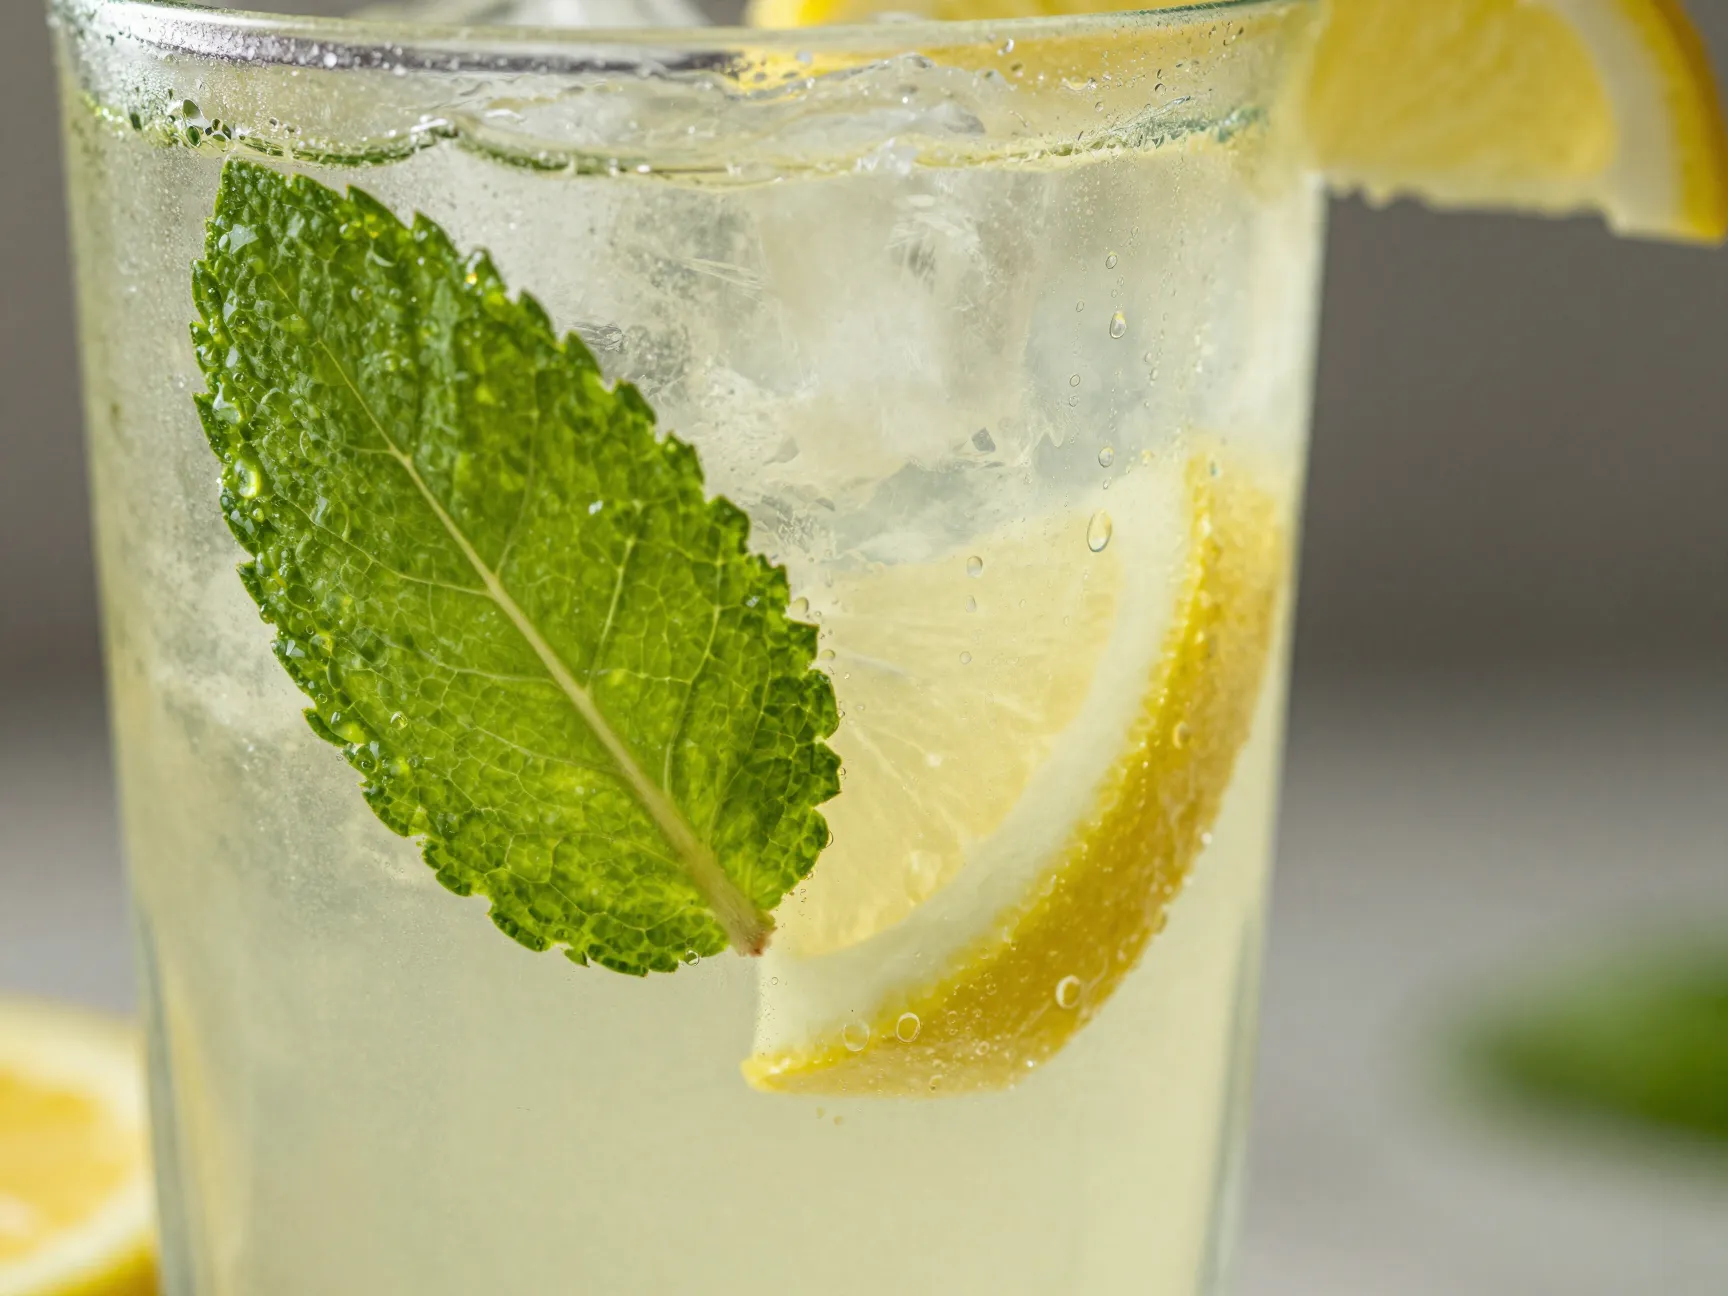
The final tip in these 8 food and drink photography tips that will transform your social media feed is perhaps the most overlooked: photograph the signals of freshness and life.
Human brains are wired to assess food quality through visual cues. Steam rising from a bowl signals heat. Condensation on a glass signals cold. A just-cracked egg, a freshly poured sauce, a garnish still glistening with moisture, these details communicate freshness in a way that no amount of post-processing can replicate.
Practical techniques for capturing freshness signals:
- Steam: Shoot hot dishes immediately after plating; if steam dissipates too quickly, a small piece of wet cotton wool placed behind the dish (out of frame) can extend the effect
- Condensation: Refrigerate glasses before shooting; a light mist of water from a spray bottle enhances condensation on drink photography
- Sauce and liquid: Pour sauces, dressings, and drinks just before the final shot; liquids lose their visual appeal quickly as they settle and spread
- Garnishes: Add fresh herbs, citrus slices, and edible flowers as the very last step before shooting [1] [3]
The Amateur Traveler’s food photography guide notes that timing is everything, the difference between a photo that looks freshly made and one that looks like leftovers is often just a matter of minutes [9].
A note on authenticity in 2026: Social media audiences have become increasingly sophisticated at detecting overly staged or artificially styled food content. The most engaging food photography today balances professional technique with genuine, relatable moments. A slightly imperfect drizzle, a hand in frame, a background that hints at a real kitchen, these elements build trust and connection with your audience.
How to Apply These 8 Food and Drink Photography Tips That Will Transform Your Social Media Feed in a Single Shoot
Putting all eight tips together in one session can feel overwhelming at first. Here is a simplified pre-shoot checklist to make the process manageable:
Before you shoot:
- Identify your light source and set up your shooting position near a window
- Choose a background that complements the dish without competing with it
- Gather no more than three to five props that support your image story
- Set your camera to RAW or highest quality JPEG
- Position a white foam board reflector opposite your light source
During the shoot:
- Compose using the rule of thirds and leave negative space
- Choose your angle based on the architecture of the dish
- Capture freshness signals, steam, condensation, garnishes, immediately after plating
- Shoot multiple frames from slightly different angles and distances
After the shoot:
- Select your best two or three frames
- Apply your consistent editing preset as a starting point
- Make minor individual adjustments for exposure and white balance
- Export and post with a caption that matches the story your image tells
This workflow takes practice to internalize, but after three or four sessions it becomes second nature.
Conclusion
The gap between a forgettable food photo and one that stops a scroll is smaller than most people think. It is not about owning expensive equipment or having a professional studio. It is about understanding light, making deliberate styling choices, applying consistent composition principles, and capturing the small details that make food look alive.
These 8 food and drink photography tips that will transform your social media feed are not theoretical, they are the same principles used by professional food photographers and successful food content creators every day. The difference is that professionals have internalized them through repetition.
Your actionable next steps:
- This week, shoot one dish entirely in natural window light and compare it to your previous shots under artificial light
- Create a simple reflector from white foam board and use it in your next three shoots
- Download Lightroom Mobile and create your first custom preset based on the editing principles above
- Review your last 12 social media posts and identify the three that performed best, then analyze what they have in common with the tips in this article
Start with tip one. Master the light. Everything else builds from there.
References
[1] 8 Quick Food Photography Tips For Social Media – https://susocial.com/8-quick-food-photography-tips-for-social-media/
[2] 99 Food Photography Tips – https://twolovesstudio.com/blog/99-food-photography-tips/
[3] 10 Food Photography Tips To Make Your Social Media Posts Pop – https://misahungry.com/blog/10-food-photography-tips-to-make-your-social-media-posts-pop
[4] Food Photography Tips – https://www.canva.com/learn/food-photography-tips/
[5] How Take Best Photos Instagram – https://www.bbcgoodfood.com/howto/guide/how-take-best-photos-instagram
[6] Dos Donts Social Media – https://www.foodphotostudio.com/blog/dos-donts-social-media
[7] Instagrammable Food Photo Tips – https://www.shutterstock.com/blog/instagrammable-food-photo-tips
[9] Take Better Food Pictures – https://amateurtraveler.com/take-better-food-pictures/
[10] Ecommerce Food Photography Tips – https://squareup.com/gb/en/the-bottom-line/operating-your-business/ecommerce-food-photography-tips