9 Homemade Angel Food Cake Tips That Give You the Lightest, Fluffiest Results Every Time
Angel food cake fails at a rate that surprises most home bakers, a dense, rubbery result is far more common than the cloud-like perfection you see in cookbooks. The difference between a collapsed, chewy disappointment and a towering, feather-light masterpiece almost always comes down to a handful of precise, repeatable techniques. In 2026, with more home bakers tackling scratch baking than ever before, understanding these fundamentals has never mattered more. This guide covers the 9 Homemade Angel Food Cake Tips That Give You the Lightest, Fluffiest Results Every Time, each one grounded in food science and tested in real kitchens. Whether you are baking your first angel food cake or troubleshooting a recipe you have made a dozen times, these tips will change your results immediately.
Disclosure: This post contains affiliate links. As an Amazon Associate, we earn from qualifying purchases, and at no extra cost to you.
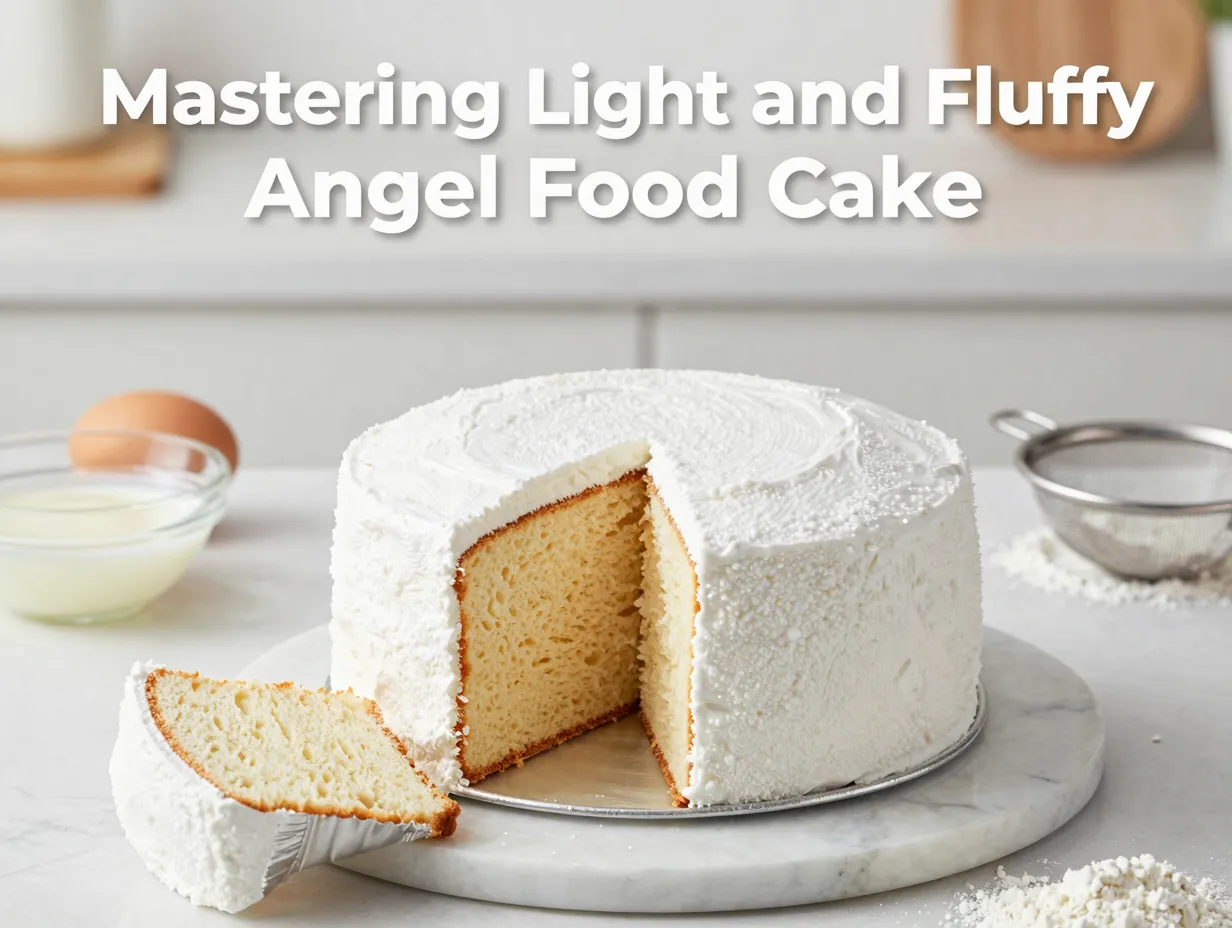
Key Takeaways
- Room-temperature egg whites and grease-free equipment are non-negotiable foundations for proper volume
- Cream of tartar stabilizes your meringue so the cake holds its structure through baking
- Sifting dry ingredients multiple times and folding gently preserves the air you worked hard to build
- An ungreased tube pan and inverting the cake during cooling are structural steps, not optional suggestions
- Stopping egg whites at medium-soft peaks, not stiff peaks, is the single most common mistake to correct
The Science Behind a Perfect Angel Food Cake
Before diving into the numbered tips, it helps to understand what you are actually building. Angel food cake is a foam cake. Unlike butter cakes that rely on fat for tenderness, angel food cake gets every bit of its structure and lift from whipped egg whites. Air bubbles trapped inside the meringue expand in the oven, and the proteins in the egg whites set around those bubbles to create the cake’s delicate, spongy crumb.
That means fat is the enemy. Flour must be light enough to barely weigh the foam down. And every step from bowl preparation to cooling must protect those air bubbles. Once you see the recipe through that lens, the tips below stop feeling like arbitrary rules and start feeling like logical steps in a single, connected process.
9 Homemade Angel Food Cake Tips That Give You the Lightest, Fluffiest Results Every Time
1. Start With Room-Temperature Egg Whites
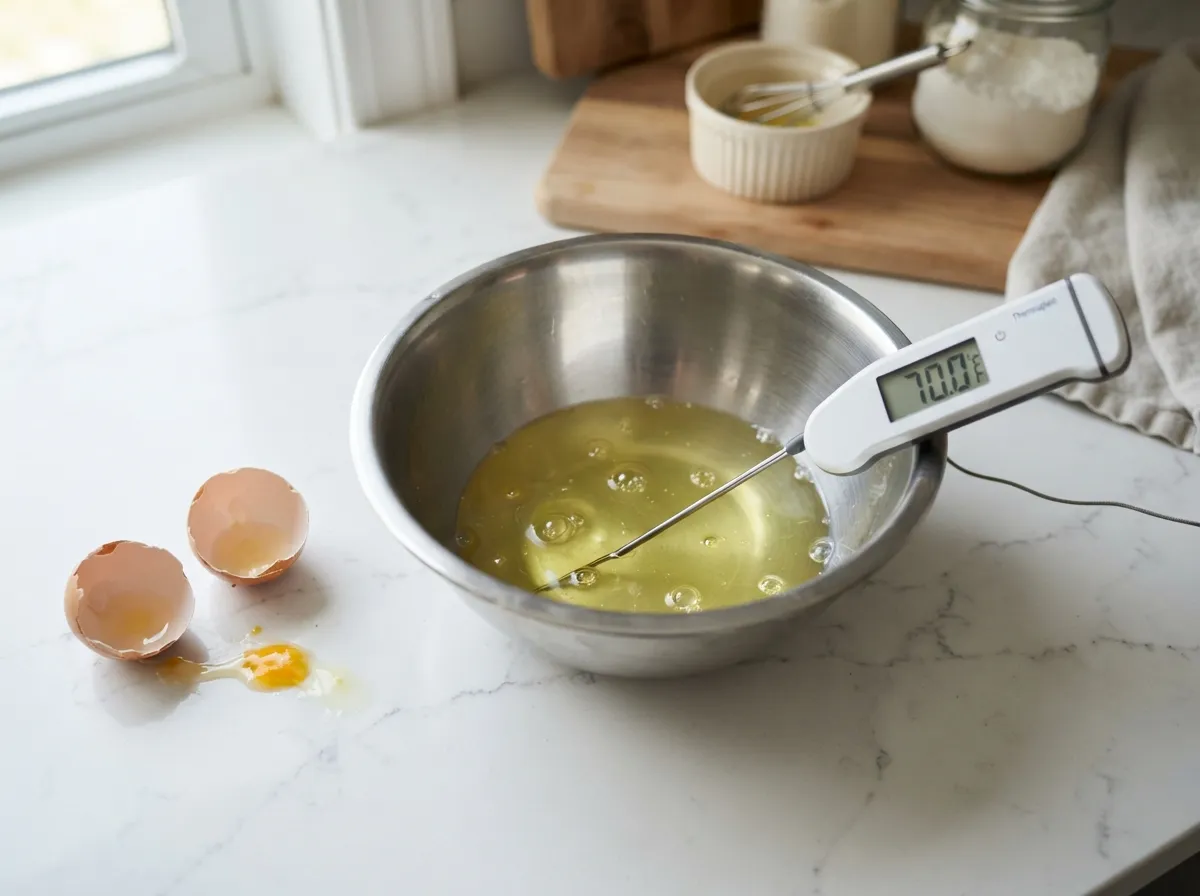
Cold egg whites are stiff and resistant. They take longer to whip, they produce less volume, and the foam they create is less stable. Egg whites at room temperature have looser protein bonds, which means they unfold and trap air far more efficiently when beaten [1].
The best approach is to separate your eggs while they are still cold, cold yolks are firmer and far less likely to break and contaminate the whites. Then let the separated whites sit in a clean bowl at room temperature for 30 minutes before you begin whipping. This small act of patience consistently produces noticeably more volume.
Quick reference: Egg white temperature impact
| Egg White Temperature | Whipping Speed | Volume Achieved | Foam Stability |
|---|---|---|---|
| Cold (straight from fridge) | Slow | Lower | Moderate |
| Room temperature (68-72 F) | Fast | Higher | Strong |
2. Make Sure Every Piece of Equipment Is Completely Grease-Free
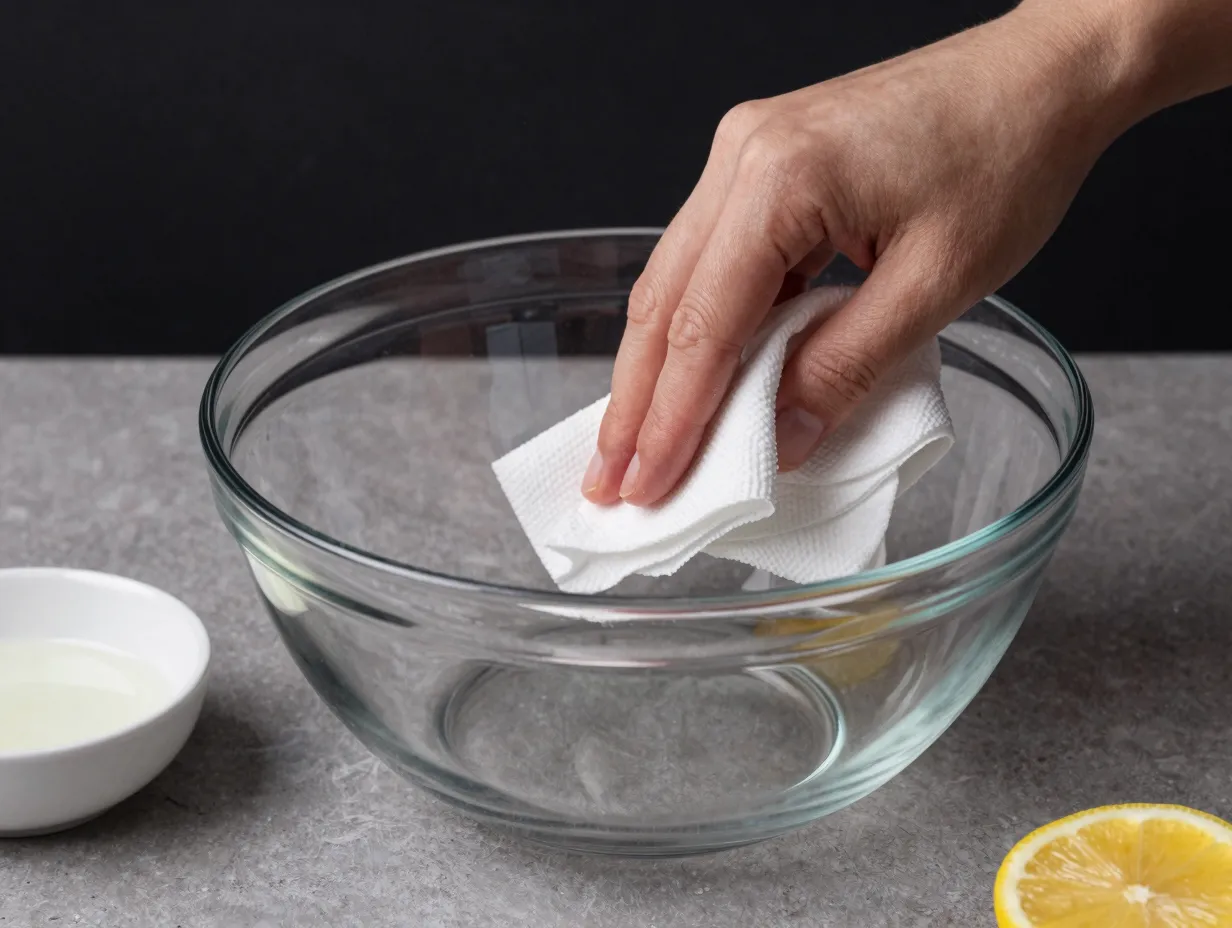
This is the tip most bakers know intellectually but underestimate in practice. Even a thin film of oil or butter, invisible to the naked eye, can prevent egg whites from whipping to full volume. Fat molecules interfere with the protein network that gives the foam its strength [1].
Plastic bowls are risky because plastic is porous and can hold onto oils even after washing. Use a glass or stainless steel bowl instead. Before you begin, wipe the bowl and your whisk or beater attachments with a paper towel dampened with white vinegar or lemon juice. This cuts through any residual grease and gives you a clean, acidic surface that actually supports foam formation.
One yolk broken into your whites is enough to ruin the batch. If a yolk breaks during separation, set that white aside for scrambled eggs and use a fresh egg.
3. Add Cream of Tartar to Stabilize the Foam
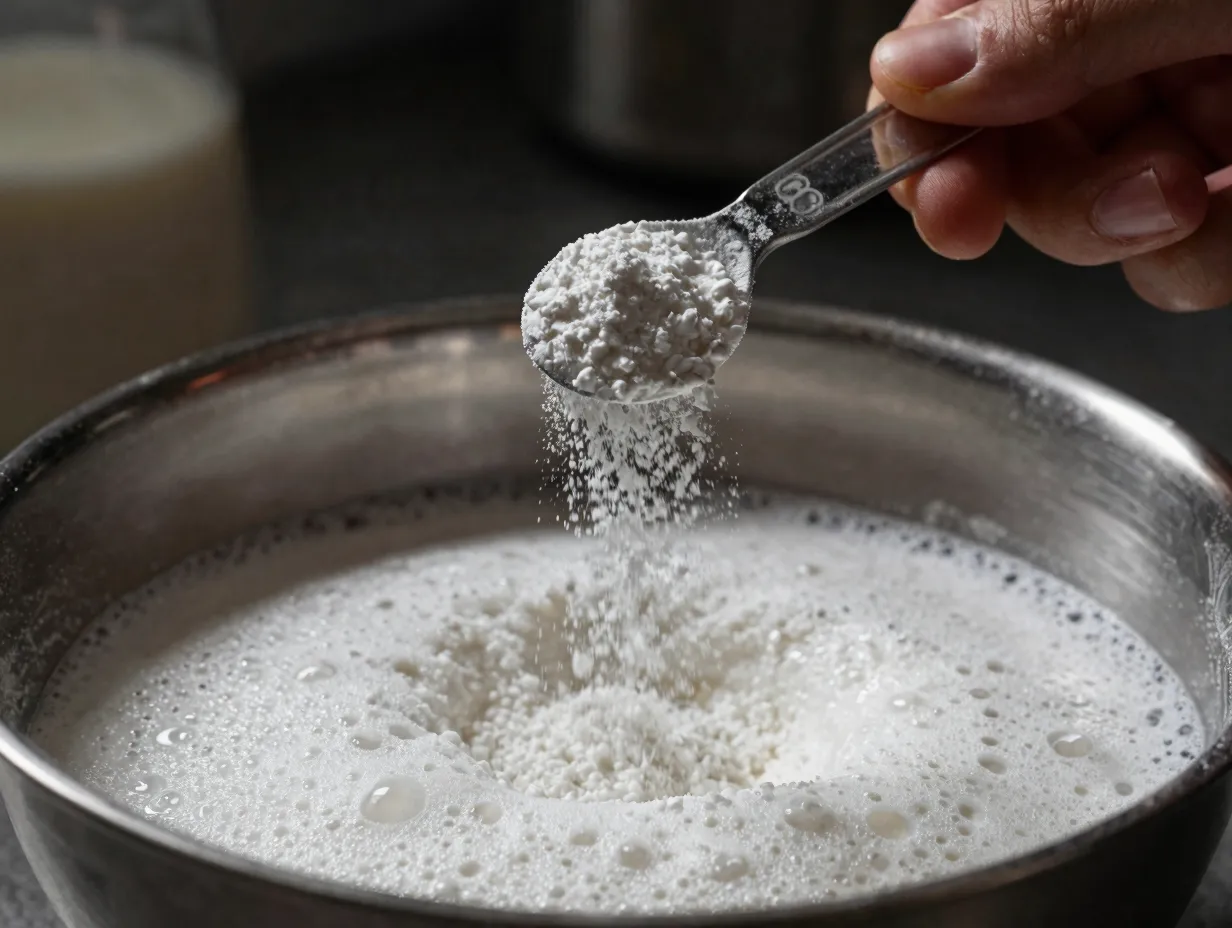
Cream of tartar is a mild acid, potassium bitartrate, that does two important things. First, it lowers the pH of the egg whites, which tightens the protein structure and makes the foam more stable. Second, it helps the whipped whites hold their shape longer, giving you more time to fold in the dry ingredients without the foam deflating [2].
The standard ratio is 1/8 teaspoon of cream of tartar per egg white. For a typical angel food cake using 12 egg whites, that is 1.5 teaspoons. Add it after the whites are foamy but before you reach soft peaks. Adding it too early can slow the process; adding it too late reduces its stabilizing effect.
“Cream of tartar is not a flavor ingredient, it is structural insurance. Skip it and you are baking without a safety net.”
4. Sift Your Dry Ingredients Multiple Times
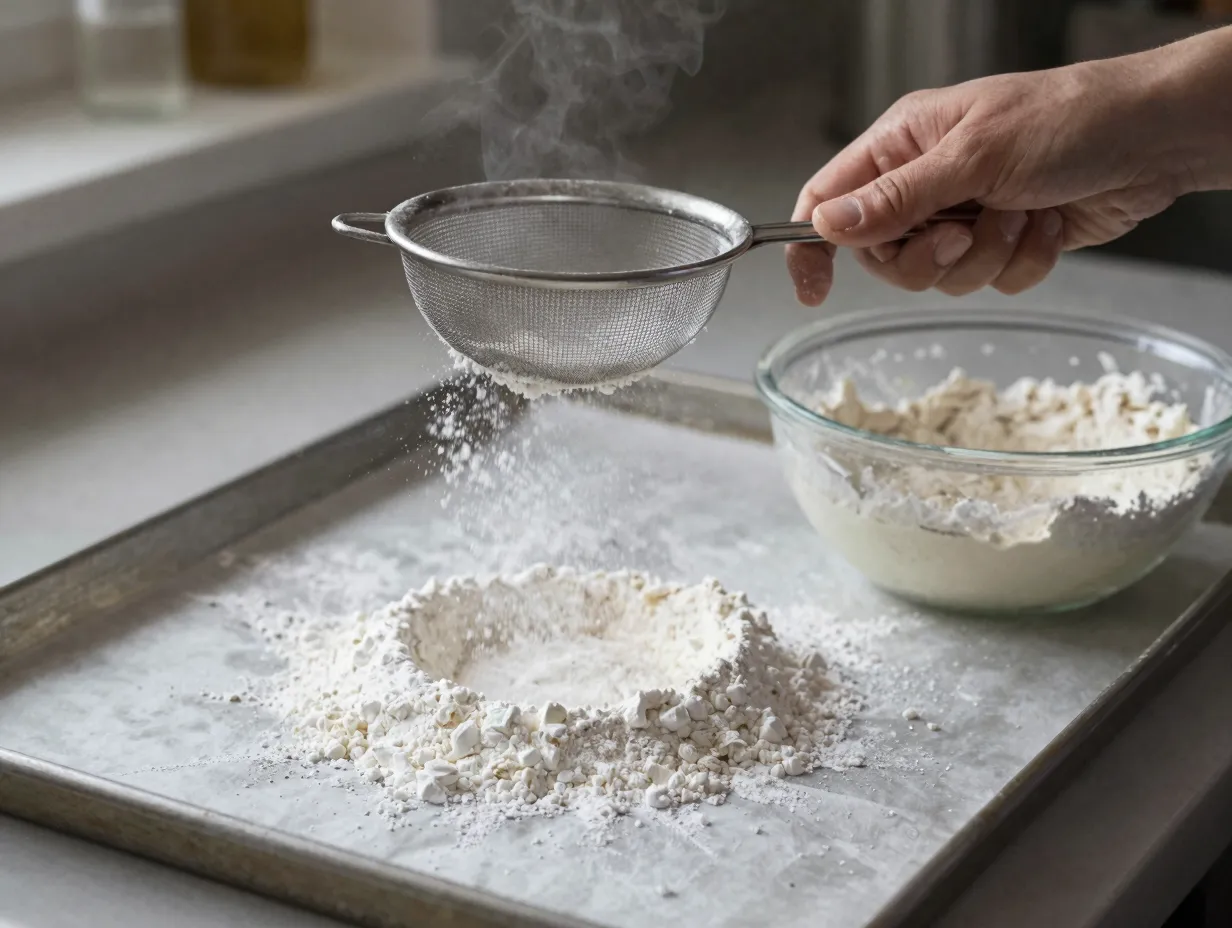
Cake flour is already finely milled, but it still clumps in the bag. Sugar, even superfine sugar, can pack together. When either of those ingredients hits your delicate egg white foam in clumps, they deflate the batter and create dense pockets in the finished cake [3].
Sifting three times is the standard recommendation among experienced angel food cake bakers. The first sift breaks up clumps. The second sift aerates the flour and sugar together. The third sift, done directly over the batter just before folding, ensures the lightest possible addition.
Sifting checklist:
- Use cake flour, not all-purpose flour (lower protein content means less gluten development)
- Sift flour and a portion of the sugar together
- Sift the mixture at least three times before adding to batter
- Sift the final portion directly over the whipped whites in small batches
5. Stop Beating at Medium-Soft Peaks, Not Stiff Peaks
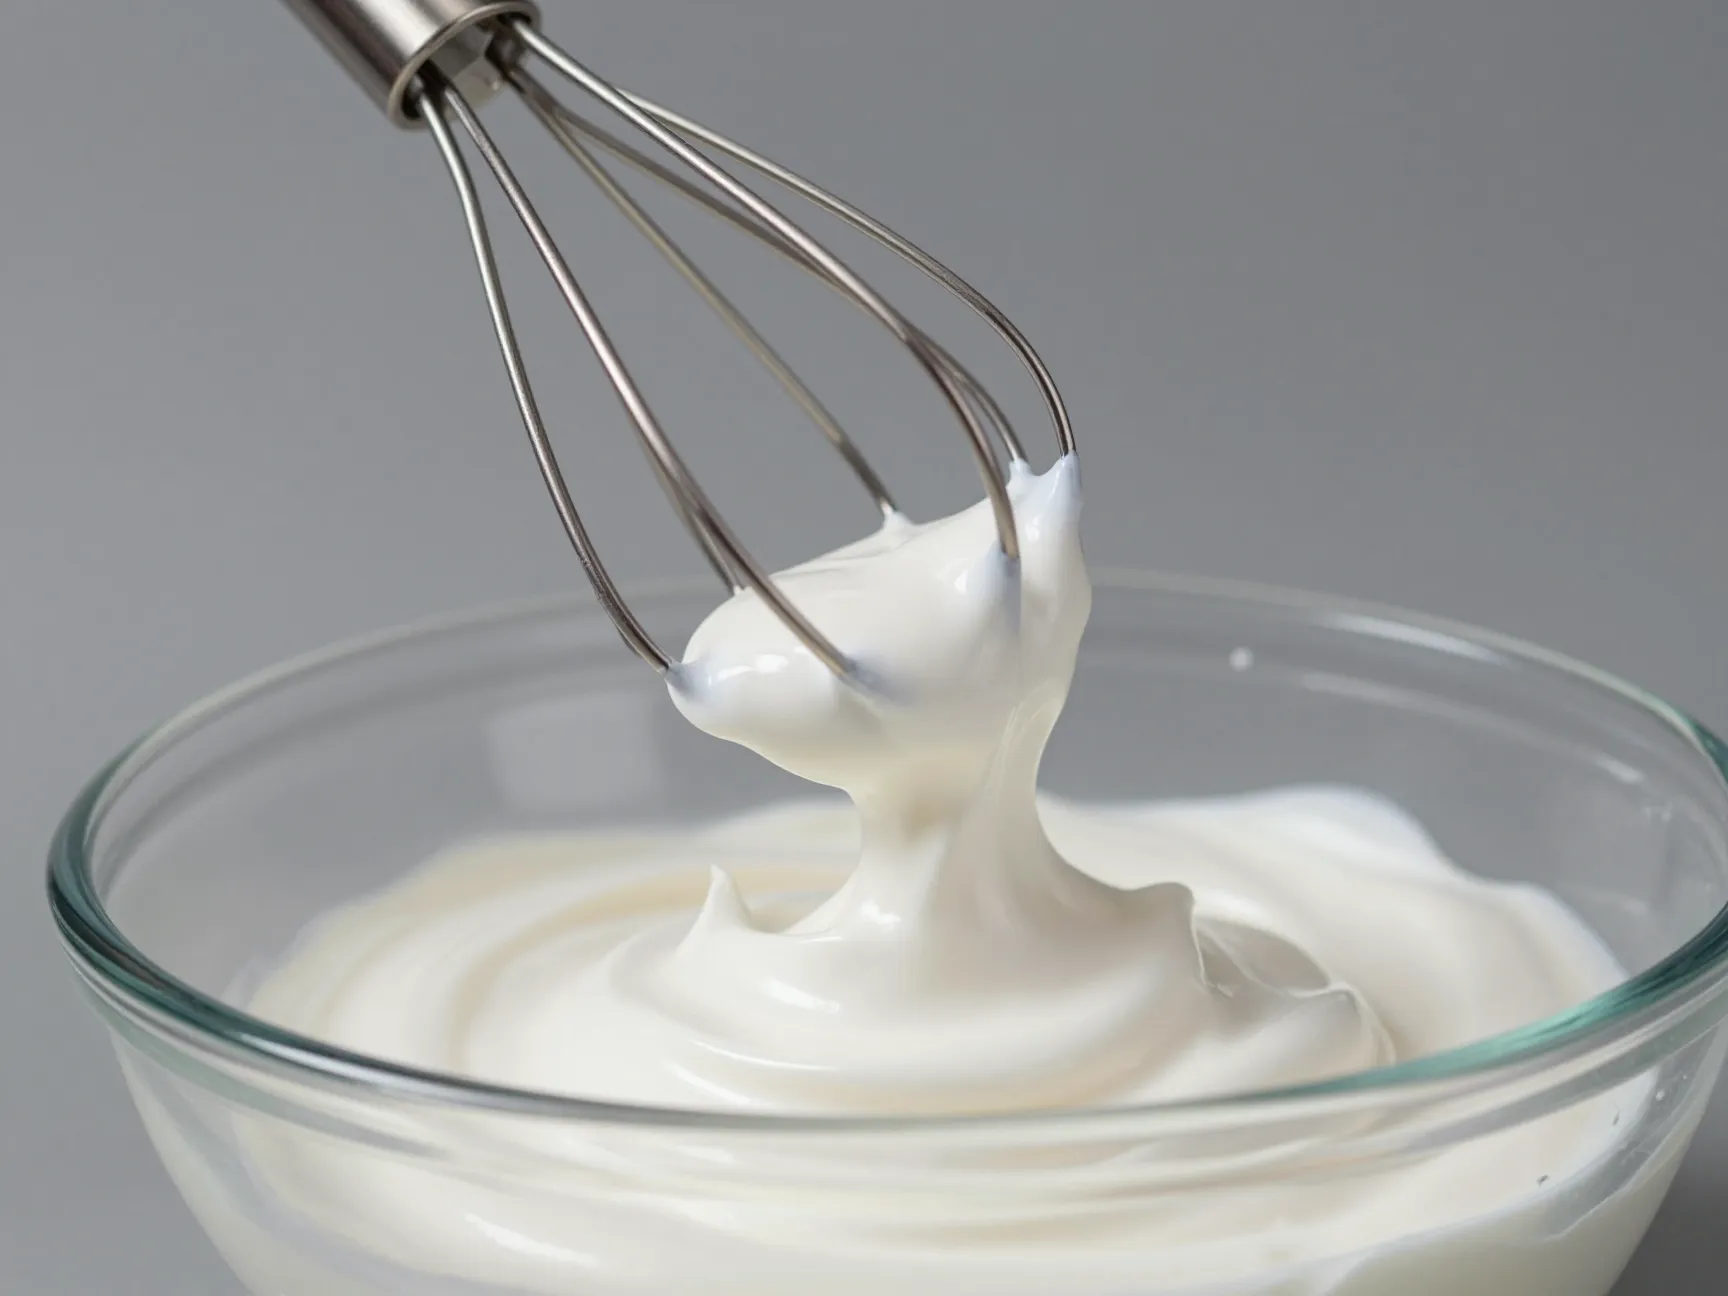
This is the most common mistake I see in home kitchens, and it is the one that surprises people the most. The instinct is to beat egg whites as much as possible, more air must mean a lighter cake, right? Actually, overbeaten egg whites become grainy and dry. The protein structure over-tightens, the foam loses its flexibility, and when you try to fold in the flour, the batter tears and deflates rather than blending smoothly [3].
What medium-soft peaks look like: When you lift the beater, the peak curls over gently at the tip. The whites look glossy and moist, not dry or clumpy. The foam holds its shape but still has a slight flow to it.
Stop the mixer and check frequently once you pass the foamy stage. It takes only seconds to go from perfect to overbeaten.
6. Fold Dry Ingredients Into the Batter With a Light Hand
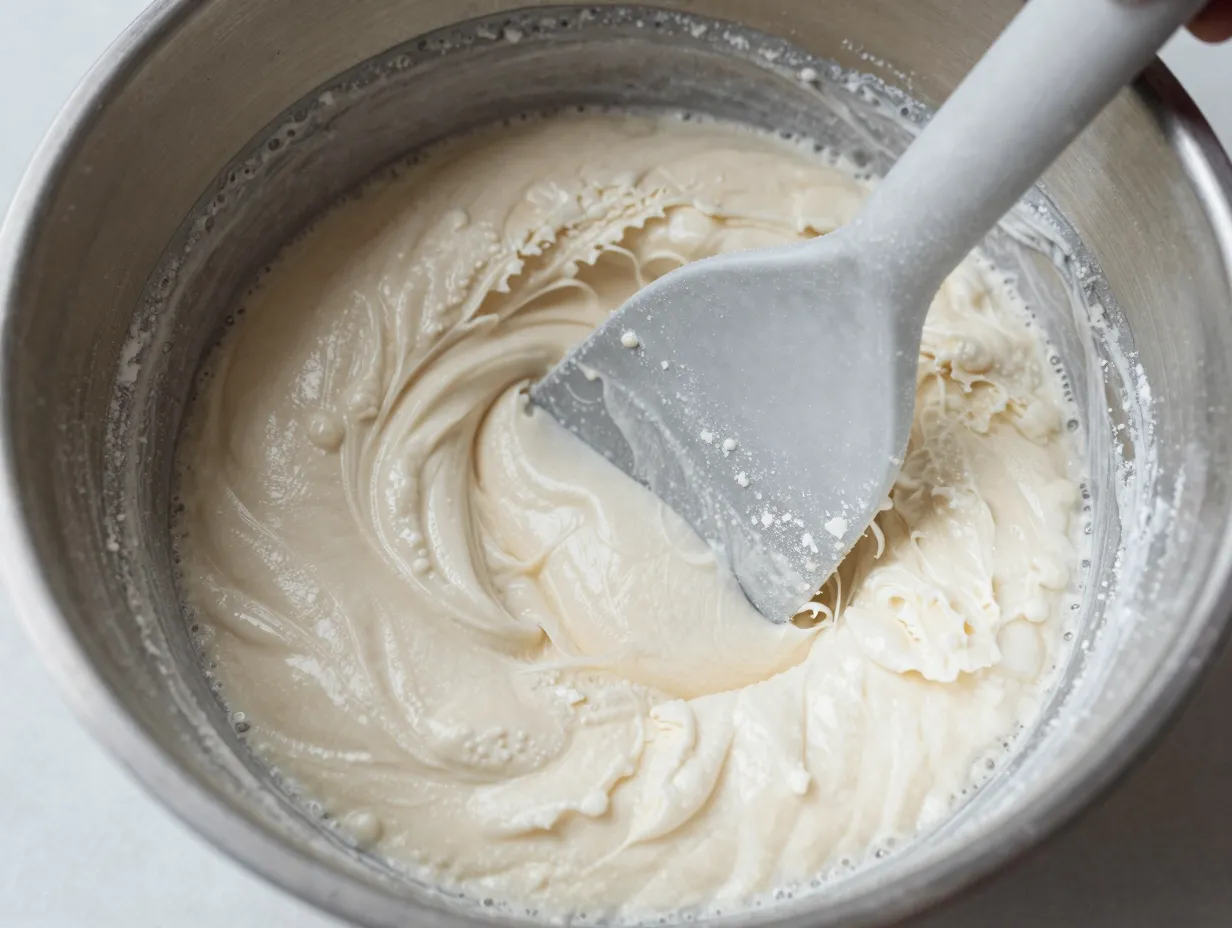
Folding is a technique, not just a description. The goal is to incorporate flour into the whipped whites while deflating as few air bubbles as possible [4]. Here is the method that works:
- Add the sifted flour mixture in small portions, about four to six additions for a standard recipe.
- Use a large rubber spatula. Cut down through the center of the batter, sweep along the bottom of the bowl, and bring the spatula up and over the top in one smooth motion.
- Rotate the bowl a quarter turn after each fold.
- Stop folding the moment you no longer see streaks of flour.
Resist the urge to stir, mix, or use a whisk. Each unnecessary motion pops air bubbles that took minutes of beating to create. The batter should look slightly uneven and cloud-like when it is ready to pour.
7. Use an Ungreased Tube Pan, Every Single Time
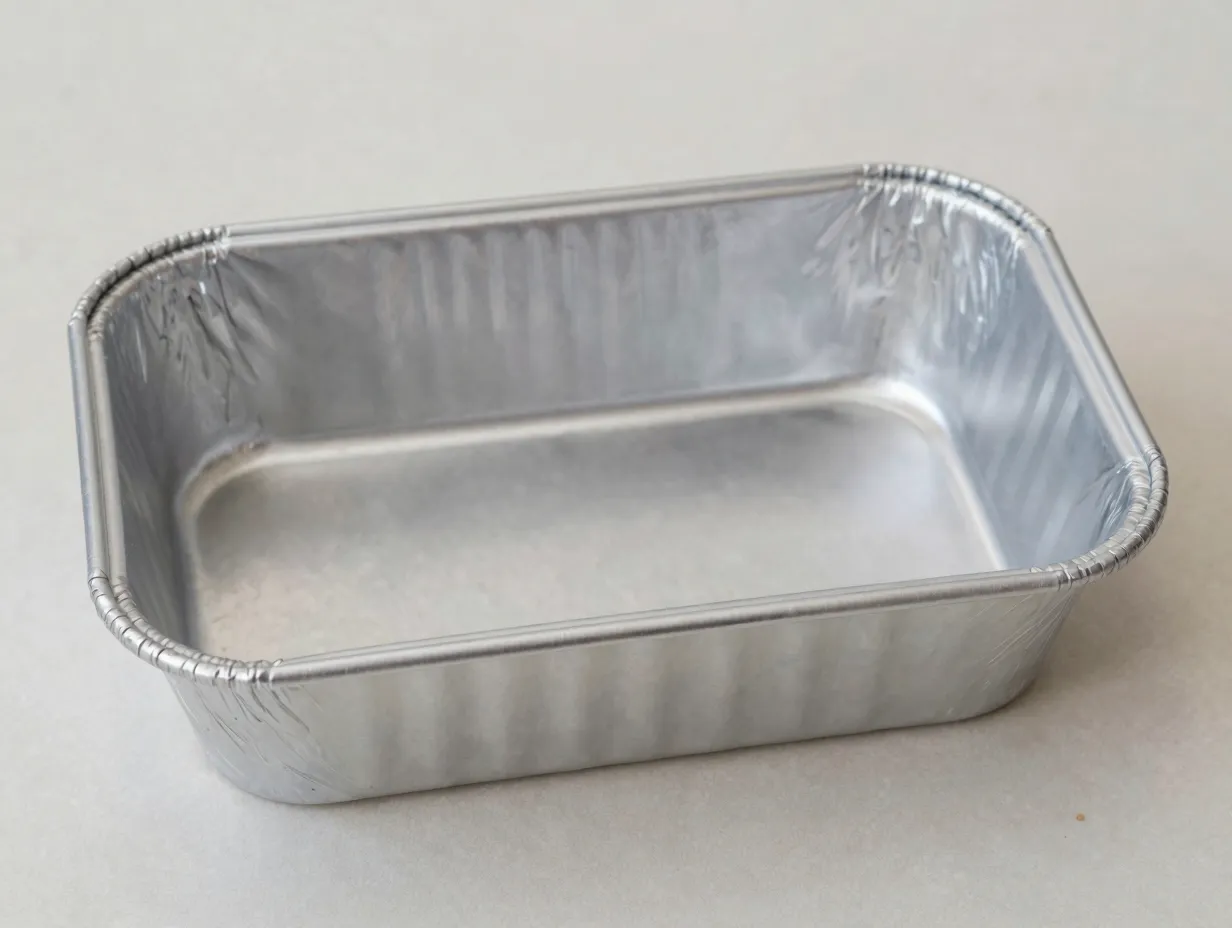
This one feels counterintuitive to anyone who has spent years greasing pans to prevent sticking. For angel food cake, greasing the pan is actively harmful. The batter needs to cling to the sides of the pan as it rises in the oven [5]. That grip is what allows the cake to climb the walls of the pan and achieve its full height.
An ungreased aluminum tube pan, specifically one with a removable bottom and small feet on the rim, is the correct tool. Do not use a bundt pan. The decorative ridges in a bundt pan make it nearly impossible to remove the cake cleanly, and the pan cannot be inverted on its feet for cooling.
If you do not own a tube pan with feet, you can invert the pan over the neck of a wine bottle during cooling. Which brings us to the next tip.
8. Cool the Cake Upside Down, Without Exception
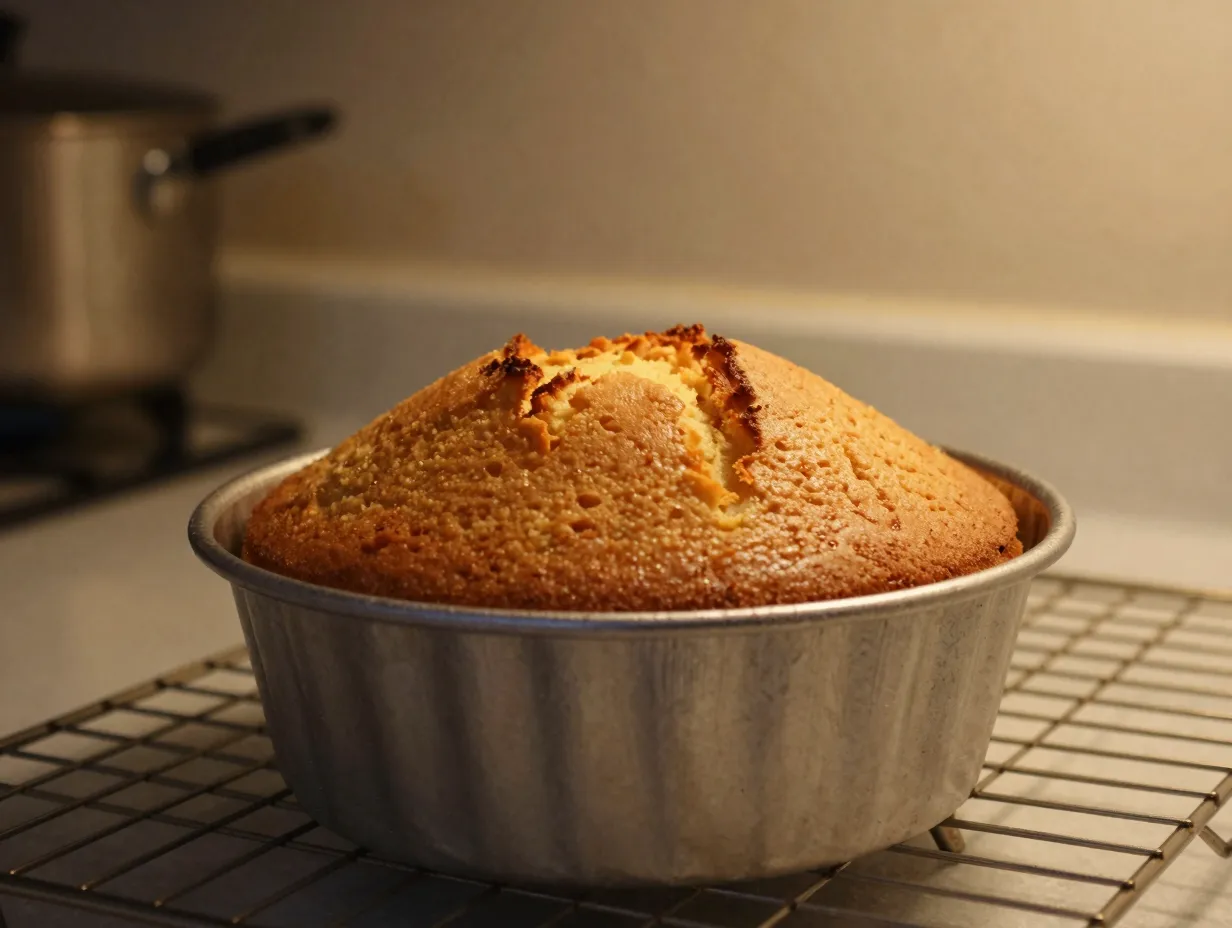
The moment the cake comes out of the oven, invert the pan immediately. Do not wait. Do not set it right-side up “just for a minute.” Angel food cake is structurally fragile when it is hot. The air bubbles that give it lift are still expanding and the proteins have just barely set [3].
If you cool the cake right-side up, gravity pulls the delicate crumb downward before it has a chance to fully firm up. The result is a compressed, gummy layer at the bottom and a cake that has lost a significant portion of its height.
Inverted cooling allows the cake to hang from the pan walls, maintaining its full height while the structure sets completely. Leave it inverted for at least one hour, and ideally until the pan is completely cool to the touch.
To remove the cake, run a thin offset spatula or butter knife around the outer edge and the inner tube, then press up on the removable bottom.
9. Use Fresh, High-Quality Ingredients, and Respect the Oven
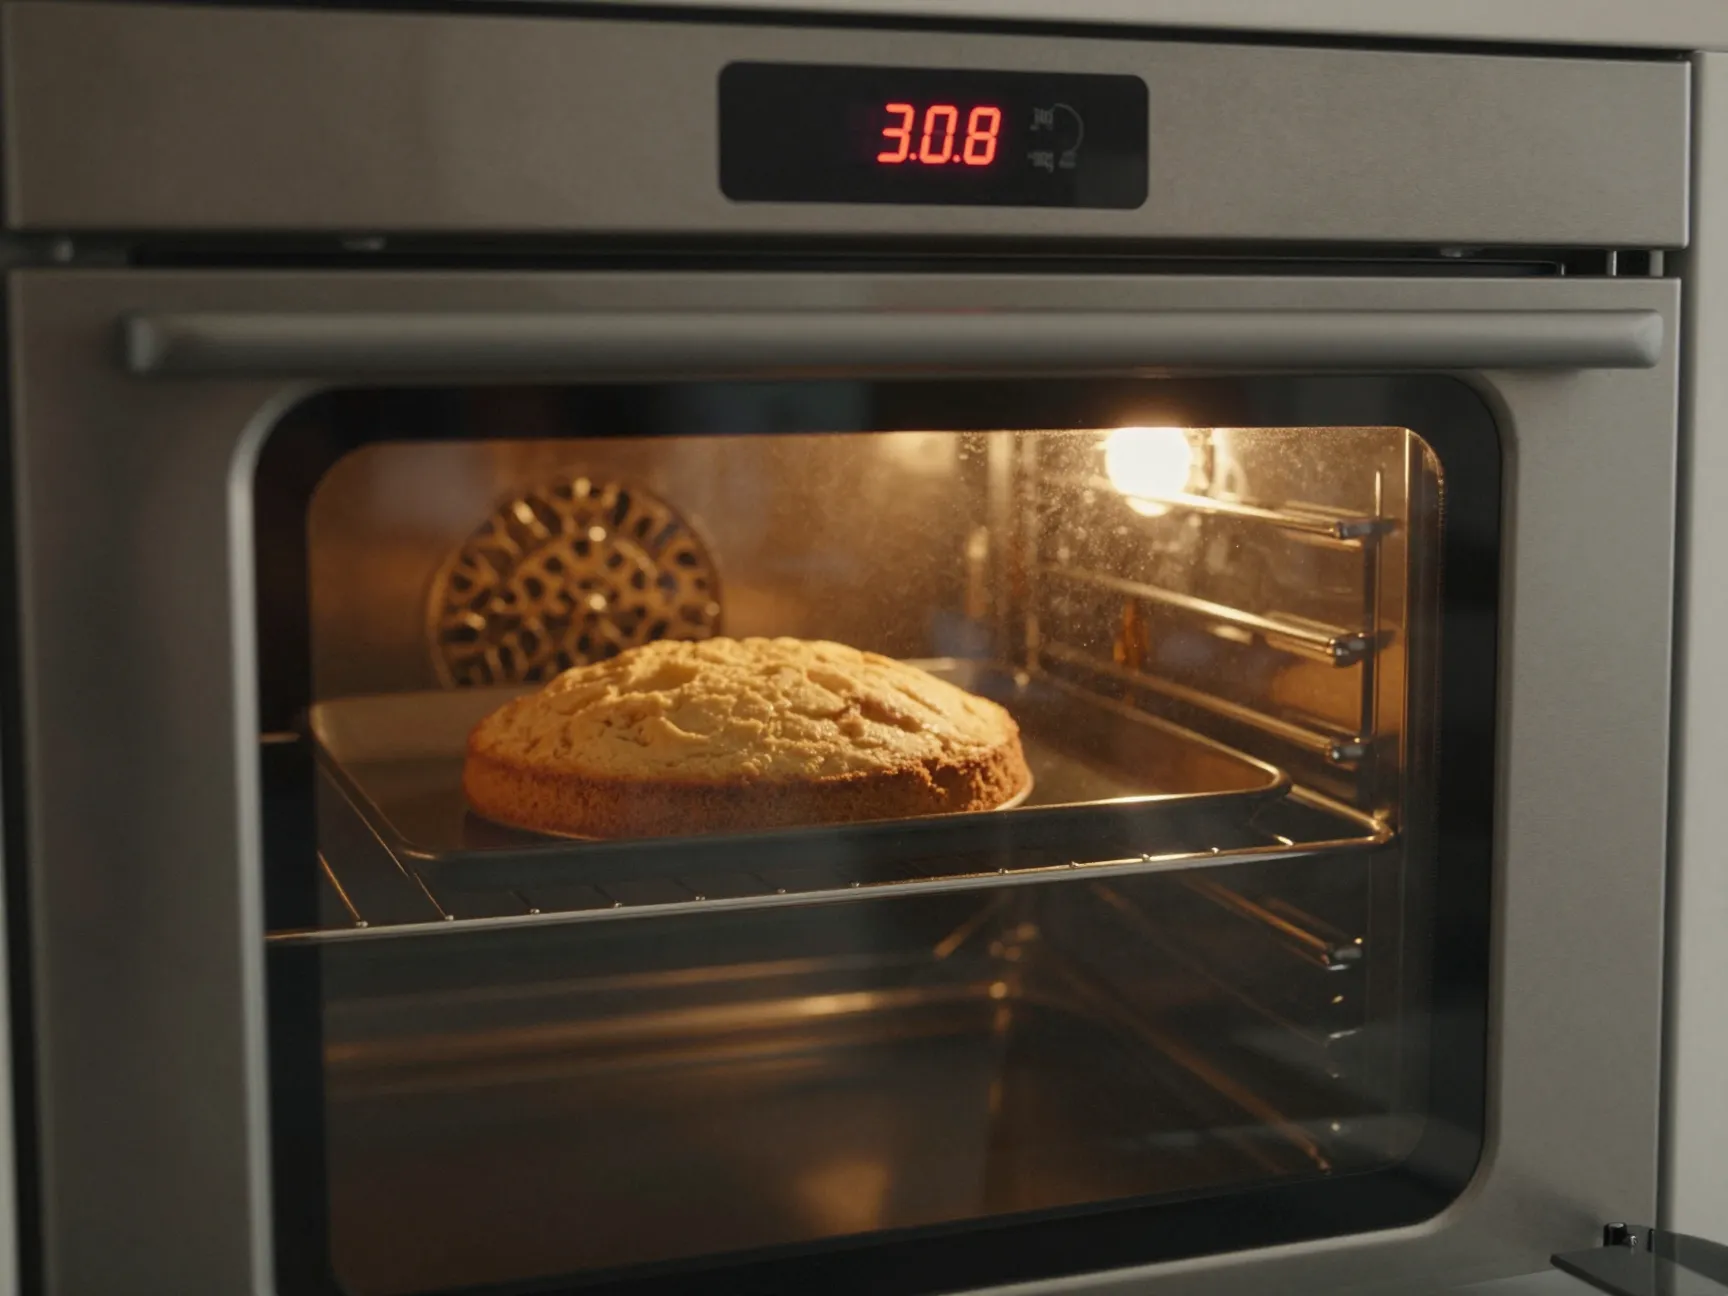
The final tip in these 9 Homemade Angel Food Cake Tips That Give You the Lightest, Fluffiest Results Every Time covers two related ideas that belong together.
Fresh ingredients matter. Fresh egg whites whip more reliably and produce a cleaner flavor than older eggs [6]. High-quality cake flour with a consistent protein content gives you predictable results. If your eggs have been sitting in the refrigerator for three weeks, the whites will be thinner and less stable. Buy eggs within the week before you plan to bake.
Respect the oven. Opening the oven door during the first two-thirds of baking is one of the fastest ways to ruin an angel food cake [4]. The sudden drop in temperature causes the delicate foam structure to collapse before the proteins have set. Set a timer for the minimum baking time listed in your recipe, and do not open the door until that timer goes off.
Additional oven tips:
- Preheat the oven fully, at least 20 minutes, before the cake goes in
- Use the center rack for even heat circulation
- Avoid placing anything else in the oven at the same time
- Check doneness by pressing the top lightly; it should spring back completely
Common Angel Food Cake Mistakes and How to Fix Them
Even with the best intentions, things go wrong. Here is a quick reference for the most frequent problems:
| Problem | Likely Cause | Fix for Next Time |
|---|---|---|
| Cake collapses after baking | Cooled right-side up or removed from pan too soon | Invert immediately; cool at least 1 hour |
| Dense, rubbery texture | Overbeaten whites or too much flour | Stop at medium-soft peaks; weigh flour |
| Cake did not rise fully | Greased pan or underbeaten whites | Never grease the pan; beat to proper peaks |
| Gummy or wet layer at bottom | Cooled right-side up while still warm | Invert pan immediately after removing from oven |
| Tough, chewy crumb | All-purpose flour used instead of cake flour | Switch to cake flour; sift multiple times |
| Whites would not whip | Grease or yolk contamination | Wipe bowl with vinegar; separate eggs carefully |
A Note on Equipment Worth Investing In
You do not need a professional kitchen to follow these 9 Homemade Angel Food Cake Tips That Give You the Lightest, Fluffiest Results Every Time, but a few tools make a real difference:
- Stand mixer or hand mixer with whisk attachment: Whipping 12 egg whites by hand is possible but exhausting. A stand mixer frees you to monitor consistency.
- Fine-mesh sifter: A drum sifter or fine-mesh sifter aerates flour far better than a coarse sieve.
- Kitchen scale: Measuring flour by weight eliminates one of the biggest sources of inconsistency in home baking.
- Offset spatula: Makes releasing the cake from the pan clean and damage-free.
- Aluminum tube pan with removable bottom and feet: This is not optional. The right pan is part of the recipe.
Conclusion
The 9 Homemade Angel Food Cake Tips That Give You the Lightest, Fluffiest Results Every Time outlined in this guide are not complicated, but they are precise. Angel food cake is one of the most technique-dependent recipes in home baking, and every step either builds or destroys the foam structure that makes the cake what it is.
Here are your actionable next steps:
- The next time you plan to bake, separate your eggs the night before and let the whites come to room temperature on the counter the following morning.
- Wipe down your bowl and beaters with white vinegar before you start, make it a non-negotiable habit.
- Pull out your stand mixer, set it to medium-high, and practice recognizing medium-soft peaks before you commit to a full batch.
- Invest in a proper aluminum tube pan with feet if you do not already own one. It is a one-time purchase that pays off every single time.
- Set a timer when the cake goes into the oven and walk away. The oven door stays closed.
Angel food cake rewards patience and precision. Follow these tips consistently, and the cloud-like, towering result you have been chasing becomes not a lucky accident but a reliable outcome.
References
[1] Tips Making Best Angel Food Cake – https://www.tastingtable.com/1311732/tips-making-best-angel-food-cake/?utm_source=openai
[2] 5 Tips Membuat Angel Food Cake Yang Super Lembut Gak Keras Di Pinggirnya C1c2 01 Fspn2 S14zpy – https://www.idntimes.com/food/dining-guide/5-tips-membuat-angel-food-cake-yang-super-lembut-gak-keras-di-pinggirnya-c1c2-01-fspn2-s14zpy?utm_source=openai
[3] Angel Food Cake – https://www.completelydelicious.com/angel-food-cake/?utm_source=openai
[4] 17521 Tips For Angel Food Cake – https://www.bakemag.com/articles/17521-tips-for-angel-food-cake?utm_source=openai
[5] Angel Food Cake 268315 – https://www.thekitchn.com/angel-food-cake-268315?utm_source=openai
[6] Angel Food Cake – https://bonnibakery.com/angel-food-cake/?utm_source=openai